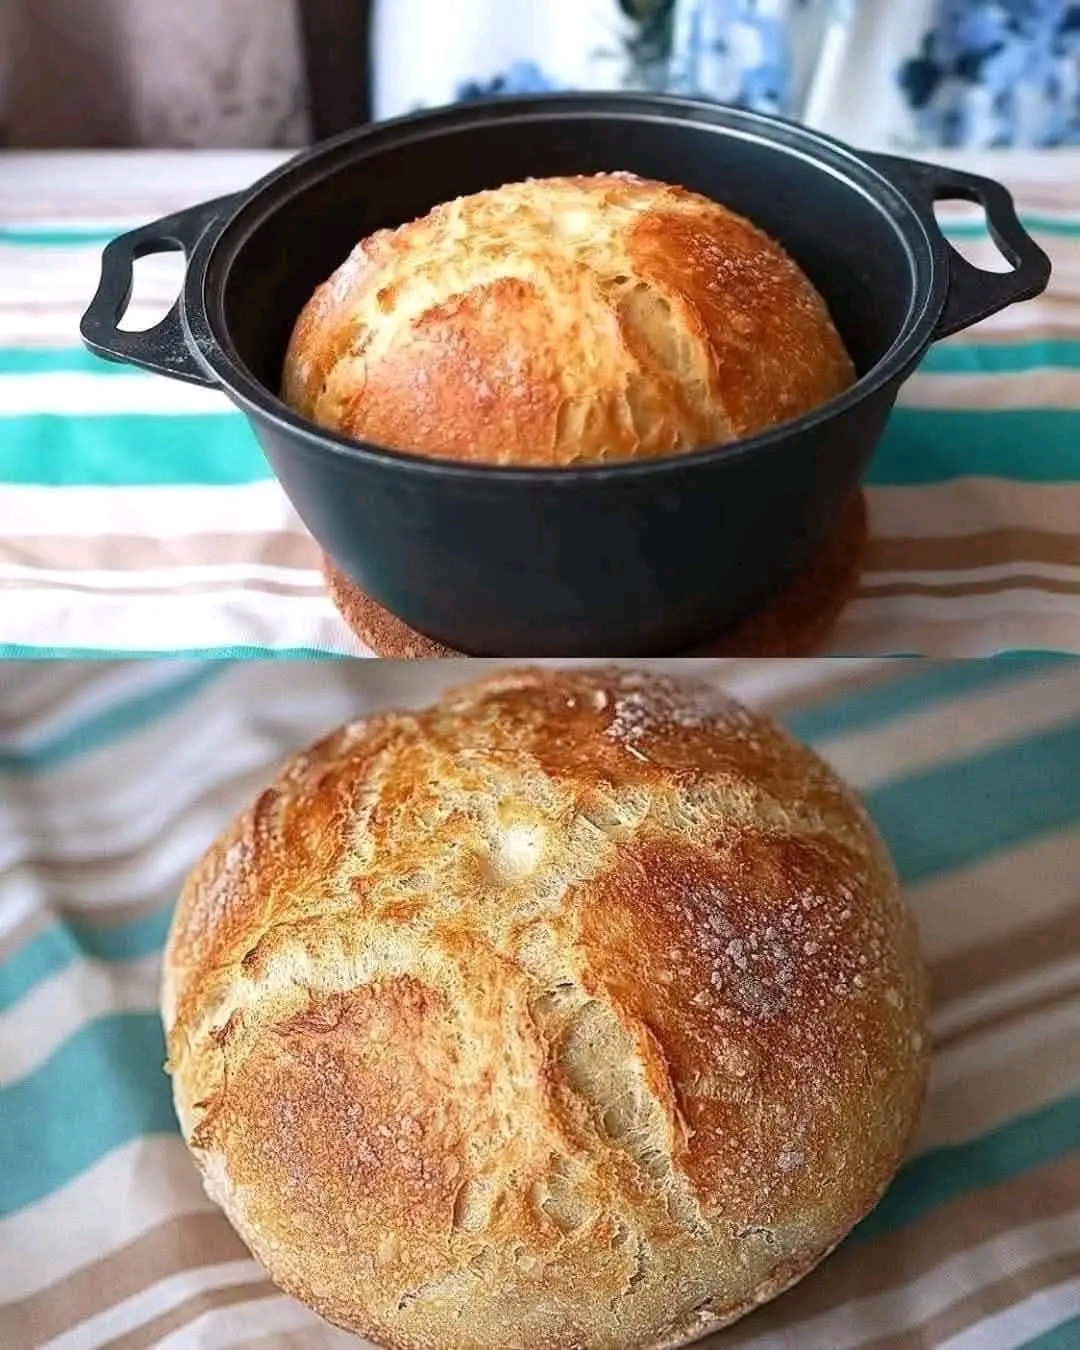
Easy No-Knead Homemade Bread No Eggs, No Butter, No Kneading!
Preparation Time: 10 minutes Rising Time: 1½–2 hours Cooking Time: 35–40 minutes Total Time: Approximately 2 hours 30 minutes Servings: 10–12 slices Difficulty: Very Easy
### Introduction
Nothing beats the smell of freshly baked homemade bread filling your kitchen! This easy no-knead homemade bread is perfect for anyone who loves fresh bread but doesn’t want to spend hours preparing dough.
Made with simple, inexpensive ingredients, this recipe requires no kneading, no eggs, and no butter. Just mix, let the dough rise, and bake until the outside becomes beautifully golden and crisp while the inside stays soft, fluffy, and delicious.
It’s an excellent everyday bread for breakfast, sandwiches, soups, or enjoying warm with your favorite toppings.
### Origin
No-knead bread is inspired by traditional rustic bread-making methods that have existed for centuries. Before modern mixers and bread machines, families prepared bread using basic ingredients such as flour, water, yeast, and salt.
The modern no-knead technique became especially popular because it allows time and fermentation to develop the dough’s structure and flavor instead of relying on extensive manual kneading.
This simple approach makes homemade bread accessible to beginners and experienced bakers alike.
### Cultural Significance
Bread is one of the most important staple foods around the world. From European farmhouse loaves to traditional North African khobz, homemade bread has always represented nourishment, hospitality, family, and togetherness.
In many households, baking bread at home is a cherished tradition. This easy recipe continues that tradition by making fresh, affordable bread possible without complicated equipment or expensive ingredients.
### Ingredients Quantity
* 4 cups (500 g) all-purpose flour or bread flour
* 1¾ cups (420 ml) warm water
* 2 teaspoons (7 g) instant dry yeast
* 1 tablespoon sugar
* 1½ teaspoons salt
* 1 tablespoon olive oil (optional)
* 1 tablespoon flour or semolina for dusting
Note: This recipe contains wheat flour and is not gluten-free.
### Optional Additions
* Garlic: Add 2 minced garlic cloves for a delicious savory flavor.
* Fresh herbs: Rosemary, thyme, or oregano add wonderful aroma.
* Seeds: Sprinkle sesame, sunflower, or flaxseeds into the dough.
* Whole wheat flour: Replace up to 1 cup of white flour for a heartier loaf.
* Olives: Add ½ cup chopped olives for a Mediterranean touch.
* Dried tomatoes: Add ¼ cup chopped sun-dried tomatoes.
* Oat topping: Sprinkle rolled oats over the loaf before baking.
### Tips for Success
* Use warm water: The water should feel comfortably warm, not hot. Excessive heat can damage the yeast.
* Measure carefully: Too much flour can make the bread dense and dry.
* Don’t knead: Simply mix until no dry flour remains. The dough should be sticky and soft.
* Allow enough rising time: Let the dough rise until approximately doubled in size.
* Choose the right container: A loaf pan or Dutch oven works beautifully.
* Avoid opening the oven: Keep the oven door closed during the first part of baking.
* Cool before slicing: Allow the bread to rest for at least 20–30 minutes to prevent a gummy interior.
### Instructions
Step 1: Prepare the yeast mixture
In a large mixing bowl, combine warm water, instant yeast, and sugar. Stir briefly and allow it to sit for approximately 5 minutes.
Step 2: Add the dry ingredients
Add the flour and salt. Mix with a wooden spoon until everything is combined and no dry flour remains.
The dough will be sticky and slightly shaggy. This is exactly what you want!
Step 3: First rise
Cover the bowl with a clean kitchen towel or plastic wrap. Place it in a warm, draft-free location for 1½–2 hours, or until the dough has doubled in size.
Step 4: Prepare the baking pan
Lightly grease a loaf pan or line it with parchment paper. Gently transfer the risen dough into the pan using a spatula.
Avoid aggressively pressing or deflating the dough.
Step 5: Second rise
Cover loosely and let the dough rest for another 20–30 minutes while you preheat the oven to 400°F (200°C).
Step 6: Bake the bread
Bake for approximately 35–40 minutes, until the top is golden brown and the loaf sounds hollow when tapped.
If the top browns too quickly, loosely cover it with foil.
Step 7: Cool and enjoy
Remove the bread from the pan and place it on a wire rack. Allow it to cool before slicing.
Enjoy your beautiful homemade bread!
### Description
This homemade no-knead bread has a gorgeous golden crust and a wonderfully soft, airy interior. Each slice is tender, slightly chewy, and perfect for spreading, dipping, or making sandwiches.
The best part? You don’t need a mixer, complicated techniques, eggs, or butter. Just a few pantry staples and a little patience create a delicious loaf that tastes like it came straight from a neighborhood bakery.
### Nutritional Information
Approximate values per slice, assuming 12 slices:
* Calories: 155 kcal
* Protein: 4.5 g
* Carbohydrates: 32 g
* Fat: 1 g
* Fiber: 1.2 g
* Sugar: 1.5 g
* Sodium: 290 mg
Values are estimates and may vary depending on the flour and portion sizes.
### Conclusion
Making homemade bread doesn’t have to be difficult or expensive. This simple no-knead recipe proves that flour, water, yeast, and salt can create something truly wonderful.
With no eggs, no butter, and no kneading, it’s an excellent recipe for beginners, busy families, and anyone who wants fresh bread without unnecessary complications.
Once you try it, you may find yourself baking a fresh loaf several times a week!
### Recommendation
Enjoy this bread:
* Warm with olive oil and herbs.
* Toasted with avocado and sliced tomatoes.
* Alongside homemade soups and stews.
* As a base for delicious sandwiches.
* With eggs, cheese, or your favorite breakfast toppings.
Store in an airtight bread bag or container at room temperature for approximately 2–3 days. You can also slice and freeze it for longer storage.
### Embracing Healthful Indulgence
Homemade bread gives you control over the ingredients and allows you to avoid unnecessary additives and preservatives commonly found in some commercial breads.
For a more nutritious variation, consider replacing part of the all-purpose flour with whole wheat flour. You can also add ground flaxseed, chia seeds, or sunflower seeds for additional fiber and healthy fats.
For those avoiding dairy, this recipe is naturally dairy-free when prepared without butter or milk.
A little homemade goodness goes a long way! Enjoy fresh bread in balanced portions, experiment with wholesome ingredients, and celebrate the simple pleasure of baking something delicious from scratch. ❤️