The Ultimate Homemade Maple Toasted Walnuts Recipe
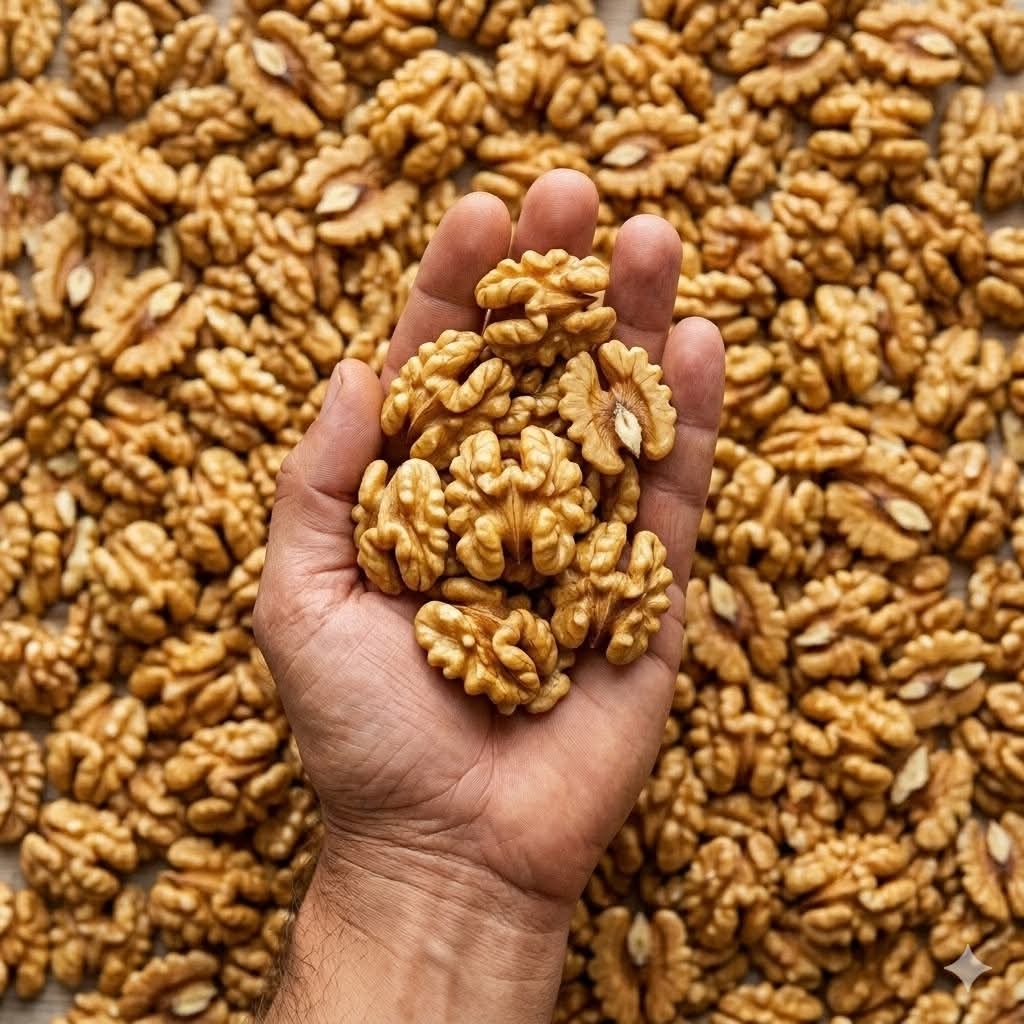
When it comes to creating an irresistible snack or a versatile topping, few ingredients can compete with the rich, earthy depth of a perfectly toasted walnut. Walnuts are a beloved staple in sweet and savory kitchens alike, offering a satisfying crunch and a distinct nutty flavor profile. As beautifully captured in the image 1000005665.jpg, high-quality, whole walnut halves possess an intricate, textured surface that is practically begging to trap delicious glazes, oils, and spices. Transforming raw, pale nuts into deep golden, candied masterpieces is one of the simplest ways to elevate your everyday culinary creations.
This comprehensive guide will walk you through the entire process of mastering homemade maple toasted walnuts in your own kitchen. We will cover the specific science of walnut selection, the importance of thermal management to prevent burning, the secret to a flawless non-sticky maple coating, and expert tips for achieving that perfect, satisfying crunch every single time. Whether you are prepping a dynamic addition for your holiday baking or simply seeking a wholesome, comforting snack to keep in your pantry, this recipe is designed to deliver exceptional results. Let us dive into the details of creating this aromatic, texturally stunning treat.
Why Toasting Walnuts Changes Everything
If you have only ever eaten raw walnuts straight from a plastic bag, you are missing out on a massive world of flavor. Raw walnuts naturally contain tannins in their papery skins, which can sometimes leave a bitter, astringent aftertaste on the back of your palate. Heating the nuts completely transforms their chemical structure, breaking down these bitter compounds and releasing the natural oils locked deep within the meat of the nut.
During the roasting process, the interior oils warm up and migrate toward the exterior surface. This process triggers the Maillard reaction, caramelizing the natural sugars and shifting the flavor profile from raw and slightly bitter to rich, buttery, and deeply aromatic. Furthermore, toasting significantly alters the physical texture. As moisture evaporates from the cell walls of the nut, the internal structure becomes beautifully brittle. This results in the ultra-satisfying, shatteringly crisp bite that makes toasted walnuts so addictive compared to their soft, raw counterparts.
Selecting and Preparing Your Core Ingredients
To achieve the beautiful, uniform results highlighted by the handful of premium nuts in 1000005665.jpg, starting with fresh, high-quality ingredients is paramount. Because nuts have a high oil content, proper selection and storage are critical to culinary success.
Choosing the Best Walnuts
When sourcing your ingredients, look for raw walnut halves rather than pre-chopped pieces. Halves, like those shown in 1000005665.jpg, toast much more evenly because they share a similar surface area and thickness. Small, pre-chopped pieces tend to burn rapidly in the oven while the larger fragments remain under-toasted. Ensure the nuts look plump and uniform in color. Avoid any packages that contain a large amount of powdery dust at the bottom, as this is often a sign of older, staler inventory.
The Power of Pure Maple and Warm Spice
A truly exceptional toasted nut relies on a clean, balanced glaze that complements rather than overwhelms the natural flavor of the walnut.
- 100% Pure Maple Syrup: Skip the artificial pancake syrups made from high-fructose corn syrup. Pure maple syrup contains natural complex sugars that caramelize beautifully under heat, creating a thin, glass-like candied shell that isn’t cloyingly sweet.
- A Touch of Fat: A tiny amount of melted unsalted butter or extra virgin coconut oil helps distribute the sweetness uniformly across the complex, creviced surface seen in 1000005665.jpg.
- Coarse Sea Salt: Salt is the ultimate flavor enhancer. A generous pinch of coarse sea salt cuts right through the sweetness of the maple, grounding the recipe and creating a highly craveable sweet-and-savory dynamic.
- Warm Aromatics: A dash of ground cinnamon and a pinch of cayenne pepper introduce a comforting warmth and a very subtle hint of back-of-the-throat complexity that makes the snack truly memorable.
Oven vs. Skillet: Choosing Your Toasting Method
There are two primary ways to toast walnuts at home, and each method offers its own distinct advantages depending on your schedule and the volume of nuts you are preparing.
The Oven Method (Best for Large Batches)
Baking your walnuts on a rimmed sheet pan in a preheated oven provides the most uniform heat distribution. The hot air circulates completely around the irregular shapes of the halves, cooking them from the inside out. This is the ideal method when you are preparing a large quantity of nuts to store for future use, as it minimizes the risk of hot spots.
The Skillet Method (Best for Quick Fixes)
If you only need a small handful of toasted nuts to top a dinner salad or a morning bowl of oatmeal, a dry skillet over medium heat is incredibly efficient. This method requires your absolute, undivided attention, as the direct conduction heat from the pan can brown the skins rapidly. You must continuously toss and stir the nuts to ensure they do not burn.
The Recipe: Sweet & Savory Maple Toasted Walnuts
- Prep Time: 5 minutes
- Cook Time: 10-12 minutes
- Total Time: 17 minutes
- Yield: 2 cups
Ingredients
- 2 cups raw, high-quality walnut halves (as seen in 1000005665.jpg)
- 2 tablespoons 100% pure maple syrup
- 1 teaspoon unsalted butter, melted (or melted coconut oil)
- 1/2 teaspoon coarse sea salt
- 1/4 teaspoon ground cinnamon
- 1/8 teaspoon cayenne pepper (optional, for subtle warmth)
Instructions
- Preheat the Oven: Preheat your oven to 325°F (163°C). Line a large, rimmed baking sheet with parchment paper or a silicone baking mat to prevent the maple syrup from sticking to the pan.
- Whisk the Glaze: In a medium bowl, combine the pure maple syrup, melted butter, coarse sea salt, ground cinnamon, and cayenne pepper. Whisk vigorously until the spices are fully suspended in the syrup.
- Coat the Walnuts: Dump the raw walnut halves into the bowl with the glaze. Use a rubber spatula to thoroughly fold the nuts into the liquid. Spend a minute ensuring the sweet mixture flows into all the deep ridges and crevices that naturally occur on the surface of the walnuts, matching the complete coverage required for a perfect crunch.
- Spread into a Single Layer: Pour the coated walnuts onto your prepared baking sheet. Use your spatula or hands to spread them out into a strict single layer. Make sure the halves are not piled on top of one another; proper spacing allows the hot air to dry out the maple coating evenly.
- The Golden Roast: Place the baking sheet into the center rack of your preheated oven. Bake for 10 to 12 minutes. It is highly recommended to gently stir and rotate the nuts halfway through the cooking time to ensure an even, uniform toast.
- Watch for the Aromatic Cue: The absolute best way to tell when a walnut is perfectly toasted is by using your nose. Around the 10-minute mark, your kitchen should suddenly fill with an incredibly rich, buttery, and sweet nutty aroma. Once you smell that distinct fragrance and see the maple syrup bubbling softly on the edges, remove them immediately.
- The Cooling Phase (Crucial for Crunch): When you first remove the walnuts from the oven, the maple glaze will still be hot, soft, and slightly sticky. Do not touch or disturb them. Let the walnuts cool completely on the baking sheet at room temperature for 15 to 20 minutes. As the temperature drops, the sugar will harden into a shatteringly crisp, dry, non-sticky candied coating.
- Separate and Store: Once fully cooled, gently break apart any nuts that have stuck together. Serve immediately or transfer to an airtight container for storage.
Pro Tips for Preventing Burnt Nuts
Walnuts are incredibly delicate because of their high concentration of polyunsaturated fats. These healthy fats are highly sensitive to thermal energy, meaning the line between perfectly toasted and unpleasantly burnt is remarkably thin. Incorporate these kitchen guardrails to ensure your recipes turn out flawless every time.
Keep the Temperature Low
It can be tempting to crank your oven up to 400°F (204°C) to speed up the process, but this is a recipe for disaster. High heat will flash-fry the thin, fragile outer skins and the maple glaze long before the heat manages to penetrate the dense interior of the nut. Roasting at a gentle 325°F (163°C) allows the interior and exterior to cook at a balanced pace, yielding a thorough crunch without bitterness.
Master Proper Storage Dynamics
Because toasted nuts have had their natural oils drawn to the surface, they are more susceptible to oxidation and rancidity than raw nuts. Never store your toasted walnuts while they are still warm, as any trapped steam will create moisture inside your container, destroying the crunch. Once completely cool, store them in a tightly sealed glass jar in a cool, dark pantry for up to two weeks. For longer shelf life, you can actually store them in the freezer for up to three months; they will maintain their signature crispness perfectly.
Creative Ways to Use Your Toasted Walnuts
Once you have a batch of these glorious maple-crusted halves ready, you can deploy them across an array of dishes to inject instant texture and depth.
Elevate Your Fresh Green Salads
Toss a handful of these sweet-and-savory walnuts into a bowl of crisp arugula or baby spinach. Pair them with crumbled goat cheese, sliced orchard apples or pears, and a bright balsamic vinaigrette. The rich crunch of the nuts cuts through the tangy cheese and acidic dressing beautifully.
The Ultimate Artisanal Oatmeal Topping
Upgrade your morning routine by swirling a spoonful of these nuts into a steaming bowl of steel-cut oats or creamy yogurt. The heat from the porridge softens the maple shell slightly, releasing warm cinnamon notes that make breakfast feel like a gourmet bakery treat.
Conclusion: A Quick, Elegant Culinary Upgrade
The maple toasted walnut is a magnificent example of how a few minutes of mindful cooking can completely transform a raw ingredient. By combining the natural structure of the nut with a simple, balanced glaze and low-and-slow heat, you create an elegant pantry staple that satisfies the senses. As illustrated by the perfect form and deep color of the walnuts highlighted in 1000005665.jpg, mastering this basic technique unlocks immense flavor potential in your kitchen. Spend fifteen minutes crafting a batch this weekend, and enjoy the rich, buttery, and sweet-and-savory crunch all week long.