The Ultimate Peanut Butter Cookies Recipe Soft Chewy and Perfectly Thick
Few baked goods hold a candle to the comforting, nostalgic appeal of a classic peanut butter cookie fresh out of the oven. When a cookie strikes that flawless balance between a crisp, golden exterior and a rich, melt-in-your-mouth center, it instantly becomes a favorite in any dessert repertoire. While there are thousands of cookie recipes available online, many fall short by turning out thin, dry, or crumbly. If you have been searching for a foolproof recipe that delivers bakery-quality results right from your home kitchen, look no further than these ultimate peanut butter cookies. By utilizing a careful balance of ingredients and proper mixing techniques, you can achieve an extraordinarily tender texture and an intense, nutty flavor profile that will satisfy any sweet tooth. Whether you are prepping for a family weekend treat, planning a holiday cookie exchange, or filling up the kitchen cookie jar, this comprehensive guide will walk you through the entire process to guarantee absolute baking success. Take a quick look at 1000005613.jpg to see exactly how wonderfully thick, beautifully textured, and golden-brown your cookies will look once they are finished.
The real secret behind the magnificent structure seen in 1000005613.jpg lies in understanding how fats and sugars interact during the baking process. A great peanut butter cookie relies on a dense, moist dough that spreads just enough in the oven to cook through while retaining a thick, chewy core. When made incorrectly, the high oil content naturally present in peanut butter can cause cookies to pool into flat discs or turn unpleasantly greasy. However, with the precise ingredient ratios and step-by-step methods outlined in this article, you will learn how to stabilize the dough, ensuring a uniform bake and a beautiful, classic crosshatch pattern every single time. This recipe is highly customizable, serving as a magnificent canvas for everything from dark chocolate chips to a light dusting of sea salt. In this ultimate recipe guide, we will dive deep into the essential ingredients, step-by-step preparation methods, proper baking temperatures, and expert tips that will turn you into a master home baker. Get ready to transform basic pantry staples into a show-stopping sweet treat that your family and friends will be begging you to bake week after week.
Why This Peanut Butter Cookie Recipe Works So Perfectly
To understand why this specific recipe yields such extraordinary results, it helps to examine the science of baking. Traditional cookies often rely solely on butter for moisture and flavor, but this recipe integrates the natural fats and emulsifiers found in creamy peanut butter directly into the structural base. Because peanut butter is structurally dense, it prevents the cookies from spreading too rapidly in the hot oven, allowing the edges to set into a delicate, crumbly crust while the center remains incredibly soft and dense. The result is a much richer mouthfeel that highlights the authentic, savory flavor of the roasted nuts.
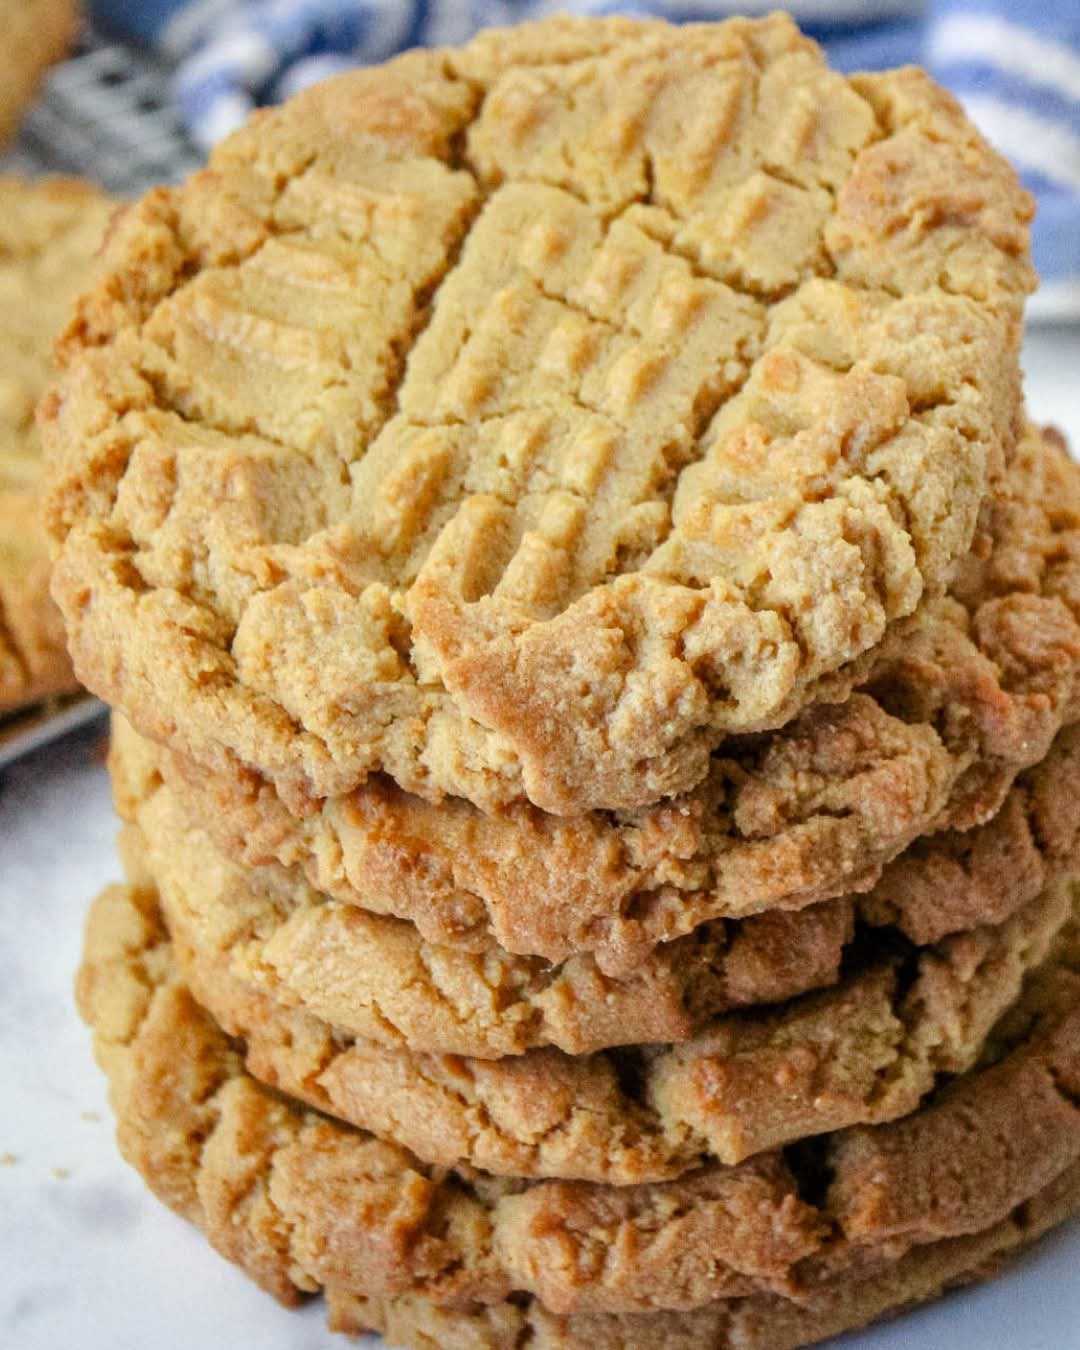
Another reason this recipe stands out is the intentional use of a dual-sugar system. Combining granulated white sugar with dark brown sugar creates a beautiful synergy; white sugar helps crisp the edges and creates a beautifully crackled surface, while the molasses in brown sugar binds to moisture, keeping the interior soft and chewy for days after baking. When you look closely at the beautiful stack highlighted in 1000005613.jpg, you can see the rich texture and the robust thickness that this specific method achieves. By pressing the dough down with a fork before baking, you create thin ridges that catch the oven’s direct heat, giving you delightful pockets of crunch on top of a soft, pillowy cookie.
The Essential Ingredients for Cookie Excellence
Creating a world-class cookie does not require a massive shopping list of hard-to-find specialty items. In fact, the true beauty of this recipe lies in its reliance on simple, everyday pantry staples that, when combined correctly, yield an exceptionally luxurious flavor profile. Selecting the right type of peanut butter and balancing your baking fats will make all the difference in your final presentation.
Selecting the Ideal Peanut Butter Style
The absolute foundation of this recipe is, of course, the peanut butter itself. To achieve the stable, thick texture displayed in 1000005613.jpg, it is highly recommended to use a conventional, commercial-style creamy peanut butter (such as Jif or Skippy). These varieties are homogenized and contain stable fats that prevent the oil from separating during mixing and baking. While natural, oil-on-top peanut butters are delicious for spreading on toast, their unpredictable liquid-to-solid ratio can introduce too much loose oil into the dough, leading to a greasy cookie that spreads too flat or crumbles easily.
The Essential Dough Components and Flavor Enhancers
- Unsalted Butter: Softened to room temperature, real cream butter provides a rich, classic bakery flavor and pairs beautifully with the savory notes of the nuts.
- Brown Sugar and White Sugar: A precise combination of both sugars ensures the ideal balance of a chewy center, crisp edges, and a beautiful caramelization.
- All-Purpose Flour: Provides the necessary gluten framework to give the cookies their signature chew and hold the heavy fats together safely.
- Egg and Pure Vanilla Extract: A large egg binds the ingredients together and adds structure, while high-quality vanilla extract adds a warm, aromatic depth that rounds out the sweetness.
- Baking Soda and Fine Salt: Baking soda gives the cookies a gentle lift, while a generous pinch of salt cuts through the heavy sugars, enhancing the natural roasted peanut flavor.
Step-by-Step Preparation: Setting Up for Success
The key to restaurant-quality cookies happens during the initial creaming and chilling phase. Proper preparation ensures that the sugars are fully incorporated into the fats and that the flour is handled gently, keeping the cookies exceptionally tender. Follow these steps meticulously to set yourself up for absolute baking success.
Step 1: Creaming the Fats and Sugars Properly
Begin by placing your softened unsalted butter and conventional creamy peanut butter into a large mixing bowl or the bowl of a stand mixer fitted with the paddle attachment. Add both your granulated white sugar and dark brown sugar to the bowl. Beat the mixture on medium-high speed for roughly 2 to 3 minutes until it becomes completely smooth, light, and slightly fluffy. This step is crucial because it incorporates tiny air pockets into the fat, which helps the cookies rise gently and prevents them from turning out dense and stone-hard. Add the egg and vanilla extract, beating until fully incorporated.
Step 2: Incorporating Dry Ingredients and Creating the Crosshatch
In a separate medium bowl, whisk together your all-purpose flour, baking soda, and fine salt. Turn your mixer down to low speed and slowly add the dry flour mixture to the wet ingredients, mixing just until the flour disappears into a cohesive, thick dough. Do not overmix at this stage, as overworking the dough will develop too much gluten, resulting in a tough, rubbery cookie. Scoop the dough into uniform balls—roughly two tablespoons each—and place them onto a parchment-lined baking sheet. Using the tines of a metal fork dipped in a bit of sugar, gently press down on each dough ball in a crisscross pattern to create the iconic crosshatch design seen on the top cookie in 1000005613.jpg.
Step 3: The Secret Dough Chill (Optional but Recommended)
While you can bake these cookies immediately, placing the tray of patterned dough balls into the refrigerator for 20 to 30 minutes before baking is an expert technique that elevates the final result. Chilling solidifies the butter and peanut butter fats within the dough. When the cold dough enters the hot oven, the fats take longer to melt, drastically reducing the rate of spread. This simple step preserves the distinct fork marks, keeps the cookies remarkably thick, and yields that stunning, robust presentation captured in 1000005613.jpg.
Master Class: The Perfect Baking and Cooling Technique
Now that your dough balls are perfectly shaped, chilled, and patterned, it is time to bake. We utilize a precise temperature setting and a careful cooling process to achieve the spectacular structural contrast shown in the stack of 1000005613.jpg.
+-----------------------------------------------------------------------+
|                       Cookie Post-Bake Timeline                       |
+-----------------------------------------------------------------------+
| Stage 1: Baking (350°F / 175°C)       | Bake for 9-11 minutes until   |
|                                       | edges are set but center is   |
|                                       | still soft.                  |
+-----------------------------------------------------------------------+
| Stage 2: Pan Rest (5 Minutes)         | Essential for the soft crumb  |
|                                       | to set and firm up safely.    |
+-----------------------------------------------------------------------+
| Stage 3: Wire Rack Cool (10 Minutes)  | Final cool to achieve crisp   |
|                                       | outer edges and a chewy core. |
+-----------------------------------------------------------------------+
The Initial Bake: Do Not Overbake!
Preheat your oven to 350°F (175°C) and ensure your oven rack is positioned in the very center. Slide your baking sheet into the oven and bake the cookies for 9 to 11 minutes. The absolute golden rule of peanut butter cookies is to remove them from the oven when the edges are lightly golden-brown, but the center still looks incredibly soft, puffy, and slightly underbaked. If you wait until the entire center looks firm and fully dry, the cookies will dry out completely as they cool, turning hard and crumbly instead of beautifully soft and chewy.
The Critical Pan Rest and Final Cool
When you pull the hot baking sheet out of the oven, leave the cookies completely alone on the pan for 5 minutes. Freshly baked peanut butter cookies are extremely delicate while hot, and attempting to move them immediately will cause them to break apart. Letting them rest on the warm baking sheet allows the residual heat to finish cooking the soft core gently while setting the bottom crust. After 5 minutes, use a flat spatula to carefully transfer the thick cookies onto a wire cooling rack. Let them cool for another 10 minutes to finish setting into the picture-perfect, structural masterpieces shown in 1000005613.jpg.
Pro-Tips for Troubleshooting Your Cookies
Even with simple recipes, minor variances in kitchen humidity, oven calibration, or measurement styles can occasionally affect your results. If your cookies aren’t baking exactly the way you want, use these time-tested troubleshooting tips to rescue your batch effortlessly.
What to Do If Your Cookies Are Too Dry or Crumbly
If your cookies emerge from the oven looking chalky or crumbling apart easily, it is usually a sign that too much flour was added to the dough, or the cookies were baked a couple of minutes too long. To prevent this in future batches, always measure your flour using the “spoon and level” method rather than scooping the measuring cup directly into the flour bag, which packs it down tightly. Additionally, remember that cookies continue to firm up significantly as they cool on the wire rack, so err on the side of taking them out early.
Maintaining Thickness and Freshness
To keep your finished cookies soft, chewy, and thick for up to a week, store them in an airtight container at room temperature once they have cooled completely. An incredible old-school baker’s trick is to drop a single slice of plain white bread into the storage container alongside the cookies. The peanut butter cookies will naturally absorb the moisture from the bread slice, keeping them remarkably soft, tender, and fresh as if they were baked that very morning.
Inspiring Serving Variations and Flavor Pairs
Once you have mastered the foundational recipe, you can begin experimenting with a variety of fun mix-ins and pairings to elevate this rustic treat into an elegant dessert experience.
Indulgent Chocolate and Nutty Upgrades
Peanut butter and chocolate are one of the greatest flavor combinations in culinary history. To add a rich twist to the look seen in 1000005613.jpg, try folding a cup of semi-sweet chocolate chips, dark chocolate chunks, or peanut butter chips directly into the dough right before scooping. You can also press a single chocolate kiss candy firmly into the center of each cookie immediately after they come out of the oven to create a spectacular “peanut butter blossom” variation that children and adults alike adore.
Perfect Pairings for an Elegant Treat
While these thick cookies are absolutely spectacular all on their own, they pair beautifully with elements that complement their rich flavor. Serving them alongside a tall, ice-cold glass of milk is a classic choice that balances the dense texture perfectly. For a more sophisticated afternoon treat, pair a warm cookie with a robust, dark roast coffee or a hot espresso; the bitterness of the coffee cuts through the heavy sugars beautifully, highlighting the deep, savory complexity of the roasted peanuts.
Conclusion: Bring the Perfect Bakery Experience Home
Mastering the art of a perfectly thick, chewy peanut butter cookie is an incredibly rewarding achievement that guarantees warmth and smiles around your dining table. By taking a thoughtful and structured approach—focusing on conventional peanut butter selection, careful cream techniques, and a strict adherence to a short bake time—you completely remove the stress often associated with home baking. The ultimate reward for your efforts is a magnificent plate piled high with golden-brown, crosshatched treasures that boast an elite combination of a melting center and a crumbly edge, perfectly mirroring the stunning presentation captured in 1000005613.jpg.
Feel free to adapt the recipe, experiment with your favorite chocolate additions, and share your fresh creations with the people you love. Whether you are baking a comforting surprise for a rainy afternoon or putting together a beautiful spread for a major neighborhood gathering, these timeless cookies promise an unforgettable experience down to the very last crumb. Gather your simple ingredients, dust off your baking sheets, and get ready to enjoy a perfectly balanced, decadent slice of homemade heaven.