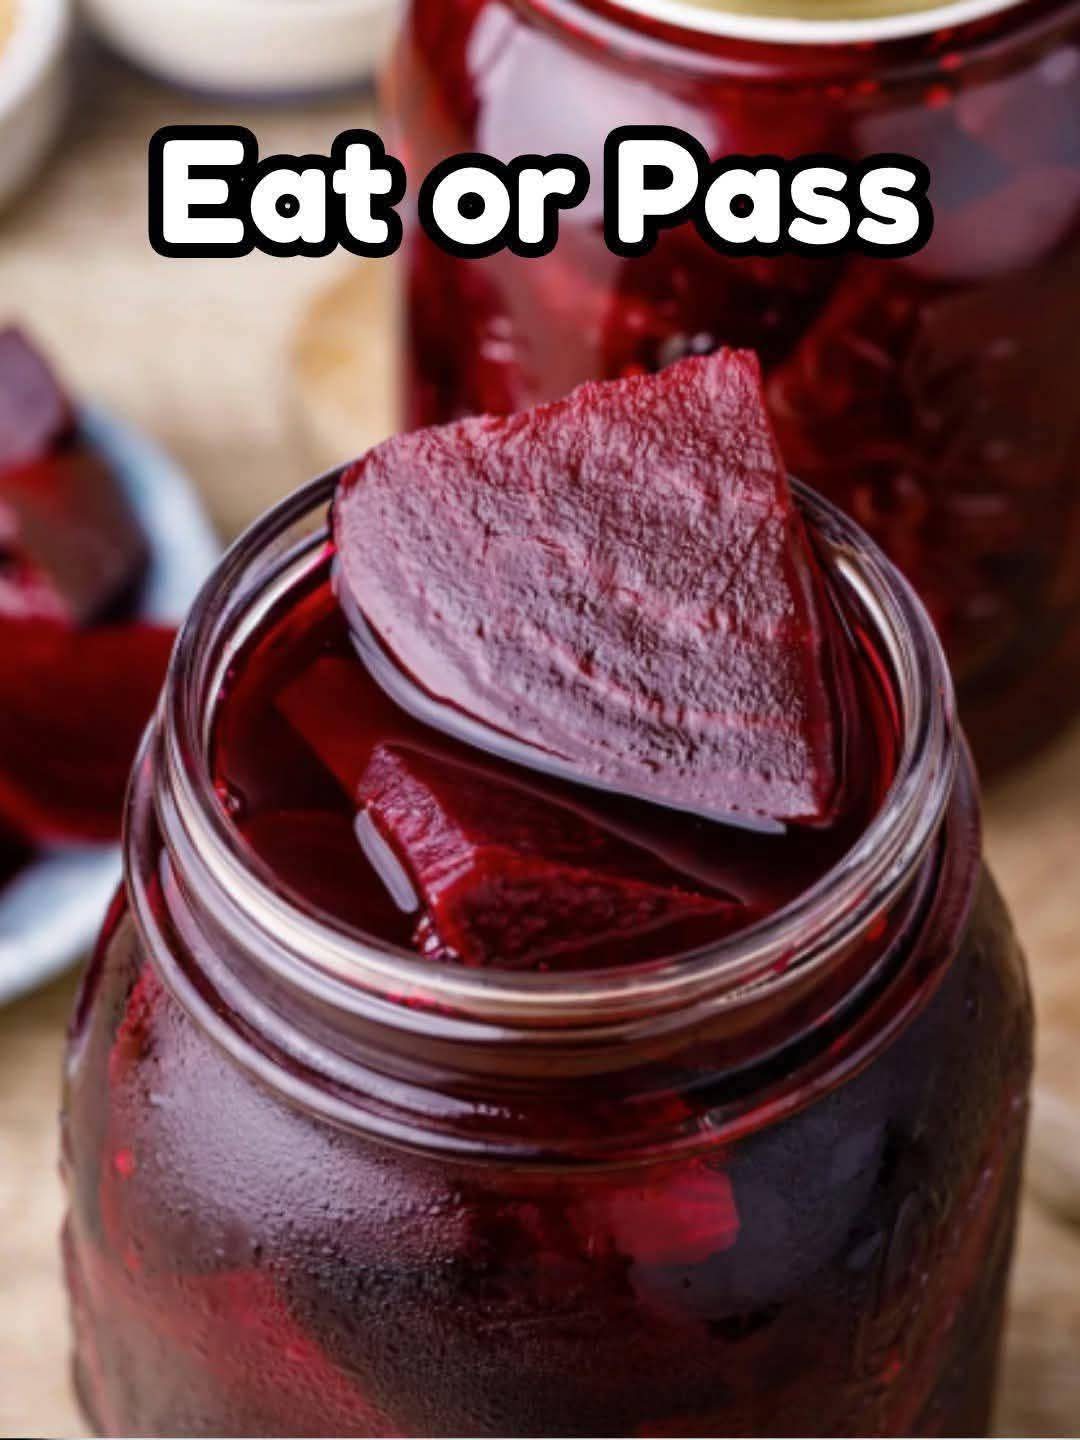
If you’re looking for a way to preserve fresh beets or add a pop of flavor and color to your meals, homemade pickled beets are a delicious solution! This recipe uses just a few simple ingredients—fresh beets, vinegar, and sugar—to create a sweet and tangy treat that’s perfect on salads, alongside grilled meats, or straight from the jar.
Whether you grew up with jars of pickled beets in your grandmother’s pantry or you’re trying them for the first time, this recipe is a timeless classic that brings back comfort and nostalgia with every bite. And the best part? It’s super easy to make!
💜 Why You’ll Love This Recipe
✅ Simple ingredients – no additives or preservatives
✅ Perfect balance of sweet and tangy
✅ Naturally vibrant color – beautiful on any plate
✅ Great for preserving garden or farmers’ market beets
✅ Versatile – use in salads, sandwiches, or as a snack
🛒 Ingredients for Pickled Beets
Here’s what you need to make a batch of homemade pickled beets:
8 medium fresh beets
1 cup white vinegar
½ cup sugar
½ teaspoon salt (optional, but enhances flavor)
½ cup water (for a slightly milder brine – optional)
Optional flavor additions: 1–2 cloves, ½ tsp mustard seeds, bay leaf, or a few peppercorns for a spiced variation.
🍳 Equipment You’ll Need
Large pot for boiling beets
Small saucepan for the pickling liquid
Vegetable peeler or paper towels (for peeling skins)
Knife and cutting board
Glass jars or containers with lids (pint-size works great)
Gloves (optional – to avoid staining your hands)
⏱️ Time & Yield
Prep Time: 20 minutes
Cook Time: 40 minutes
Total Time: 1 hour
Pickling Time (Fridge): Minimum 24 hours for flavor
Yield: About 4 pint jars
Storage: Up to 6 weeks refrigerated (for quick pickling)
🧑🍳 How to Make Pickled Beets (Step-by-Step)
Step 1: Cook the Beets
Wash the beets and trim off the stems, leaving about 1 inch attached. (This helps keep the color and juice during boiling.) Do not peel yet.
Place beets in a large pot, cover with water, and bring to a boil. Simmer for 30–40 minutes, or until fork-tender. Drain and let cool slightly.
Step 2: Peel and Slice
Once cool enough to handle, peel the beets. The skins should rub off easily with your hands or a paper towel. (Wear gloves to avoid red fingers!)
Slice the beets into rounds, wedges, or cubes—your preference! Uniform slices work best for pickling.
Step 3: Make the Pickling Brine
In a saucepan, combine:
1 cup white vinegar
½ cup sugar
Optional: ½ tsp salt and ½ cup water
Heat gently, stirring, until the sugar dissolves completely—about 3–5 minutes. Remove from heat.
Want spiced beets? Add a few cloves, mustard seeds, or peppercorns into the brine while it simmers.
Step 4: Jar the Beets
Pack your sliced beets into clean glass jars. Pour the warm pickling liquid over them, making sure all slices are covered.
Seal with lids and let cool to room temperature.
Step 5: Chill & Pickle
Refrigerate for at least 24 hours before eating—though 3 days gives the best flavor. These are refrigerator pickles, so no canning needed.
Keep stored in the fridge for up to 6 weeks.
🥗 How to Serve Pickled Beets
These ruby-red beauties aren’t just for snacking! Try them in:
Salads: Add to goat cheese or arugula salads
Grain bowls: Delicious with quinoa or couscous
Charcuterie boards: Pair with cheese and cured meats
Sandwiches: Add to turkey, roast beef, or veggie wraps
Side dishes: Serve with grilled meats, fish, or casseroles
Deviled eggs or potato salad: Add a vibrant twist!
Bonus idea: Blend pickled beets into hummus for a gorgeous pink appetizer dip.
🧠 Tips for Pickling Success
Choose small to medium beets – They’re sweeter and more tender.
Wear gloves if you don’t want red-stained hands!
Use glass jars, not metal, to prevent flavor changes.
Customize the brine – Try apple cider vinegar, red wine vinegar, or adding spices.
Let them sit longer – The flavor deepens after a few days in the fridge.
🔁 Variations to Try
🧄 Garlic Pickled Beets
Add 1 clove of garlic to each jar for a savory twist.
🌶️ Spicy Pickled Beets
Toss in a few red pepper flakes or a slice of jalapeño.
🍯 Honey Pickled Beets
Replace half the sugar with honey for a natural, floral sweetness.
🍎 Apple Cider Vinegar Beets
Use apple cider vinegar for a sweeter, mellower pickle.
❄️ Storage & Shelf Life
These are quick refrigerator pickles—no canning needed.
Refrigerated: Lasts 4–6 weeks
Canned (processed): Up to 1 year if water-bath canned properly (adjust recipe for safety)
Always use clean utensils and jars to extend shelf life.
❤️ Final Thoughts
There’s something so nostalgic about opening a jar of homemade pickled beets—the color, the aroma, and the tangy-sweet flavor all bring back memories of simpler times. Whether you’re a beet lover already or just discovering their magic, this easy recipe is a beautiful and practical way to enjoy them year-round.
They’re great as gifts, perfect for holiday tables, and sure to impress at any potluck. Once you make your own, you’ll never want store-bought again!
Tried this recipe?
Tag your photos with #HomemadePickledBeets and share your favorite way to serve them!
More Recipes You Might Like
-
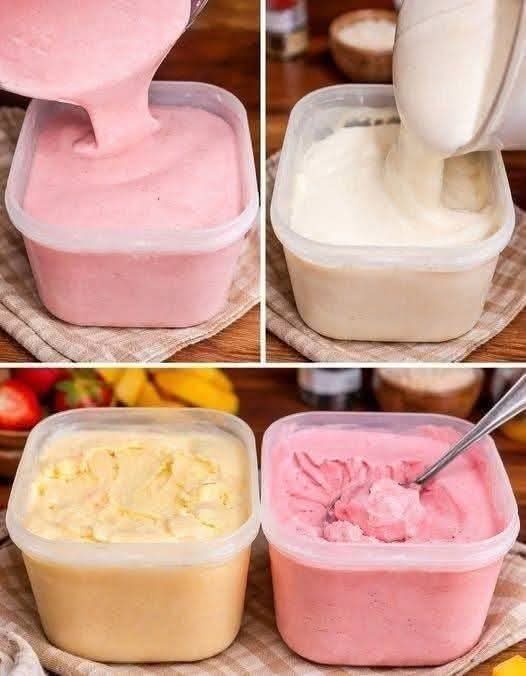
Homemade No Churn Ice Cream Recipe Creamy Easy, and Delicious
Homemade No-Churn Ice Cream Recipe: Creamy, Easy, and Delicious Introduction Nothing beats the taste of homemade ice cream, especially when it’s incredibly creamy, requires no ice cream machine, and can be made with just a few simple ingredients. This homemade no-churn ice cream recipe is perfect for anyone who loves frozen desserts but wants an…
-
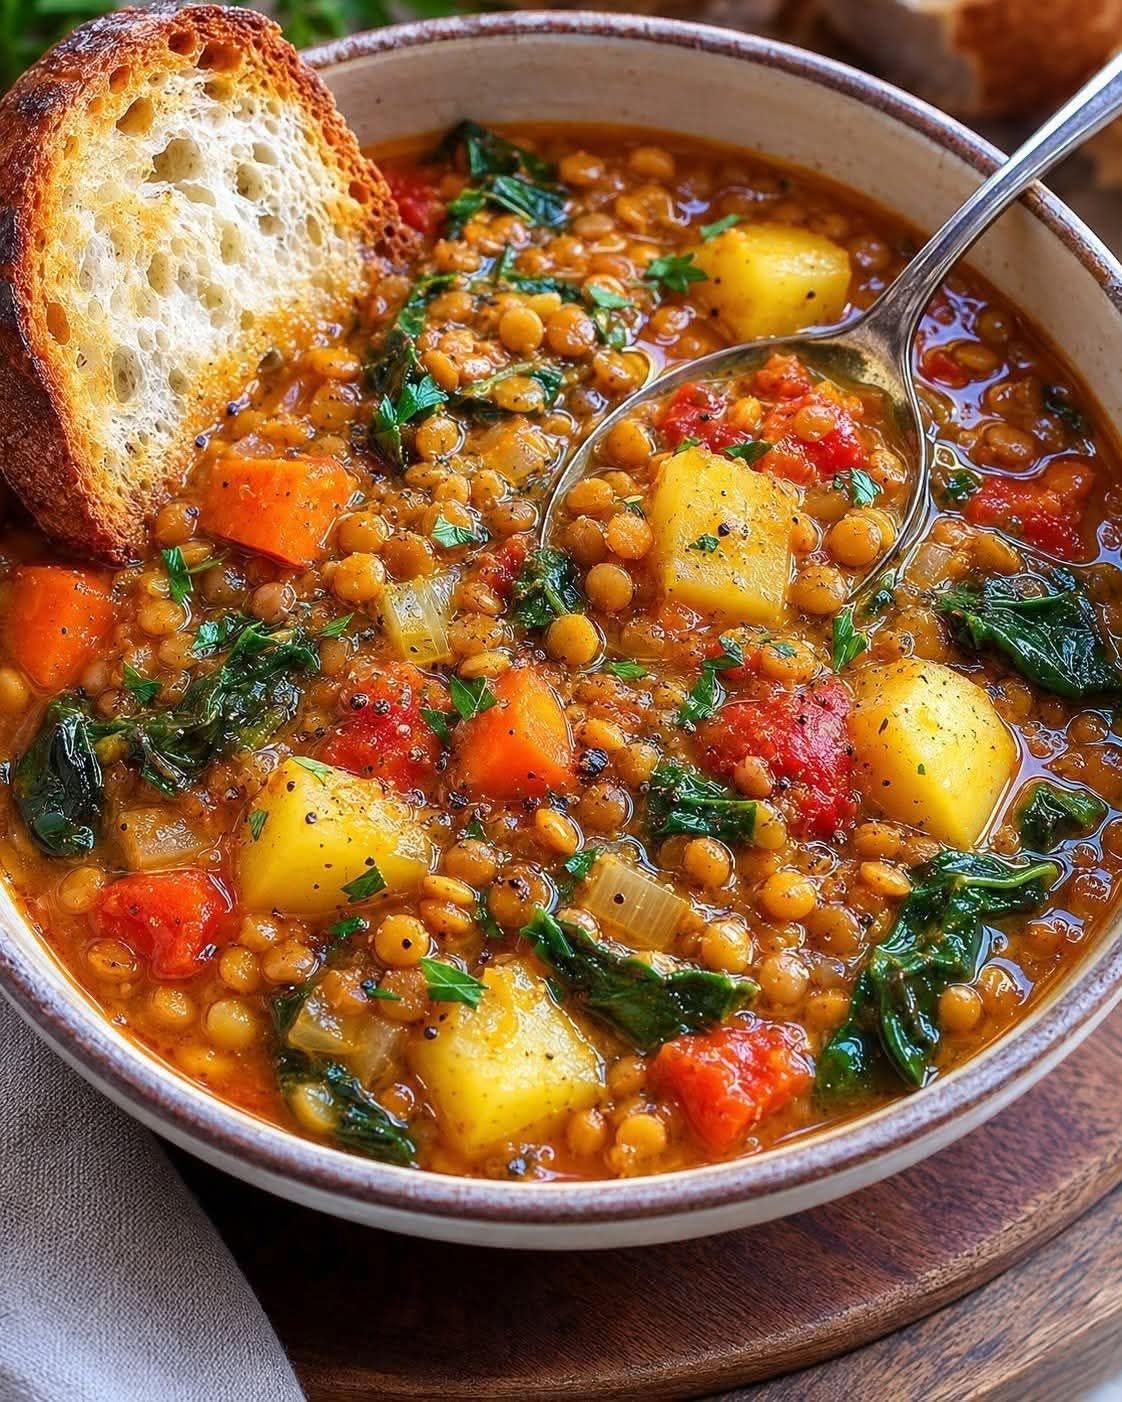
Hearty Lentil Vegetable Soup Recipe A Healthy, Comforting Bowl of Goodness
Hearty Lentil Vegetable Soup Recipe: A Healthy, Comforting Bowl of Goodness Introduction When it comes to nutritious comfort food, few dishes can compete with a hearty lentil vegetable soup. Packed with protein-rich lentils, colorful vegetables, and flavorful herbs, this wholesome soup is the perfect meal for chilly evenings, busy weekdays, or whenever you’re craving something…
-
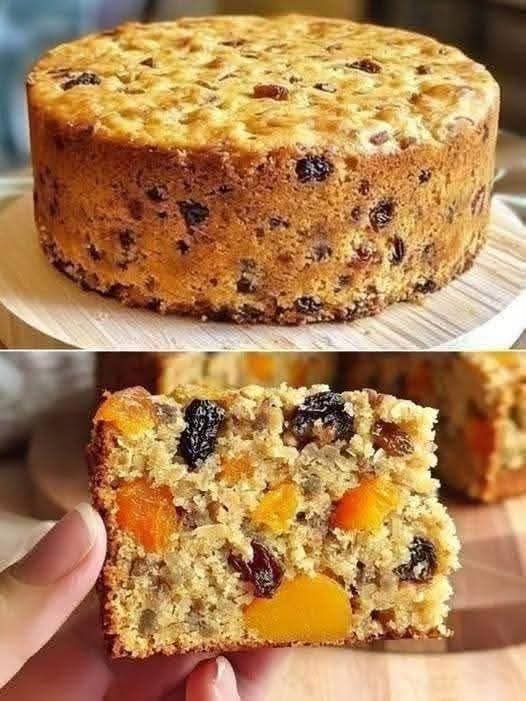
Moist Fruit Cake Recipe The Ultimate Homemade Fruit Cake Guide
Moist Fruit Cake Recipe: The Ultimate Homemade Fruit Cake Guide Introduction A moist fruit cake is one of the most beloved traditional desserts around the world. Packed with sweet dried fruits, juicy raisins, and colorful fruit pieces, this cake delivers a rich flavor and tender texture that makes it perfect for holidays, family gatherings, celebrations,…