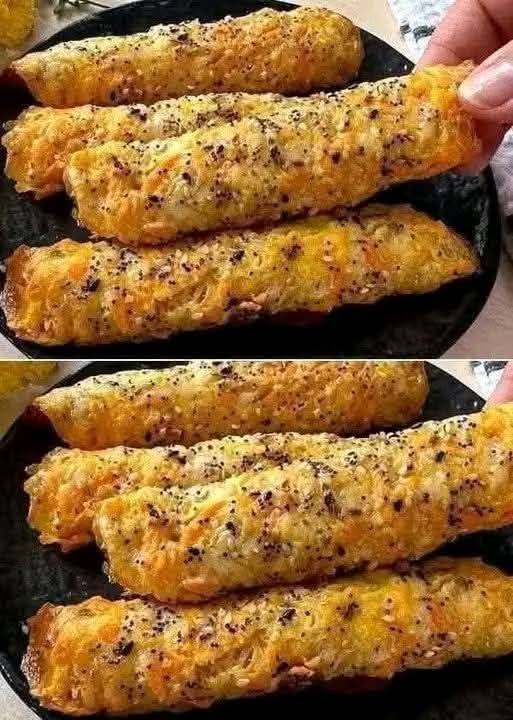
There’s nothing quite like the comforting crunch of golden, cheesy, oven-baked potato sticks. Whether you serve them as a side, snack, or party appetizer, these Crispy Cheesy Potato Sticks are guaranteed to disappear in minutes. With a crispy crust, soft interior, and melty cheese throughout, this simple yet satisfying dish brings together all the things we love: potatoes, cheese, and flavor.
If you’re looking for an easy, crowd-pleasing finger food that’s perfect for game nights, brunch spreads, or just a cozy night in, look no further. These potato sticks are the perfect mashup between a hashbrown and a mozzarella stick—without the deep frying.
Why You’ll Love This Recipe
These crispy sticks combine everything that makes comfort food irresistible. They’re:
Crispy outside, cheesy inside
Made with basic ingredients
Baked—not fried—for a lighter crunch
Versatile enough for breakfast or snacks
Kid-friendly and freezer-friendly
Plus, they’re easy to customize! You can switch up the cheese, add herbs, or mix in cooked bacon bits to make them your own.
What You’ll Need
Here are the basic ingredients to make about 6 to 8 sticks (can be doubled):
2 cups grated raw potatoes (like Russet or Yukon Gold, rinsed and squeezed dry)
1 cup shredded cheddar cheese (or mozzarella for more stretch)
1 egg
2 tablespoons all-purpose flour (or cornstarch for gluten-free)
½ teaspoon garlic powder
½ teaspoon onion powder
Salt and pepper to taste
1 tablespoon olive oil or melted butter (for brushing)
Crushed red pepper flakes or sesame seeds (optional topping)
How to Make Crispy Cheesy Potato Sticks
Step 1: Prepare the Potatoes
Peel and grate your potatoes using a coarse grater.
Rinse them under cold water to remove excess starch.
Place the grated potatoes in a clean kitchen towel and squeeze out as much moisture as possible. This step is critical for achieving crispiness.
Step 2: Mix the Ingredients
In a mixing bowl, combine the shredded potatoes, cheese, egg, flour, garlic powder, onion powder, salt, and pepper.
Mix everything thoroughly until it forms a sticky, cohesive mixture.
Step 3: Shape the Sticks
Preheat your oven to 400°F (200°C). Line a baking sheet with parchment paper.
Scoop the mixture and shape into log-like sticks using your hands. Each stick should be about 5 inches long and 1 inch thick.
Arrange them on the prepared tray with some space in between.
Step 4: Brush and Bake
Lightly brush the tops of each stick with olive oil or melted butter.
Sprinkle with red pepper flakes, sesame seeds, or extra cheese for added crunch and flavor.
Bake for 20–25 minutes or until golden brown and crispy, flipping once halfway through for even browning.
Step 5: Cool and Serve
Let them cool for 5 minutes before serving so they hold their shape.
Serve with sour cream, ranch, ketchup, or your favorite dipping sauce.
Tips for Perfect Cheesy Potato Sticks
Dry those potatoes well! Excess water can prevent your sticks from crisping up. Use a cheesecloth or clean dish towel to wring them out thoroughly.
Shred your own cheese instead of using pre-shredded (which often contains anti-caking agents).
Add flavor boosters like finely chopped chives, green onions, smoked paprika, or even cooked bacon bits.
Want extra crunch? Add a tablespoon of panko breadcrumbs to the mix or sprinkle some on top before baking.
Make it in the air fryer: Air fry at 375°F (190°C) for 12–15 minutes, flipping halfway through, for a fast and crispy result.
Serving Suggestions
These potato sticks are incredibly versatile and fit right into any occasion. Here are a few fun ways to serve them:
Game Day Platter: Serve alongside buffalo wings, jalapeño poppers, and onion rings with a trio of dips.
Brunch Side Dish: Pair with eggs, sausages, and fruit for a hearty brunch plate.
Kid-Friendly Snack: Offer with ketchup or ranch dressing in lunchboxes or after school.
Potluck Favorite: Bake a double batch and keep them warm in a slow cooker or covered tray.
Fancy Appetizer: Stack them like fries on a platter and drizzle with garlic aioli or truffle mayo.
Make-Ahead and Freezing Instructions
These potato sticks are perfect for prepping ahead of time and freezing for later use.
To Make Ahead: Prepare the mixture, shape into sticks, and refrigerate on the tray for up to 24 hours before baking.
To Freeze (Unbaked): Shape and freeze the sticks on a tray. Once frozen solid, transfer to a freezer-safe bag or container. Bake from frozen, adding 5–7 minutes to the cook time.
To Reheat: Bake leftovers at 375°F (190°C) for 8–10 minutes or until warmed and crispy again.
Variations to Try
Want to give your potato sticks a twist? Here are a few flavor ideas:
Jalapeño Cheddar: Add finely chopped jalapeños and use extra-sharp cheddar for a spicy kick.
Pizza Style: Add oregano, mozzarella, and a bit of marinara dipping sauce on the side.
Loaded Baked Potato: Mix in bits of cooked bacon, green onions, and top with sour cream.
Vegan Version: Use plant-based cheese and a flax egg (1 tbsp ground flax + 2.5 tbsp water) in place of the regular egg.
Why This Recipe Works
This recipe is all about balancing crispy texture with cheesy flavor. By removing the moisture from the potatoes, using the right amount of binder (egg and flour), and baking at a high temperature, you get perfectly golden sticks that are crunchy on the outside but soft and cheesy in the center. It’s also a fun and creative way to use up extra potatoes or cheese in the fridge.
Plus, the visual appeal is undeniable. These potato sticks are golden, textured, and sprinkled with flavor—perfect for impressing your guests or treating yourself.
Final Thoughts: The Ultimate Snack You Didn’t Know You Needed
Crispy Cheesy Potato Sticks are one of those delightful snacks that look fancy but are secretly simple. They’re the kind of thing that vanishes as soon as they hit the table, leaving everyone asking, “Can you make more?”
Whether you’re looking for a new way to enjoy potatoes, a creative appetizer, or just something comforting and homemade, this recipe is a winner. So grab those potatoes, fire up the oven, and treat yourself to one of the best bites ever!
More Articles You Might Like
-
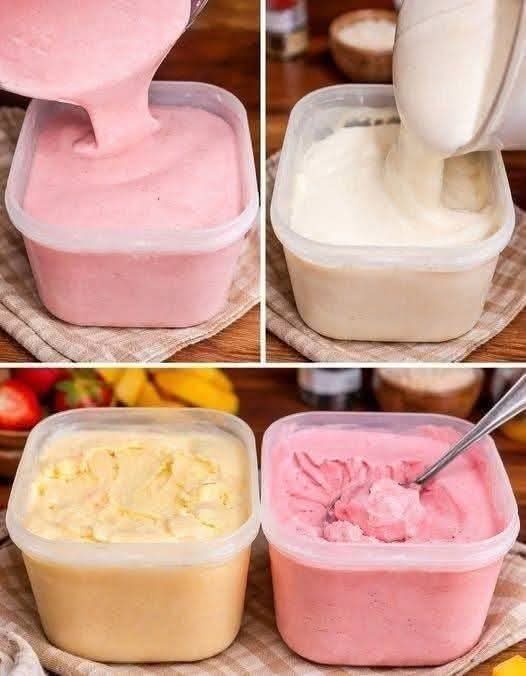
Homemade No Churn Ice Cream Recipe Creamy Easy, and Delicious
Homemade No-Churn Ice Cream Recipe: Creamy, Easy, and Delicious Introduction Nothing beats the taste of homemade ice cream, especially when it’s incredibly creamy, requires no ice cream machine, and can be made with just a few simple ingredients. This homemade no-churn ice cream recipe is perfect for anyone who loves frozen desserts but wants an…
-
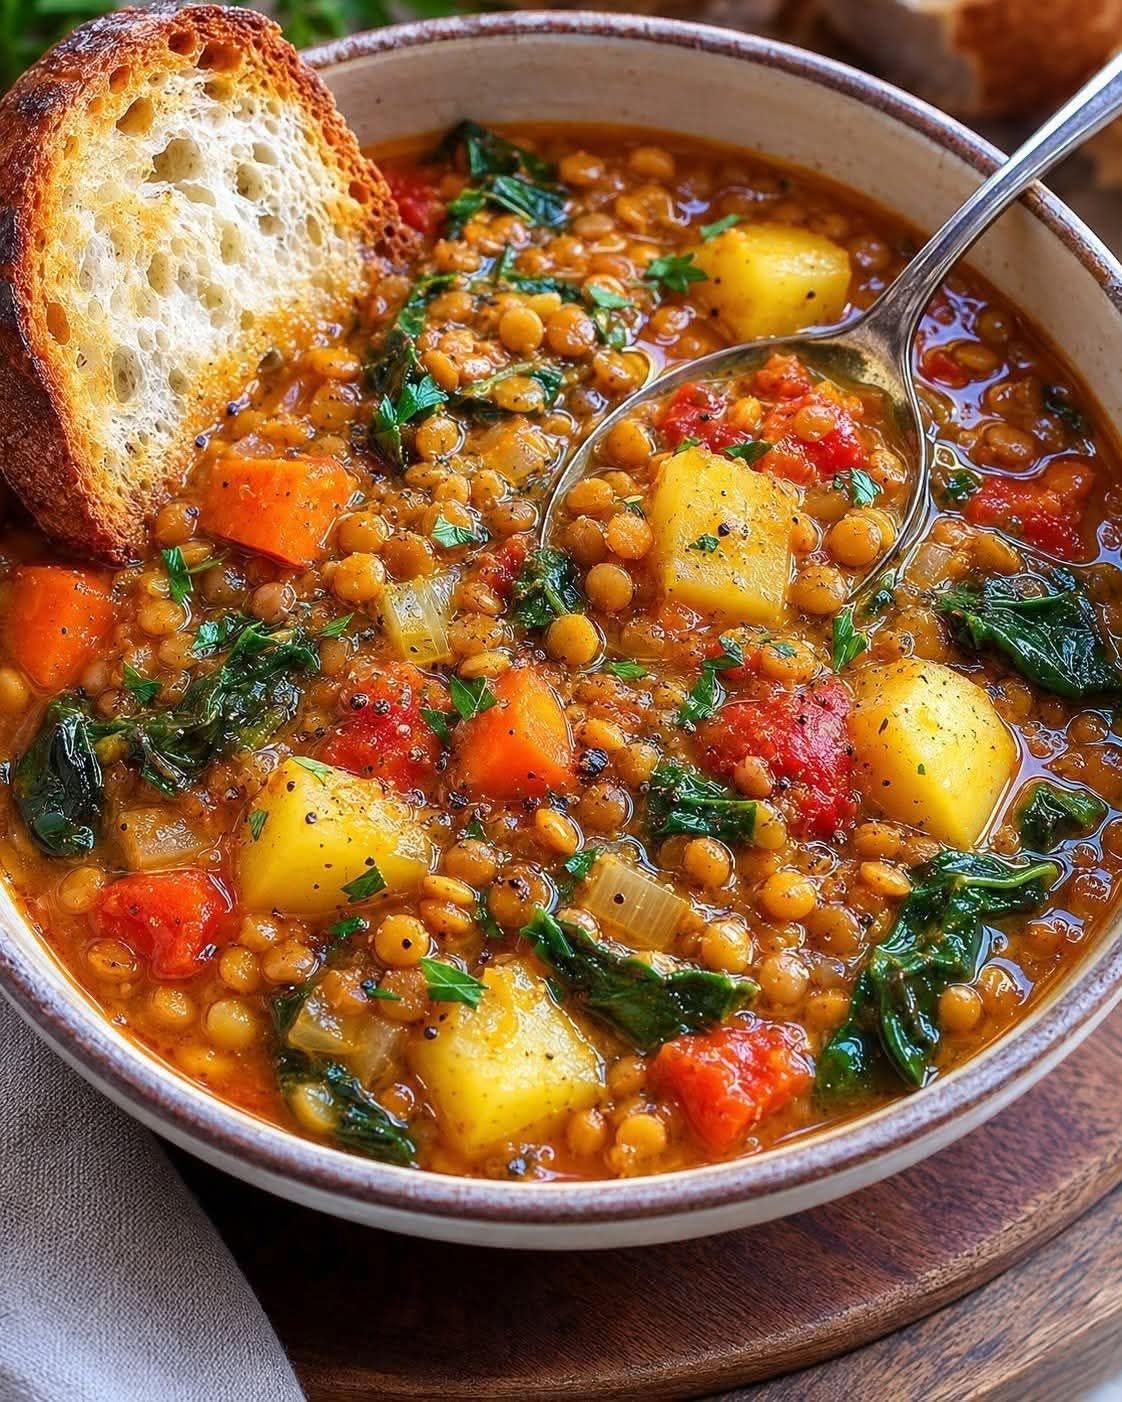
Hearty Lentil Vegetable Soup Recipe A Healthy, Comforting Bowl of Goodness
Hearty Lentil Vegetable Soup Recipe: A Healthy, Comforting Bowl of Goodness Introduction When it comes to nutritious comfort food, few dishes can compete with a hearty lentil vegetable soup. Packed with protein-rich lentils, colorful vegetables, and flavorful herbs, this wholesome soup is the perfect meal for chilly evenings, busy weekdays, or whenever you’re craving something…
-
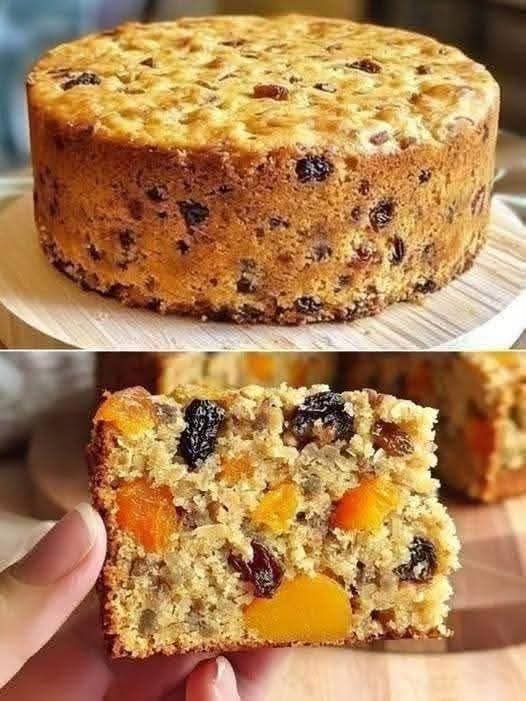
Moist Fruit Cake Recipe The Ultimate Homemade Fruit Cake Guide
Moist Fruit Cake Recipe: The Ultimate Homemade Fruit Cake Guide Introduction A moist fruit cake is one of the most beloved traditional desserts around the world. Packed with sweet dried fruits, juicy raisins, and colorful fruit pieces, this cake delivers a rich flavor and tender texture that makes it perfect for holidays, family gatherings, celebrations,…