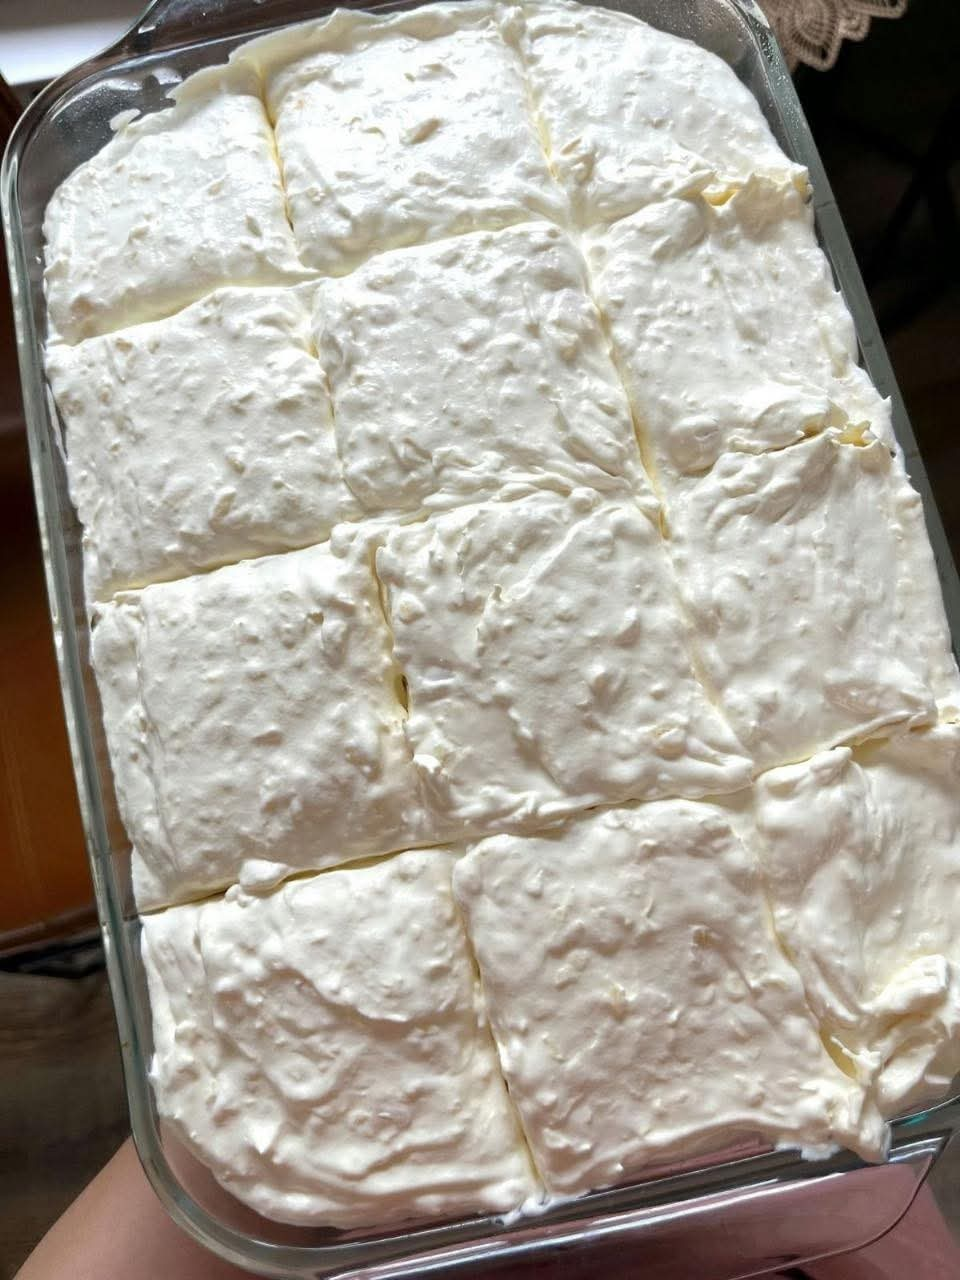
Few things in life compare to the joy of a scoop of rich, velvety vanilla ice cream—especially when it’s homemade. With this no-churn vanilla ice cream recipe, you can skip the fancy machines and still enjoy a dessert that rivals any scoop shop. Whether served in a cone, sandwiched between cookies, or paired with warm pie, this creamy treat will become a family favorite in no time!
Why You’ll Love This No-Churn Vanilla Ice Cream
There’s magic in the simplicity of this recipe. With just three core ingredients and no need for an ice cream maker, anyone can make it—yes, even beginners!
No Equipment Needed: No ice cream maker? No problem. Just a hand or stand mixer and a freezer.
Super Creamy Texture: Thanks to the whipped cream base, this ice cream is ultra-light and lusciously smooth.
Customizable: Vanilla is a blank canvas—add fruit swirls, chocolate chips, nuts, or cookie crumbles!
Make-Ahead Friendly: Prep in 10 minutes, freeze overnight, and it’s ready when you are.
Ingredients You’ll Need
2 cups whipping cream (heavy cream) – Cold and fresh. Whipping this gives your ice cream its luxurious body and volume.
1 (14 oz) can sweetened condensed milk – This sweetens the base and prevents ice crystals from forming.
1 teaspoon vanilla extract – Go for real vanilla extract for the best flavor.
½ cup whole milk (optional) – Lightens the texture slightly while keeping it creamy.
How To Make No-Churn Vanilla Ice Cream
Step 1: Whip the Cream
Start with a very cold mixing bowl and cream—this helps whip it faster. Using a hand mixer or stand mixer, beat the cream on high until stiff peaks form. This should take 3–5 minutes. The whipped cream adds the air that gives your ice cream its light, fluffy texture.
Step 2: Make the Base
In another bowl, whisk together the sweetened condensed milk, vanilla extract, and the optional whole milk if you want a slightly lighter ice cream. You can also add a pinch of salt here to balance the sweetness and enhance the flavor.
Step 3: Combine Gently
Now for the delicate part—folding. Using a rubber spatula, gently fold the vanilla mixture into the whipped cream in batches. Go slow and steady to avoid deflating the whipped cream. The goal is to combine the two mixtures without losing that precious air you whipped in.
Step 4: Freeze
Pour the finished ice cream base into a freezer-safe container. Smooth the top and cover it tightly with a lid or plastic wrap. Place it in the freezer for at least 6 hours, though overnight yields the creamiest results.
Step 5: Serve & Enjoy
Once frozen, let the container sit at room temperature for about 5 minutes before scooping. Serve it on a cone, in a dish, or right off the spoon—it’s that irresistible!
Tips for Success
Use full-fat ingredients – Low-fat cream or milk won’t give the same rich texture.
Keep things cold – Chill your bowl and beaters for faster whipping.
Don’t overmix – Over-folding can deflate your whipped cream and lead to denser ice cream.
Add-ins? Fold them in! – Gently stir in crushed cookies, caramel swirls, chocolate chips, or fruit after step 3.
Freezer containers – Use metal loaf pans or reusable ice cream tubs for even freezing.
Flavor Add-In Ideas
Vanilla ice cream is the perfect starting point for creativity. Here are a few ways to make this recipe your own:
Cookies and Cream: Fold in crushed chocolate sandwich cookies before freezing.
Strawberry Swirl: Spoon in dollops of strawberry jam or puree and swirl with a knife.
Mint Chocolate Chip: Add ½ teaspoon peppermint extract and ½ cup mini chocolate chips.
Caramel Crunch: Swirl in caramel sauce and toffee bits.
Funfetti: Add colorful sprinkles for a birthday party treat!
Serving Suggestions
Homemade vanilla ice cream pairs beautifully with just about anything:
Classic: Serve in cones or bowls with a drizzle of chocolate or caramel sauce.
Fruit-topped: Add fresh berries, peaches, or grilled pineapple for a refreshing touch.
Warm Desserts: A scoop over warm brownies, cobblers, or apple pie is pure heaven.
Ice Cream Sandwiches: Scoop between two cookies and freeze for a handheld delight.
Storage and Shelf Life
Keep your homemade ice cream in an airtight, freezer-safe container. A loaf pan works in a pinch—just make sure to cover it tightly with plastic wrap and foil.
Shelf Life: Best enjoyed within 2–3 weeks for peak texture and flavor. If it hardens too much, let it sit at room temp for 5–10 minutes before scooping.
Nutritional Snapshot (Per Serving)
Calories: ~280
Servings: 8
Prep Time: 10 minutes
Freezing Time: 6 hours
Total Time: 6 hours 10 minutes
Why This Recipe Works
The magic lies in the combination of sweetened condensed milk and whipped cream. The condensed milk not only sweetens the base but also prevents ice crystals from forming, making your ice cream smooth without any churning. Meanwhile, the whipped cream adds volume and an airy texture, mimicking churned ice cream.
Vanilla extract ties everything together with a rich, fragrant depth that tastes far from basic. This no-churn method is foolproof, freezer-friendly, and ideal for busy home cooks or novice dessert makers.
Final Scoop
Making ice cream at home doesn’t have to be complicated—or require bulky appliances. This No-Churn Vanilla Ice Cream is proof that simple ingredients and a little love can go a long way. Whether you’re hosting a backyard BBQ, looking for a cool treat on a hot summer day, or just craving something sweet, this recipe delivers pure, scoopable bliss.
So go ahead—make a batch, grab your favorite toppings, and treat yourself to the easiest, creamiest vanilla ice cream ever!
More Articles You Might Like
-
Texas Toast Sloppy Joes: The Crunchy, Cheesy Upgrade You Didn’t Know You Needed
There’s something timeless about sloppy joes. For generations, this saucy, savory, and slightly sweet ground beef sandwich has been a go-to comfort food in American kitchens. It’s quick, filling, and family-friendly—perfect for busy weeknights. But what if we told you there’s a way to take this classic dish up a notch? Enter the Texas Toast…
-
Classic Pig Pickin’ Cake
When it comes to Southern desserts, few sweets shine as brightly as the Classic Pig Pickin’ Cake. This nostalgic cake, sometimes called a “Mandarin Orange Cake,” has roots deep in Southern tradition. It gets its playful name from its frequent appearance at pig pickin’s—Southern-style barbecue gatherings where communities come together to enjoy slow-cooked pork, sides,…
-
Lemon Garlic Butter Chicken with Creamy Parmesan Pasta
There’s something irresistible about the combination of tender, golden-browned chicken paired with a creamy pasta coated in Parmesan cheese. Add the brightness of lemon, the depth of garlic, and the richness of butter, and you have a recipe that feels indulgent yet approachable enough for a weeknight dinner. Lemon Garlic Butter Chicken with Creamy Parmesan…


