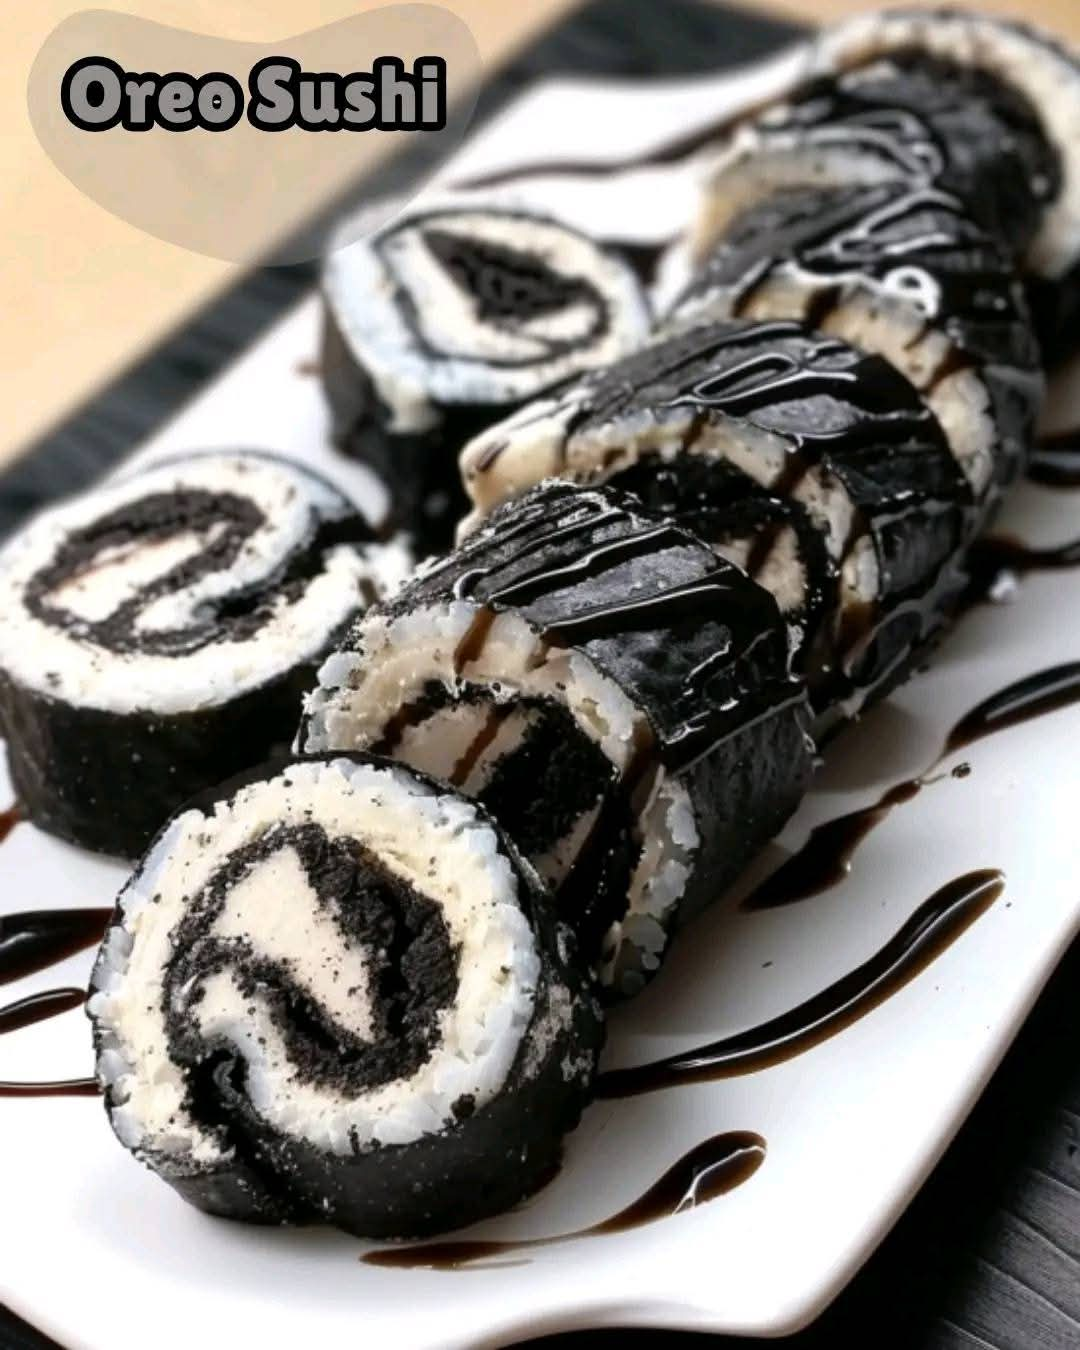
If you’re looking for a fun, no-bake dessert that’s both easy to make and absolutely delicious, this 2-Ingredient Oreo Sushi Recipe is just what you need! Made with just Oreos and milk, these bite-sized treats are perfect for parties, kids’ snacks, or when you just need a little something sweet.
In this post, I’ll cover why this recipe works, step-by-step instructions, tips for the perfect Oreo sushi rolls, serving suggestions, and variations to make them even more exciting!
Why This Recipe Works
✔ Only Two Ingredients – You don’t need a long grocery list for this one—just Oreos and milk!
✔ No Baking Required – A simple, no-bake dessert that comes together in minutes.
✔ Perfect for All Ages – Kids and adults alike will love these chocolatey, creamy bites.
✔ Customizable – You can add toppings, fillings, and decorations to make them even more fun!
What You’ll Need for This Recipe
Ingredients:
24 Oreos (one package) – Separated into cookies and cream filling
¼ cup milk – Used to create the Oreo dough and smooth out the filling
How to Make Oreo Sushi
1️⃣ Prepare the Oreo Dough
✔ Make Oreo Crumbs – Remove the cream from each Oreo and set it aside. Place the Oreo cookies in a food processor and pulse until they form fine crumbs.
✔ Form the Dough – Add 3 tablespoons of milk to the crumbs and blend again until a dough ball forms. If the mixture is too dry, add a little more milk (1 teaspoon at a time) until it sticks together.
💡 Tip: If you don’t have a food processor, place the cookies in a ziplock bag and crush them using a rolling pin. Then mix the crumbs with milk in a bowl.
2️⃣ Shape the Dough
✔ Roll Out the Dough – Lay a sheet of plastic wrap on a clean surface. Place the Oreo dough on top and press it into a rough square shape.
✔ Flatten Evenly – Use a rolling pin to roll out the dough to about ¼ inch thick. Trim the edges to create a perfect square or rectangle.
💡 Tip: Lightly dust the plastic wrap with cocoa powder to prevent sticking.
3️⃣ Prepare the Filling
✔ Mix the Oreo Cream Filling – In a small bowl, mix the reserved Oreo cream with 2 teaspoons of milk until smooth and spreadable.
4️⃣ Assemble the Oreo Sushi Roll
✔ Spread the Filling – Evenly spread the Oreo cream mixture over the rolled-out dough.
✔ Roll It Up – Using the plastic wrap to help, carefully roll the dough into a tight log, just like sushi.
✔ Chill (Optional) – Wrap the roll in plastic wrap and place it in the fridge for 30 minutes to make slicing easier.
5️⃣ Slice and Serve
✔ Cut into Pieces – Remove the plastic wrap and use a sharp knife to slice the roll into sushi-sized pieces.
✔ Serve & Enjoy! – Enjoy them as-is or add fun toppings like chocolate drizzle, crushed Oreos, or powdered sugar.
Tips + Tricks & More for Recipe Success
✔ Use Cold Milk – Cold milk binds the cookie crumbs better, making it easier to roll out.
✔ Chill Before Slicing – If the roll is too soft, refrigerate for 30 minutes before slicing.
✔ Use a Sharp Knife – This ensures clean cuts without squishing the sushi roll.
✔ Customize the Filling – Mix in peanut butter, Nutella, or caramel for an extra flavor boost!
Serving Suggestions
🍫 Drizzle with Chocolate – Melted chocolate or white chocolate drizzle adds an elegant touch.
🍓 Top with Fruit – Sliced strawberries, raspberries, or banana go great with Oreo flavors.
🍦 Pair with Ice Cream – Serve alongside vanilla or cookies & cream ice cream for an extra indulgent treat.
🥛 Dip in Milk – Just like classic Oreos, these sushi rolls taste amazing when dipped in cold milk.
Fun Variations to Try
✨ Peanut Butter Oreo Sushi – Add a layer of peanut butter inside the roll for a Reese’s-style twist.
✨ Cookies & Cream Sushi – Crumble some extra Oreos over the top for more texture.
✨ Sprinkle Party Sushi – Roll the sushi slices in colorful sprinkles for a fun party treat!
✨ Marshmallow Delight – Add a thin layer of marshmallow fluff with the Oreo cream for an extra gooey filling.
Frequently Asked Questions
Can I make this ahead of time?
Yes! You can prepare and refrigerate the roll overnight, then slice when ready to serve.
What’s the best way to store Oreo sushi?
Store in an airtight container in the fridge for up to 3 days.
Can I freeze Oreo sushi?
Yes! Freeze the unsliced roll wrapped in plastic wrap for up to 1 month. Thaw slightly before slicing.
Do I need to separate the Oreo cream?
Yes! This helps create a smoother dough and ensures the cream filling spreads evenly.
Final Thoughts
This 2-Ingredient Oreo Sushi Recipe is the ultimate no-bake dessert that’s fun, easy, and totally delicious! Whether you make it for a party, movie night, or just to satisfy your sweet tooth, it’s a treat that’s guaranteed to impress.
Give it a try and let me know how you customized your Oreo sushi!
More Articles You Might Like
-
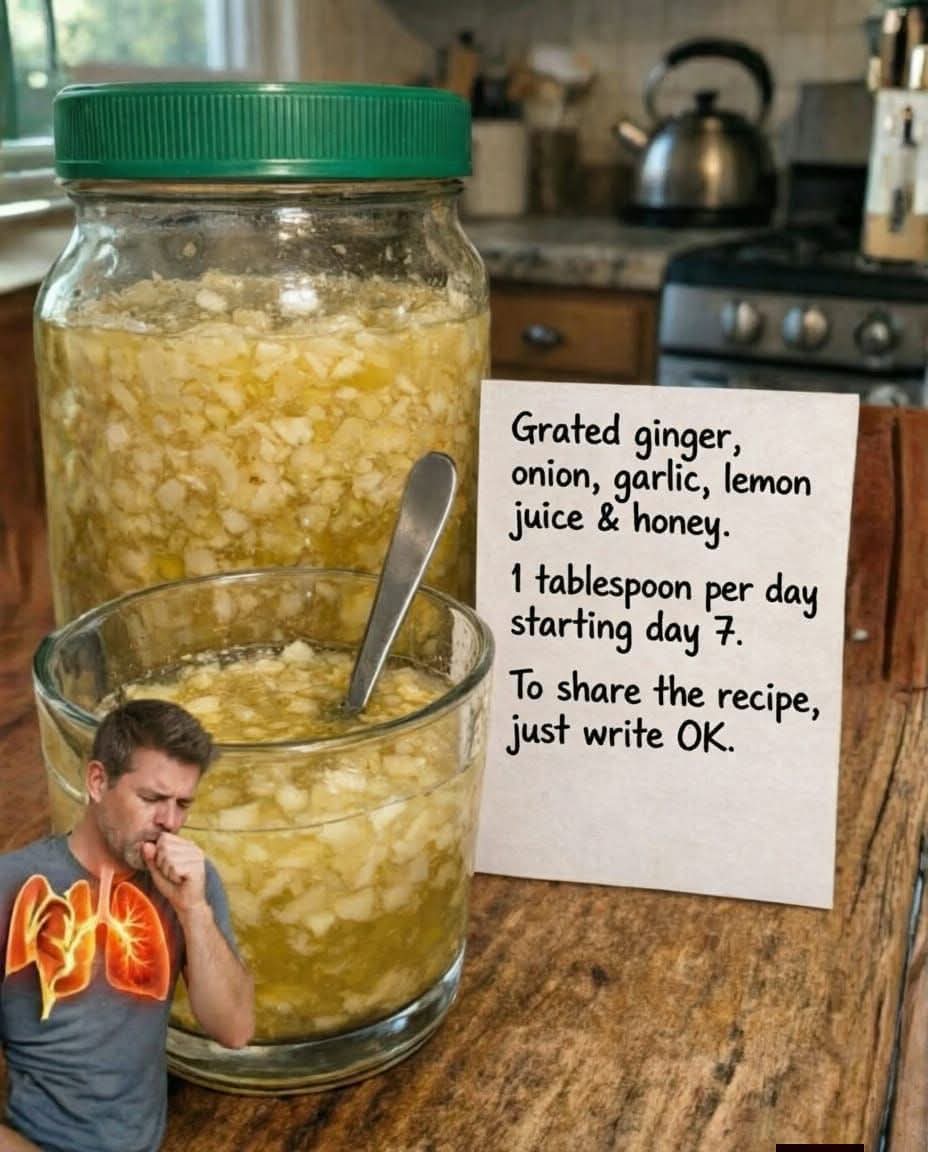
The Ultimate Natural Immune Booster Honey Ginger Garlic Onion and Lemon Syrup
The Ultimate Natural Immune Booster Honey Ginger Garlic Onion and Lemon Syrup When seasonal changes arrive or the stress of daily life begins to take a toll on your physical well-being, finding a reliable, natural method to support your body’s defenses becomes a top priority. While modern pharmacy shelves are lined with synthetic syrups and…
-
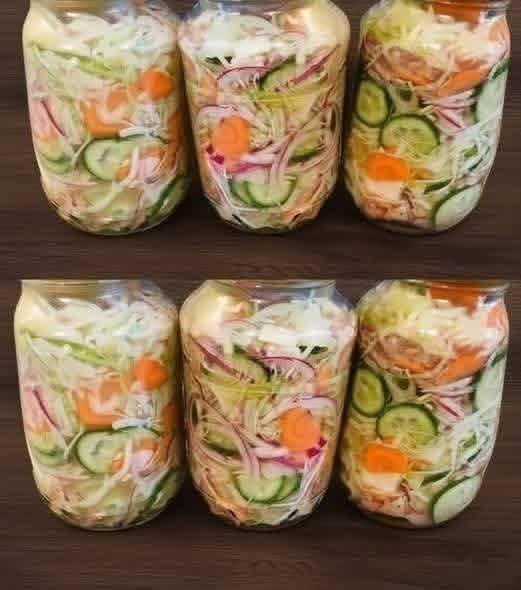
The Ultimate Guide to Homemade Pickled Crisp Summer Vegetable Salad
The Ultimate Guide to Homemade Pickled Crisp Summer Vegetable Salad As the warm weather settles in, our bodies naturally crave meals that are light, refreshing, and vibrant. Spending hours over a hot stove loses its appeal, making crunchy, chilled side dishes the true stars of the season. If you are searching for a foolproof way…
-
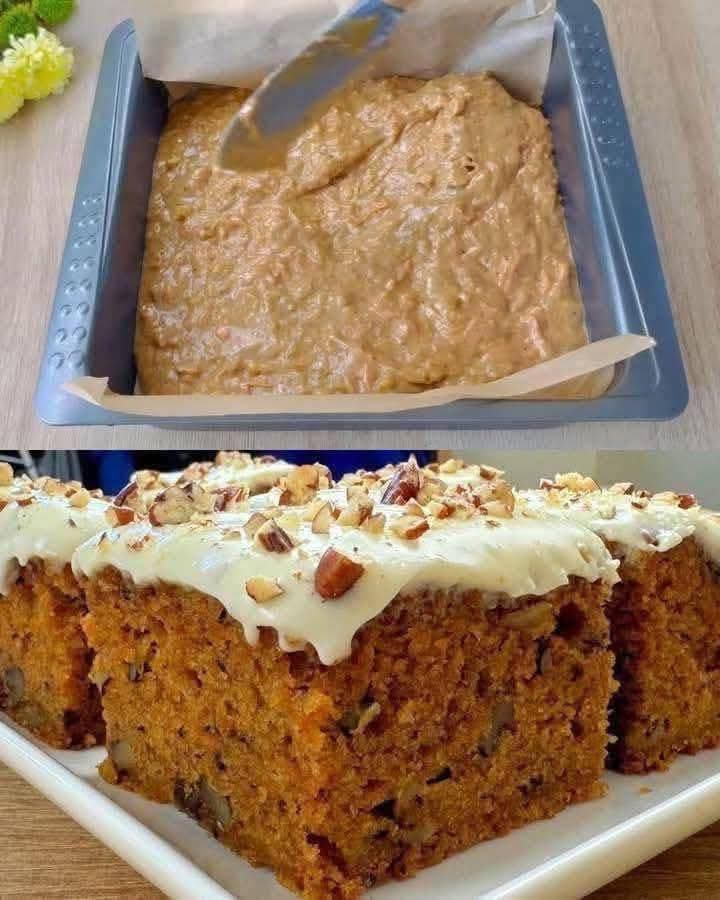
The Ultimate Classic Carrot Cake with Cream Cheese Frosting
The Ultimate Classic Carrot Cake with Cream Cheese Frosting When it comes to traditional baking, few desserts evoke the same sense of warmth, nostalgia, and pure comfort food indulgence quite like a perfectly baked carrot cake. A truly great carrot cake is a study in textures and balanced flavors—it should be incredibly moist, tightly packed…