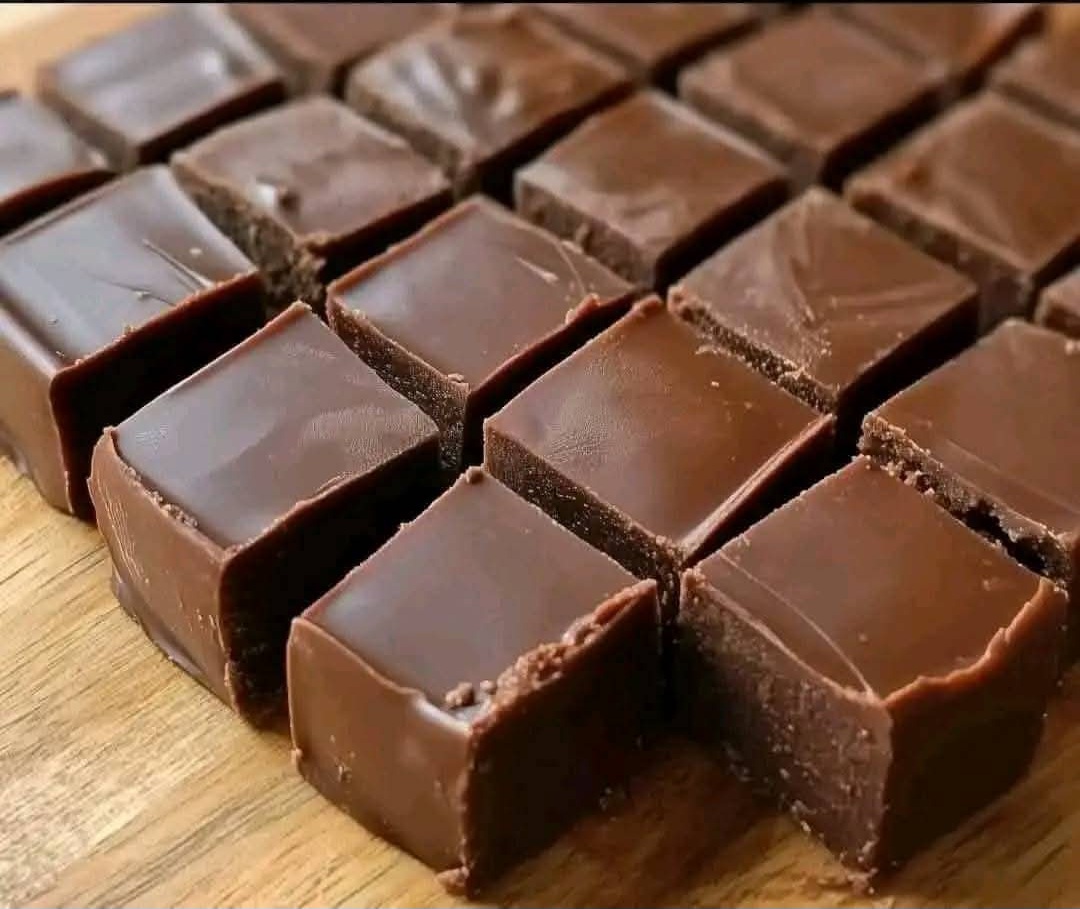
When you’re craving something rich, chocolatey, and indulgent — but don’t want to spend hours in the kitchen — this 3-Minute Fudge recipe is your answer! It’s creamy, decadent, and made with just a handful of pantry staples. Plus, it sets up in the fridge, so you can have homemade fudge without any complicated steps or candy thermometers.
Whether you’re making a last-minute holiday treat, satisfying a late-night chocolate craving, or preparing a sweet gift for a friend, this recipe is pure magic. You won’t believe how easy and delicious it is!
Let’s dive in and make the simplest fudge ever.
Why This Recipe Works
Super Quick & Easy: It takes just 3 minutes of active prep — the microwave does most of the work!
Minimal Ingredients: Only 5 basic ingredients (plus optional toppings) are needed.
Perfectly Creamy Texture: The combination of chocolate, butter, and sweetened condensed milk creates a smooth, melt-in-your-mouth fudge.
Customizable: Add nuts, marshmallows, sprinkles, or even swirl in peanut butter for your own signature twist.
This recipe is perfect for beginners and seasoned bakers alike. No special equipment, no stovetop, and no stress!
What You’ll Need for This Recipe
Ingredients:
1 cup chocolate chips (milk, dark, or semi-sweet)
1 can (14 oz) sweetened condensed milk
¼ cup butter
1 tsp vanilla extract
Pinch of salt
Optional Toppings:
Chopped nuts (walnuts, pecans, or almonds)
Mini marshmallows
Sprinkles or crushed candy canes
Shredded coconut or toffee bits
Equipment:
Microwave-safe bowl
8×8 inch baking dish
Parchment paper
Spatula
Step-by-Step Instructions
Step 1: Melt the Ingredients
In a microwave-safe bowl, combine the chocolate chips, sweetened condensed milk, and butter.
Microwave on high for 30 seconds, then stir the mixture.
Continue microwaving in 15-second intervals, stirring each time, until the mixture is smooth and fully melted. (It usually takes about 1 to 1½ minutes total, depending on your microwave.)
Tip: Be careful not to overheat the mixture! Stirring between intervals helps the chocolate melt evenly without burning.
Step 2: Add the Flavor
Stir in the vanilla extract and a pinch of salt until everything is well combined.
Why salt? A small pinch enhances the chocolate’s flavor, balancing the sweetness and making each bite more complex and delicious.
Step 3: Pour and Set
Line an 8×8 inch baking dish with parchment paper, leaving some overhang for easy removal.
Pour the fudge mixture into the dish and spread it out evenly with a spatula.
Add your favorite toppings — sprinkle with nuts, mini marshmallows, or whatever you like!
Step 4: Chill the Fudge
Place the baking dish in the refrigerator and chill for at least 1 hour, or until the fudge is firm and set.
Once set, lift the fudge out of the dish using the parchment paper, and cut it into squares or rectangles.
Step 5: Enjoy!
Your 3-Minute Fudge is ready to serve!
Store any leftovers in an airtight container in the fridge for up to 2 weeks (if they last that long!).
Tips + Tricks for Recipe Success
Mix Up the Chocolate: Use a blend of chocolate chips (like dark and milk chocolate) for more depth of flavor.
Double the Batch: Need more fudge? Double the ingredients and use a 9×13 inch pan for a larger batch.
Quick Swaps: No vanilla? Try almond or peppermint extract for a twist!
Silky Smooth Fudge: If your fudge mixture looks too thick, add a splash of warm milk to loosen it up before pouring it into the dish.
Flavor Variations to Try
Want to make your fudge extra special? Try these fun flavor ideas!
Rocky Road Fudge: Stir in mini marshmallows and chopped almonds before chilling.
Peppermint Bark Fudge: Mix in crushed candy canes and top with white chocolate drizzle.
Peanut Butter Swirl: Dollop melted peanut butter on top and swirl it into the fudge with a toothpick.
Cookies & Cream: Add crushed Oreos to the fudge mixture for a cookies-and-cream vibe.
The possibilities are endless — get creative and make it your own!
Serving Suggestions
This fudge is delicious on its own, but you can also:
Pair it with Coffee: A piece of fudge alongside a cup of coffee or espresso is pure bliss.
Gift It in Jars: Package squares of fudge in decorative jars or tins for holiday gifts or party favors.
Crush It Over Ice Cream: Use chilled fudge as a topping for ice cream or yogurt.
It’s the kind of treat that makes any moment a little more special!
Why You’ll Love This Recipe
In just a few minutes, you can whip up rich, creamy, homemade fudge that tastes like it came from a fancy candy shop. No complicated steps, no tricky cooking techniques — just pure chocolatey goodness that melts in your mouth.
This 3-Minute Fudge is the perfect go-to recipe for:
Last-Minute Desserts when you’re short on time.
Holiday Treat Platters to share with friends and family.
Sweet Cravings that just won’t wait.
Once you try this recipe, you’ll never go back to store-bought fudge again!
So what are you waiting for? Grab your ingredients, pop them in the microwave, and make a batch of the easiest, most delicious fudge ever. You deserve a little sweetness today!
More Articles You Might Like
-
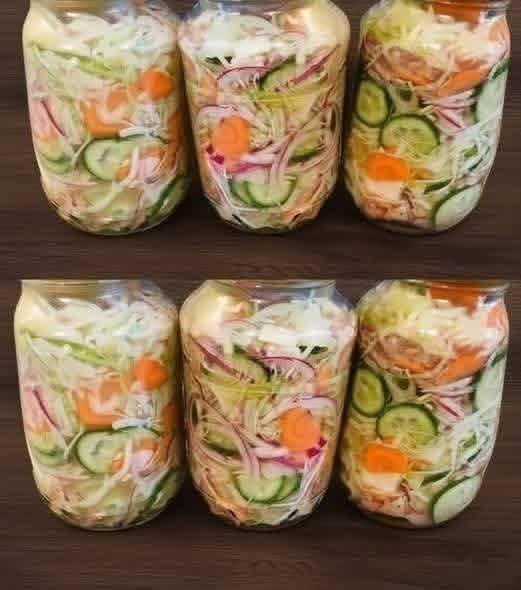
The Ultimate Guide to Homemade Pickled Crisp Summer Vegetable Salad
The Ultimate Guide to Homemade Pickled Crisp Summer Vegetable Salad As the warm weather settles in, our bodies naturally crave meals that are light, refreshing, and vibrant. Spending hours over a hot stove loses its appeal, making crunchy, chilled side dishes the true stars of the season. If you are searching for a foolproof way…
-
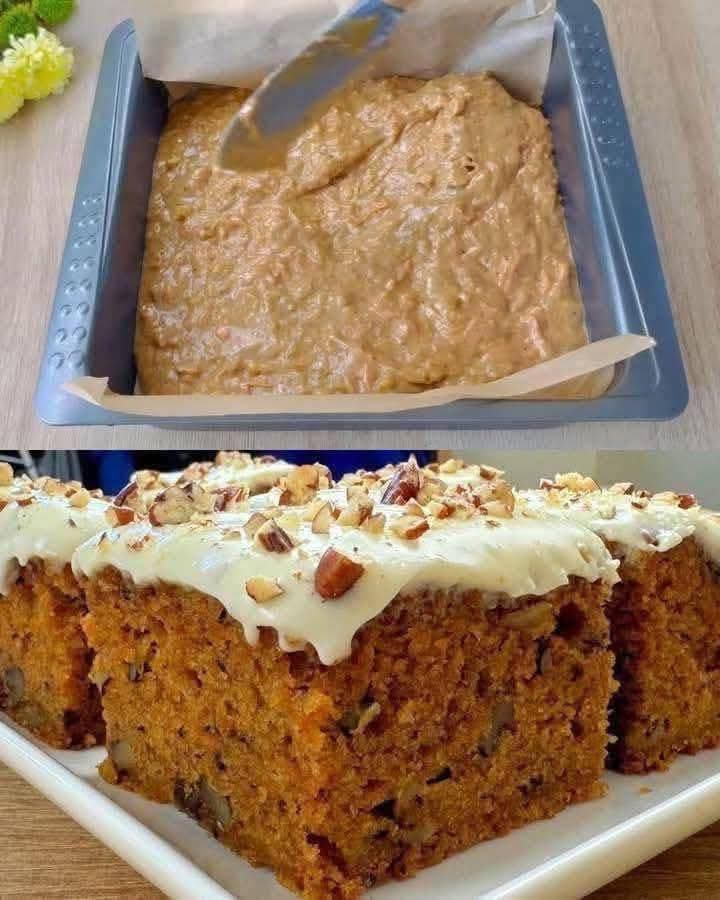
The Ultimate Classic Carrot Cake with Cream Cheese Frosting
The Ultimate Classic Carrot Cake with Cream Cheese Frosting When it comes to traditional baking, few desserts evoke the same sense of warmth, nostalgia, and pure comfort food indulgence quite like a perfectly baked carrot cake. A truly great carrot cake is a study in textures and balanced flavors—it should be incredibly moist, tightly packed…
-
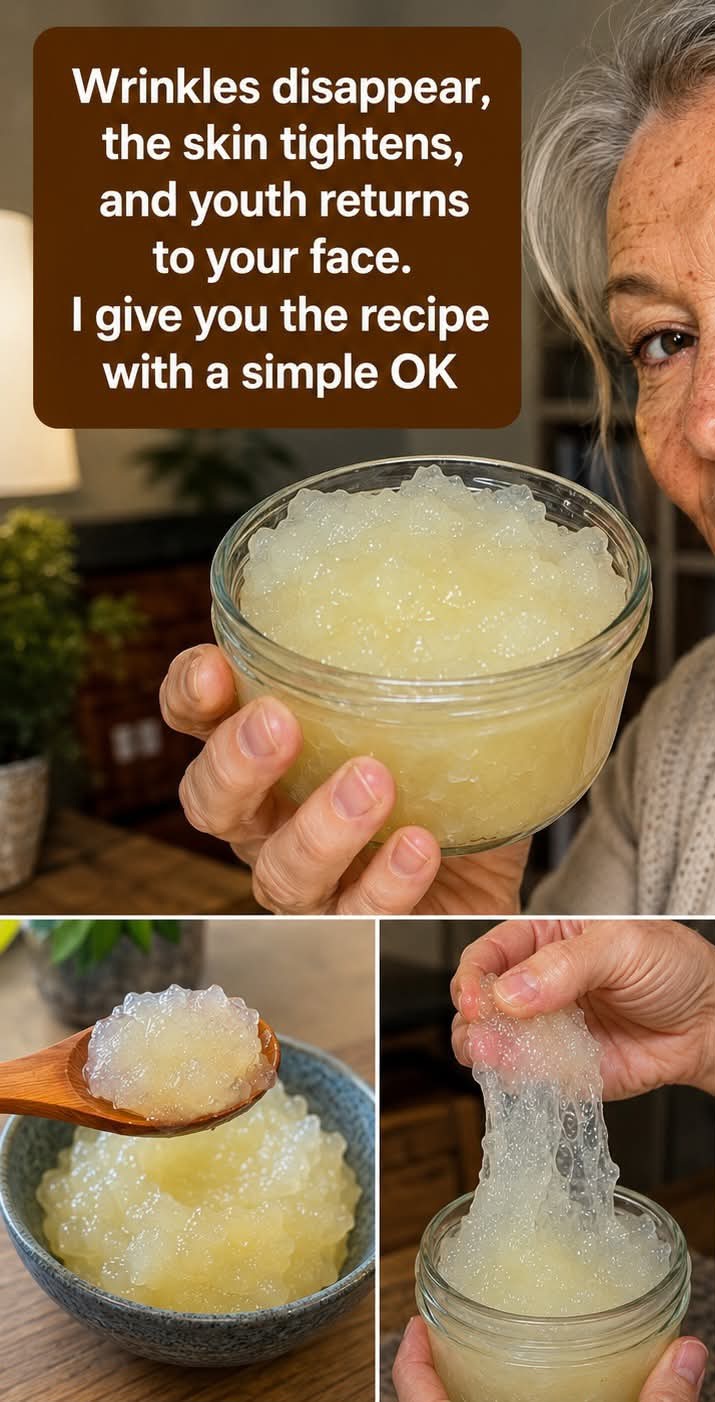
The Science of Sea Moss Gel for Aging Skin Fact vs Fiction
The Science of Sea Moss Gel for Aging Skin Fact vs Fiction As the years pass, maintaining a radiant, firm, and smooth complexion becomes a primary goal for many skincare enthusiasts. The natural aging process, combined with environmental stressors like sun exposure and pollution, gradually depletes our skin’s underlying structural framework. Recently, viral trends on…