There’s something magical about creating a sourdough starter. With just flour, water, and a little patience, you can cultivate wild yeast that transforms your bread into something truly special — full of complex flavors, chewy texture, and that irresistible tang.
Whether you’re an experienced baker or a beginner looking to try your hand at sourdough, this recipe is simple, approachable, and rewarding. Let’s dive into the process and discover everything you need to know to make your very own sourdough starter at home!
Why Make Your Own Sourdough Starter?
Creating a starter from scratch connects you to an age-old tradition of natural fermentation. Store-bought yeast works quickly, but wild yeast gives your bread a unique depth of flavor that you can’t replicate any other way. Plus, once you’ve got a healthy starter, you can bake delicious sourdough bread, pancakes, waffles, pizza crust, and even crackers — all from your homemade culture!
Ingredients You’ll Need
The beauty of sourdough lies in its simplicity. You only need a few ingredients to get started:
1 cup all-purpose flour: You can also use whole wheat or rye flour to give your starter a nutrient boost.
½ cup water: Filtered or dechlorinated water is best, as chlorine can inhibit yeast growth.
1 tablespoon sugar or honey (optional): Helps kick-start the fermentation process, but your starter will still work without it.
That’s it! No fancy ingredients or equipment required — just a little patience and a love for good bread.
Step-by-Step Instructions: How to Make a Sourdough Starter
Day 1: Mixing the Starter
In a clean glass jar or bowl, mix 1 cup of flour with ½ cup of water.
Add 1 tablespoon of sugar or honey (optional but helpful for faster fermentation).
Stir well until no dry lumps remain.
Cover the jar loosely with a lid or cloth (you want air to circulate but keep bugs and dust out).
Leave the jar at room temperature (70–75°F) for 24 hours.
Day 2: First Feeding
After 24 hours, you might not see much change, but that’s okay!
Discard half of the starter (this prevents it from growing too large).
Add ½ cup of flour and ¼ cup of water to the remaining mixture.
Stir until smooth, cover loosely, and let it rest for another 24 hours.
Days 3–7: Daily Feedings
Repeat the feeding process every 24 hours:
Discard half of the starter.
Add fresh flour and water in the same proportions (½ cup flour + ¼ cup water).
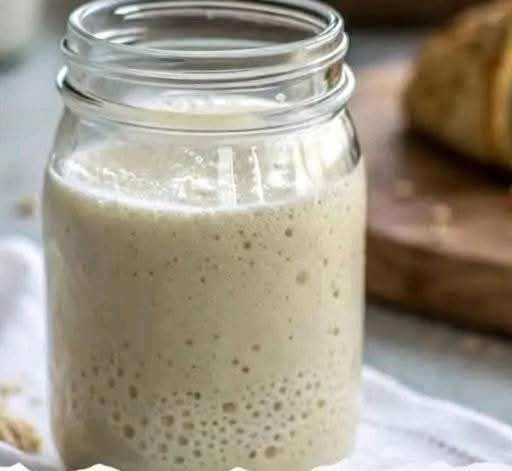
By Day 3 or 4, you should start to see bubbles and notice a slightly tangy smell. That’s fermentation in action!
When Is Your Starter Ready?
After 5–7 days, your starter should be bubbly, rise and fall after each feeding, and have a pleasant, slightly sour aroma.
To test readiness, try the Float Test: Drop a small spoonful of starter into a glass of water. If it floats, your starter is active and ready for baking!
Maintaining Your Sourdough Starter
Once your starter is established, you can keep it alive indefinitely with regular feedings!
Room Temperature Storage: If you bake often, leave your starter on the counter and feed it once a day.
Refrigerator Storage: If you bake less frequently, store your starter in the fridge and feed it once a week. Let it come to room temperature and give it a feeding before using it in recipes.
If your starter develops a dark liquid on top (called hooch), don’t worry — it’s just a sign that it’s hungry! You can pour it off or stir it back in before feeding.
Common Sourdough Starter Questions
- My starter isn’t bubbling — what’s wrong?
Make sure you’re using unchlorinated water and keeping the jar in a warm spot (around 70°F–75°F). If it’s too cold, fermentation slows down.
- What if my starter smells bad?
A healthy starter should smell pleasantly tangy or yeasty. If it smells like acetone or rotten eggs, it might be contaminated. Try feeding it for a few more days, but if the smell persists, it’s best to start over.
- Can I speed up the process?
Using whole wheat or rye flour can jump-start fermentation since they contain more natural yeast. You can also place the starter in a slightly warmer spot (like on top of the fridge).
- Do I really need to discard half the starter?
Yes, discarding keeps the starter at a manageable size and prevents it from becoming too acidic. You can save the discard for recipes like pancakes or crackers!
What Can You Bake with Sourdough Starter?
Once your starter is healthy and active, you can use it to create an endless variety of delicious baked goods:
Classic Sourdough Bread: Crusty on the outside, soft and chewy inside, with that signature tangy flavor.
Sourdough Pancakes & Waffles: Fluffy, flavorful, and perfect for weekend breakfasts.
Sourdough Pizza Crust: Chewy, crisp, and packed with subtle sourdough flavor.
Sourdough Bagels or Pretzels: Delightfully chewy and golden-brown.
Crackers & Flatbreads: A great way to use up extra discard.
Why This Recipe Works
This simple starter recipe works because it encourages wild yeast and beneficial bacteria to develop naturally. The combination of flour and water creates the perfect environment for fermentation, while regular feedings strengthen the culture. In just a week, you’ll have a robust starter ready to bring homemade artisan bread to life!
Final Thoughts
Making a sourdough starter from scratch is a rewarding experience that brings you closer to your food and the art of bread-making. It’s a process that teaches patience and connection to nature’s rhythms, as you cultivate your own living, breathing culture.
Once you’ve built a healthy starter, the possibilities are endless — from hearty loaves to sweet pastries, your baking will never be the same again. So grab a jar, some flour, and a little curiosity, and start your sourdough journey today!
Would you like me to walk you through a classic sourdough bread recipe or share ideas for using sourdough discard? Let me know — I’m here to help you bake up something amazing!
More Articles You Might Like
-
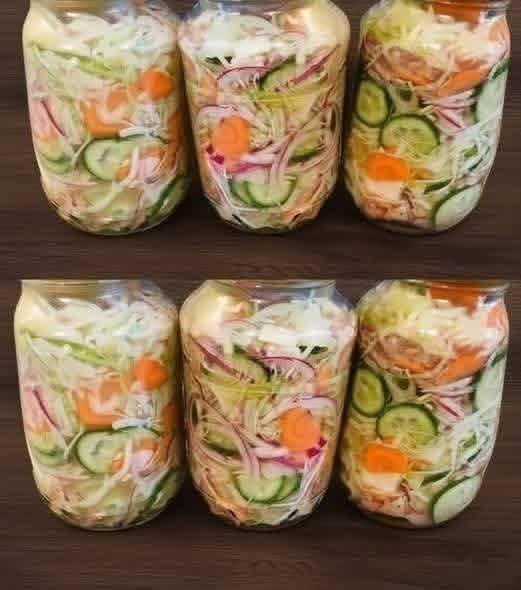
The Ultimate Guide to Homemade Pickled Crisp Summer Vegetable Salad
The Ultimate Guide to Homemade Pickled Crisp Summer Vegetable Salad As the warm weather settles in, our bodies naturally crave meals that are light, refreshing, and vibrant. Spending hours over a hot stove loses its appeal, making crunchy, chilled side dishes the true stars of the season. If you are searching for a foolproof way…
-
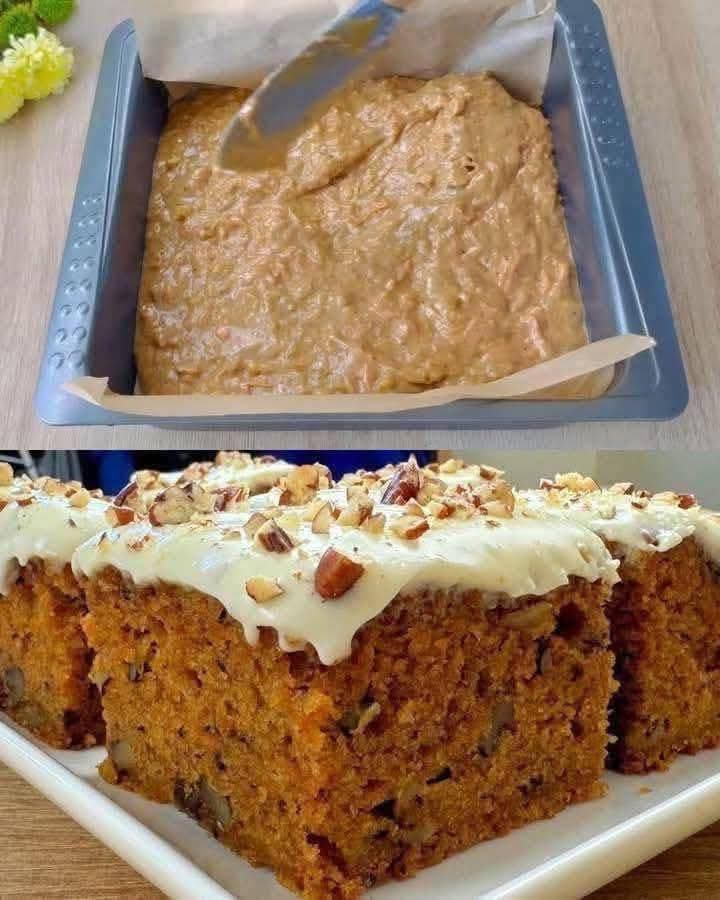
The Ultimate Classic Carrot Cake with Cream Cheese Frosting
The Ultimate Classic Carrot Cake with Cream Cheese Frosting When it comes to traditional baking, few desserts evoke the same sense of warmth, nostalgia, and pure comfort food indulgence quite like a perfectly baked carrot cake. A truly great carrot cake is a study in textures and balanced flavors—it should be incredibly moist, tightly packed…
-
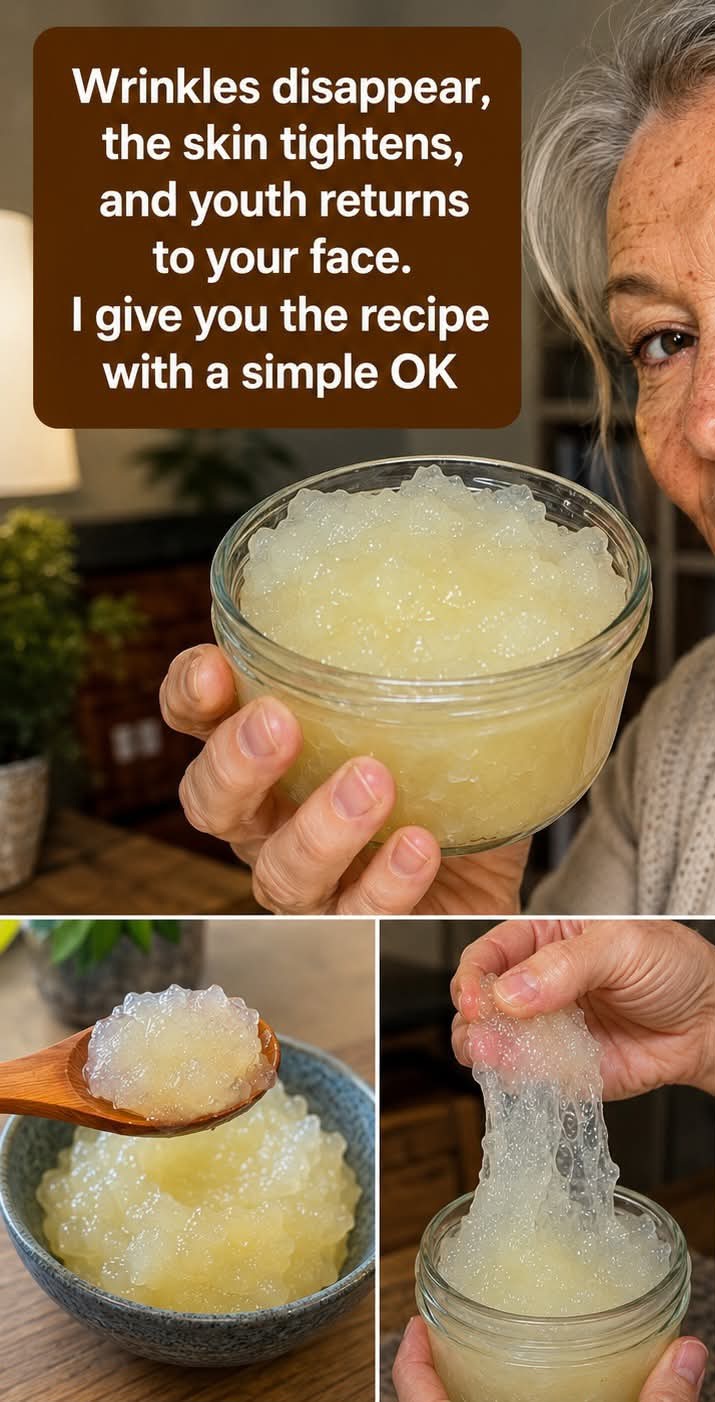
The Science of Sea Moss Gel for Aging Skin Fact vs Fiction
The Science of Sea Moss Gel for Aging Skin Fact vs Fiction As the years pass, maintaining a radiant, firm, and smooth complexion becomes a primary goal for many skincare enthusiasts. The natural aging process, combined with environmental stressors like sun exposure and pollution, gradually depletes our skin’s underlying structural framework. Recently, viral trends on…