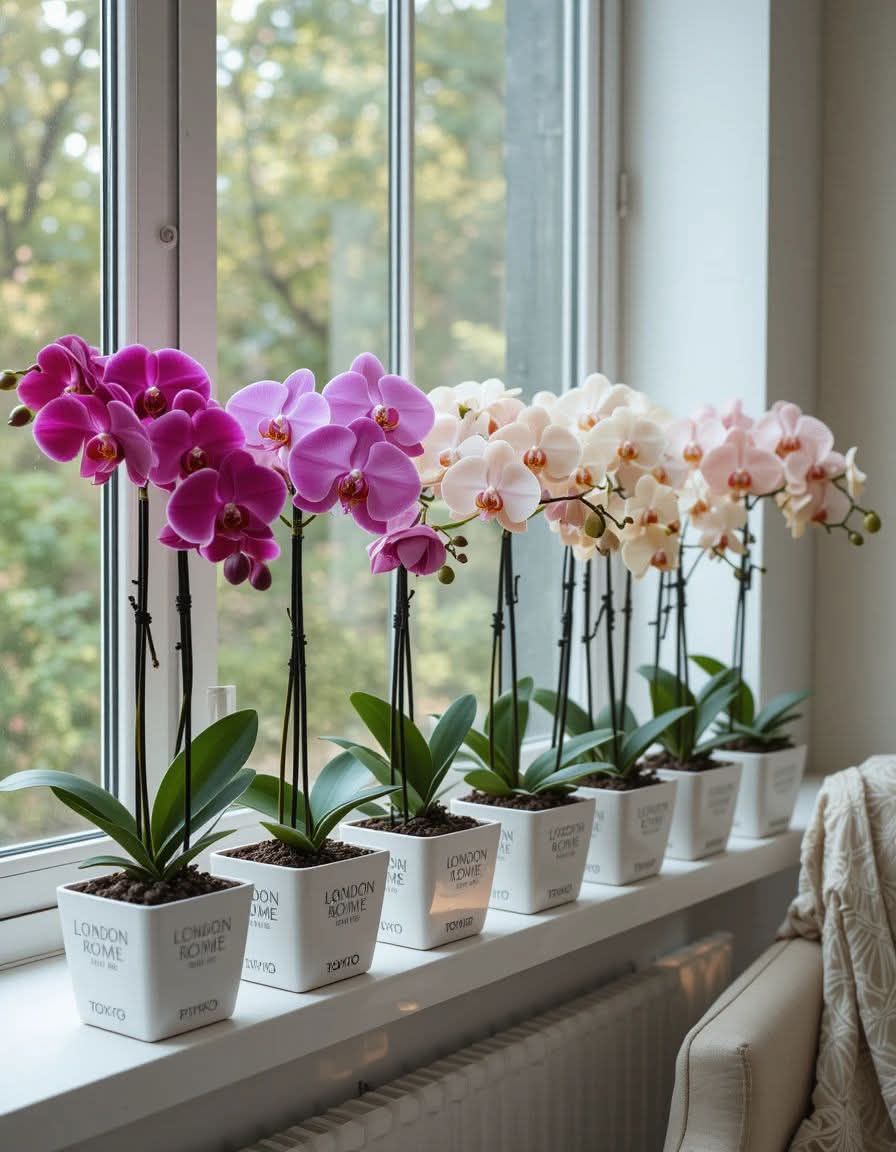
Phalaenopsis orchids, often referred to as Moth Orchids, are among the most popular and widely cultivated orchids due to their stunning flowers and relatively easy care compared to other orchid species. With their elegant, butterfly-like blooms, Phalaenopsis orchids make for an exquisite addition to any home or garden. Here’s a breakdown of the essential growing conditions and care tips to keep your Phalaenopsis orchid thriving and blooming beautifully.
Phalaenopsis Orchid Growing Conditions
Light Requirements
Phalaenopsis orchids thrive in bright, indirect light. Think of how light filters through the canopy of a rainforest—this is the kind of light they prefer. Too much direct sunlight can cause the delicate leaves to burn, leaving unsightly spots or scorch marks. The best spots for your orchid are:
East- or west-facing windows: These directions offer the perfect amount of morning or afternoon light without too much intensity.
Shaded south-facing windows: If your home has a south-facing window, place the orchid in a spot where it’s shielded from the direct midday sun, such as behind a sheer curtain.
If you notice your orchid’s leaves turning yellow or brown, this could indicate too much direct sunlight, so try adjusting its position.
Temperature Needs
Phalaenopsis orchids are quite adaptable when it comes to temperature and do well in the average room temperature range of 65–80°F (18–27°C). However, there are a few things to keep in mind:
Avoid drastic temperature fluctuations: Orchids don’t like sudden temperature changes. Try to keep them in a stable environment, away from drafts, heating vents, or air conditioners.
Nighttime temperature drop: A slight dip in temperature at night (around 5°F or 2-3°C cooler than the daytime temperature) can encourage blooming in Phalaenopsis orchids, so consider placing them in a room where the temperature fluctuates slightly at night.
Watering
Watering Phalaenopsis orchids can be a bit tricky, especially for beginners, as overwatering is the most common cause of orchid death. Here are the steps to water your orchid properly:
Check the potting medium: Stick your finger about an inch into the potting medium. If it feels dry, it’s time to water. If it still feels moist, wait a few days before checking again.
Water thoroughly: When you do water, make sure the water drains completely from the pot. It’s crucial to avoid water sitting in the bottom of the pot, as this can cause root rot.
Frequency: How often you need to water depends on several factors, including temperature, humidity, and the type of potting medium. Typically, orchids need more frequent watering in warmer months and less in cooler months.
Remember, less is more when it comes to watering orchids. It’s better to underwater than overwater.
Humidity
Phalaenopsis orchids prefer higher humidity levels, ideally around 50-70%. Since this can be a challenge in many homes, especially during winter when indoor air tends to be dry, here are some ways to increase humidity for your orchid:
Use a humidifier: Place a humidifier near your orchid to keep the air moist.
Pebble trays: Fill a shallow tray with pebbles and water, then place the orchid pot on top, making sure the pot isn’t sitting directly in the water. This will increase the local humidity around the plant.
Group plants together: Orchids will appreciate being near other plants, as this creates a microenvironment with higher humidity levels.
Potting Medium
Phalaenopsis orchids require a well-draining potting medium specifically designed for orchids. Regular potting soil retains too much moisture, which can lead to root rot. Common orchid potting media include:
Bark: Fir bark is commonly used for Phalaenopsis orchids as it provides excellent drainage and aeration.
Sphagnum moss: Helps retain moisture while still allowing good air circulation.
Perlite and coconut husk chips: These materials add to the drainage and airiness of the mix, providing a better environment for healthy root growth.
Make sure to use a pot with drainage holes to allow excess water to escape, helping prevent waterlogging and root rot.
Repotting
Repotting Phalaenopsis orchids should be done every 1-2 years or when the potting medium starts to break down. Here’s how to repot your orchid:
Choose a slightly larger pot: The new pot should be only a bit larger than the current one, as orchids like to be somewhat root-bound.
Remove dead roots: Gently take the orchid out of its old pot and trim away any dead or rotting roots.
Add fresh potting medium: Place the orchid into the new pot and fill it with fresh orchid-specific potting mix. Make sure the orchid is positioned at the same level as it was in the old pot.
Fertilizing
To encourage healthy growth and blooming, use an orchid-specific fertilizer. These fertilizers are designed to provide the right nutrients without burning the delicate roots. Here’s how to fertilize:
Fertilize weakly, weekly: Use a diluted solution of fertilizer and feed the orchid every week during the growing season (spring and summer). Reduce or stop fertilizing during the orchid’s dormant period (fall and winter).
Avoid overfertilizing: Too much fertilizer can lead to burned roots and unhealthy growth. It’s better to err on the side of less fertilizer.
Additional Care Tips
Cleaning leaves: Occasionally wipe the leaves with a soft, damp cloth to remove dust and keep them looking glossy.
Pruning spent flowers: After the flowers have faded, trim the flower spike back to just above a node (the small bump on the spike). This can encourage a new bloom.
Support the flower spike: As your Phalaenopsis orchid grows, the flower spike may need support to stay upright. Use a stake or some soft ties to prevent it from bending or breaking.
Conclusion
Phalaenopsis orchids, with their stunning flowers and relatively easy care requirements, make a beautiful addition to any home. By providing them with the right light, temperature, humidity, and watering conditions, you’ll be able to enjoy their elegant blooms year after year. Whether you’re a beginner or an experienced orchid grower, following these care tips will help you cultivate a healthy and thriving Phalaenopsis orchid in your own space. 🌺
More Articles You Might Like
-

The Ultimate Southern Pecan Pie Muffins Recipe
The Ultimate Southern Pecan Pie Muffins Recipe There is something deeply comforting about the rich, caramel flavors of a classic Southern dessert. If you love the gooey texture and nutty crunch of traditional pecan pie but want something easier to portion and serve, pecan pie muffins are the perfect solution. Inspired by the dense, nut-studded…
-
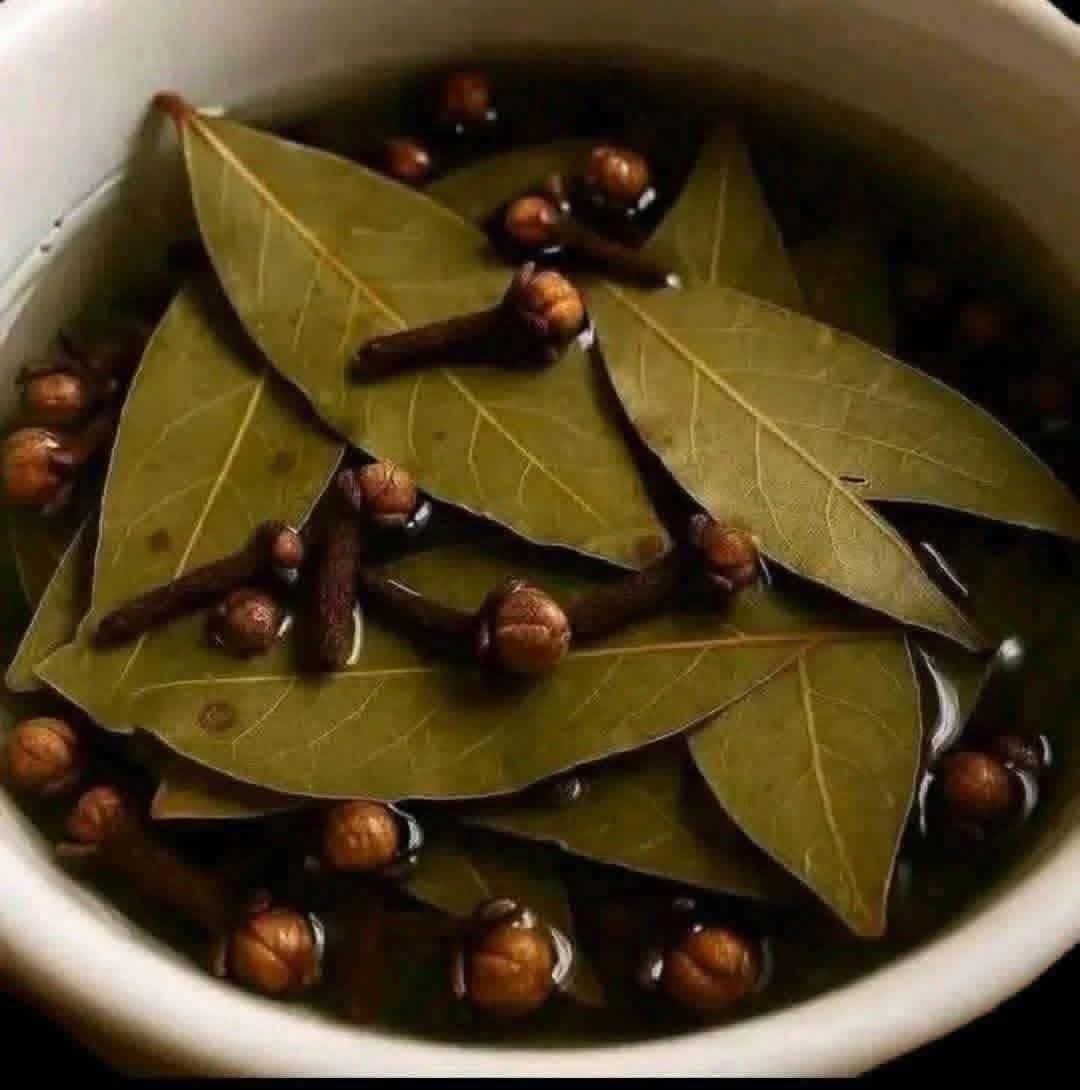
The Ultimate Guide to Bay Leaves and Cloves Tea Benefits Uses and Recipe
The Ultimate Guide to Bay Leaves and Cloves Tea Benefits Uses and Recipe There is a profound, time-honored wisdom in turning to traditional botanical applications for natural wellness remedies. Long before the advent of modern synthetic supplements, kitchens around the world served as holistic dispensaries, utilizing aromatic herbs and spices to fortify the body. If…
-

The Ultimate Moist Spiced Carrot Bundt Cake Recipe
The Ultimate Moist Spiced Carrot Bundt Cake Recipe There is an earthy, warming comfort to a beautifully baked carrot cake that makes it a timeless classic across the globe. When you combine that rich, spiced flavor profile with the elegant, fluted architectural lines of a classic bundt pan, you get a show-stopping dessert that balances…