Walnut Layer Cake is a decadent dessert that combines layers of buttery dough and a flavorful walnut filling, topped with a sweet syrup for the perfect finishing touch. This recipe is perfect for those who enjoy rich, nutty desserts and want to make something special for a gathering, celebration, or just as an indulgent treat. The process involves creating a soft, flaky dough, adding a nutty filling, and then soaking the cake with a sugar syrup that gives it a delightful sweetness and texture.
Let’s dive into the detailed steps to create this mouthwatering Walnut Layer Cake.
Ingredients
For the Dough:
800g (6 cups) flour: Use all-purpose flour for the best texture.
2 eggs: Eggs help bind the dough and give it structure.
2g (½ teaspoon) salt: A small amount of salt enhances the overall flavor.
30 ml (4 tablespoons) oil: Vegetable or sunflower oil works well to make the dough soft.
15 ml (2 tablespoons) vinegar: The vinegar helps relax the gluten in the dough, resulting in a tender, flaky texture.
250 ml (1 cup) water: This is the liquid that will bring the dough together.
For the Syrup:
300 ml (1 ¼ cups) water: The syrup base.
300g (1 ½ cups) sugar: The sugar sweetens the syrup and the cake.
50 ml (1/5 cup) lemon juice: Lemon juice adds a nice tang to balance out the sweetness of the syrup.
For the Filling:
300g walnuts: Fresh, chopped walnuts provide a rich, nutty filling that complements the dough perfectly.
500g (2 cups) butter: Butter is essential for layering in between the dough to create a rich and flaky texture.
Instructions
1. Prepare the Dough:
To begin making the Walnut Layer Cake, the first step is to prepare the dough. In a large mixing bowl, add the flour, eggs, salt, oil, vinegar, and water. Start mixing the ingredients together using your hands or a spoon until they begin to combine into a dough.
Once the ingredients are partially mixed, transfer the dough onto a lightly floured surface. Knead the dough for about 10 minutes until it becomes smooth and elastic. This step is crucial as it ensures the dough will be soft and easy to work with later.
After kneading, cover the dough with a clean kitchen towel or plastic wrap and let it rest for 15 minutes. Resting the dough allows the gluten to relax and makes it easier to roll out later.
2. Divide and Rest the Dough:
Once the dough has rested, divide it into 12 equal parts. Each part will be rolled out into thin layers, so it’s important to divide the dough evenly. Let the dough balls rest for an additional 15 minutes to ensure they remain soft and easy to work with.
This resting period is essential for the dough’s elasticity. If you skip this step, the dough might shrink back as you roll it, making it harder to create thin layers.
3. Roll Out the Dough Layers:
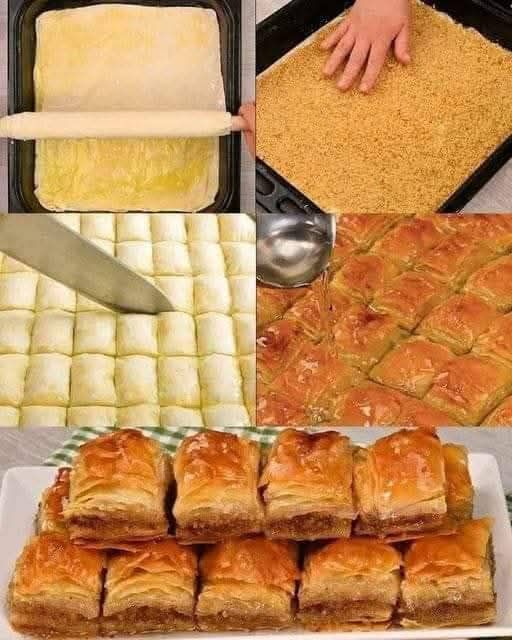
After the dough has rested, it’s time to roll it out. Take one dough ball at a time and roll it out on a floured surface. The dough should be rolled as thin as possible, ideally to the size of your frying pan or a standard baking dish.
Once you have rolled out the dough, place the thin layer in an oiled frying pan. Brush each layer generously with melted butter to create a rich, flaky texture. You’ll repeat this process for each dough layer, layering them on top of each other. Be sure to cover each layer with butter before adding the next.
4. Add the Walnut Filling:
Once you’ve layered about half of the dough, sprinkle a generous amount of chopped walnuts over the layers. The nuts will add texture and flavor to the cake, giving it a nice, crunchy contrast to the soft dough. Once the walnuts are added, continue layering the dough with butter, repeating the process until all the layers are used up.
It’s important to distribute the walnuts evenly so that every bite of the cake contains that rich, nutty flavor. As you stack the layers, be mindful of making sure each one is well-coated with butter.
5. Shape and Bake the Cake:
Once you have stacked all the layers and added the walnuts, it’s time to cut the cake into pieces. Use a sharp knife to cut the cake into cubes or diamond-shaped pieces, depending on your preference. This makes it easier to serve and ensures each piece has an equal portion of the filling.
Preheat the oven to 360°F (180°C). Place the cake in the oven and bake it for 60 minutes. The cake should become golden and firm on top, with a flaky texture. The longer baking time allows the flavors to meld together and ensures that the dough is cooked through.
While the cake is baking, it’s a good idea to prepare the syrup.
6. Prepare the Syrup:
To make the syrup, combine the water, sugar, and lemon juice in a small saucepan. Bring the mixture to a boil over medium heat, stirring occasionally to dissolve the sugar. Once it starts boiling, reduce the heat and let the syrup simmer for about 10-15 minutes, or until it thickens slightly.
The syrup should have a smooth, slightly thick consistency. The lemon juice adds a refreshing tang that balances the sweetness of the sugar, creating a syrup that complements the richness of the walnut layers.
7. Pour the Syrup Over the Cake:
Once the cake is finished baking, remove it from the oven and allow it to cool slightly for about 5 minutes. After the cake has cooled, pour the prepared syrup evenly over the hot cake, ensuring every layer soaks in the syrup.
The syrup will seep into the layers, making the cake sweet and moist, while also enhancing the walnut filling. Allow the cake to absorb the syrup for about 10-15 minutes before serving.
8. Serve and Enjoy:
After the cake has absorbed the syrup and has cooled down, it’s ready to be served. Slice the cake into individual pieces, and enjoy the layers of buttery dough, crunchy walnuts, and sweet syrup. You can also garnish with additional walnuts or a dusting of powdered sugar if you desire.
This Walnut Layer Cake is a perfect dessert for any occasion, offering a rich, indulgent flavor with a delightful texture. Whether you serve it for a family gathering, a holiday celebration, or as a special treat, it’s sure to impress everyone at the table.
Tips for Success:
Resting the Dough: Don’t skip the resting times; they are crucial for getting a soft, flaky texture.
Butter and Walnuts: Make sure each layer is generously buttered, and the walnuts are evenly distributed for consistent flavor.
Baking Time: Keep an eye on the cake as it bakes. If the top starts to get too brown, cover it loosely with aluminum foil to prevent burning.
Syrup: Pour the syrup while the cake is still warm to ensure that it absorbs all the flavors.
Variations and Customization:
Different Nuts: While walnuts are the classic choice, you can experiment with other nuts like pecans or hazelnuts for a different flavor.
Spices: Add a pinch of cinnamon or nutmeg to the walnut filling for a warm, spiced flavor.
Frosting: For an extra indulgent touch, you can frost the cake with a layer of cream cheese frosting or whipped cream.
Serving: This cake pairs wonderfully with a cup of coffee or a chilled glass of iced tea.
This Walnut Layer Cake is an excellent dessert to make ahead for parties, potlucks, or family gatherings. It combines simplicity with elegance, and the layers of flaky dough and walnut filling make it a treat everyone will enjoy.
More Articles You Might Like
-
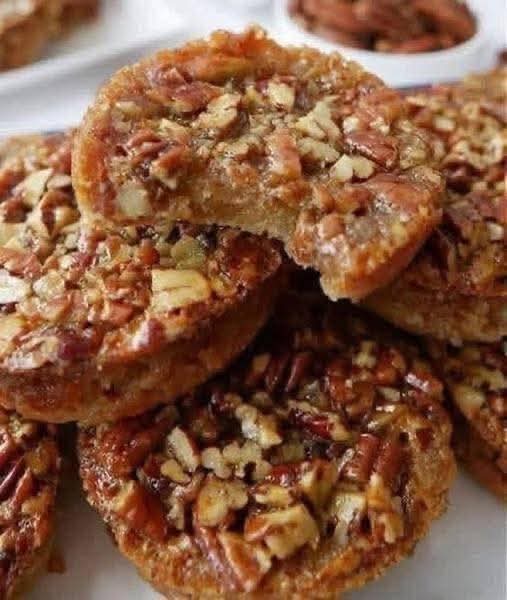
The Ultimate Southern Pecan Pie Muffins Recipe
The Ultimate Southern Pecan Pie Muffins Recipe There is something deeply comforting about the rich, caramel flavors of a classic Southern dessert. If you love the gooey texture and nutty crunch of traditional pecan pie but want something easier to portion and serve, pecan pie muffins are the perfect solution. Inspired by the dense, nut-studded…
-
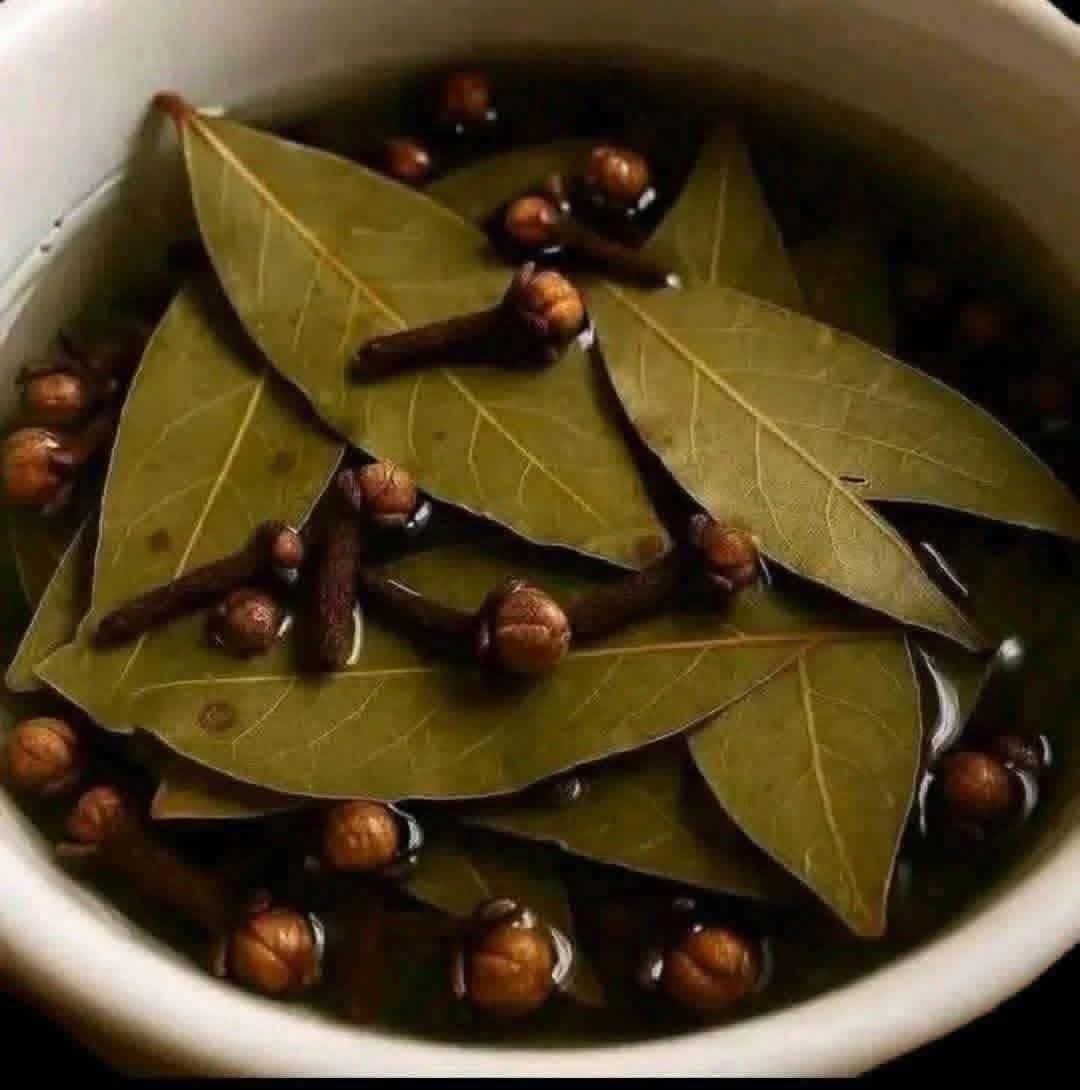
The Ultimate Guide to Bay Leaves and Cloves Tea Benefits Uses and Recipe
The Ultimate Guide to Bay Leaves and Cloves Tea Benefits Uses and Recipe There is a profound, time-honored wisdom in turning to traditional botanical applications for natural wellness remedies. Long before the advent of modern synthetic supplements, kitchens around the world served as holistic dispensaries, utilizing aromatic herbs and spices to fortify the body. If…
-
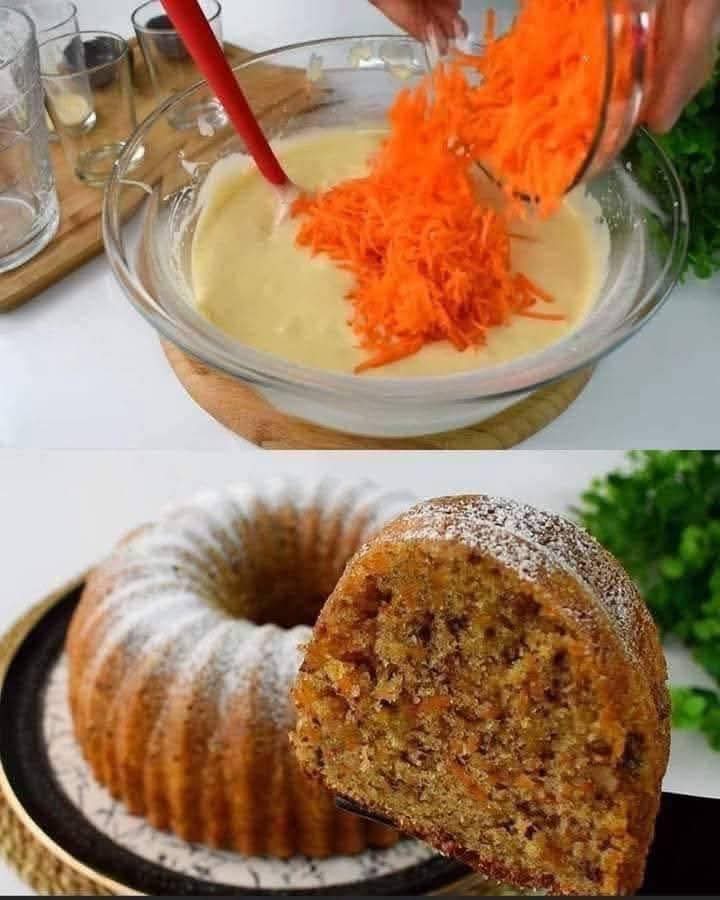
The Ultimate Moist Spiced Carrot Bundt Cake Recipe
The Ultimate Moist Spiced Carrot Bundt Cake Recipe There is an earthy, warming comfort to a beautifully baked carrot cake that makes it a timeless classic across the globe. When you combine that rich, spiced flavor profile with the elegant, fluted architectural lines of a classic bundt pan, you get a show-stopping dessert that balances…