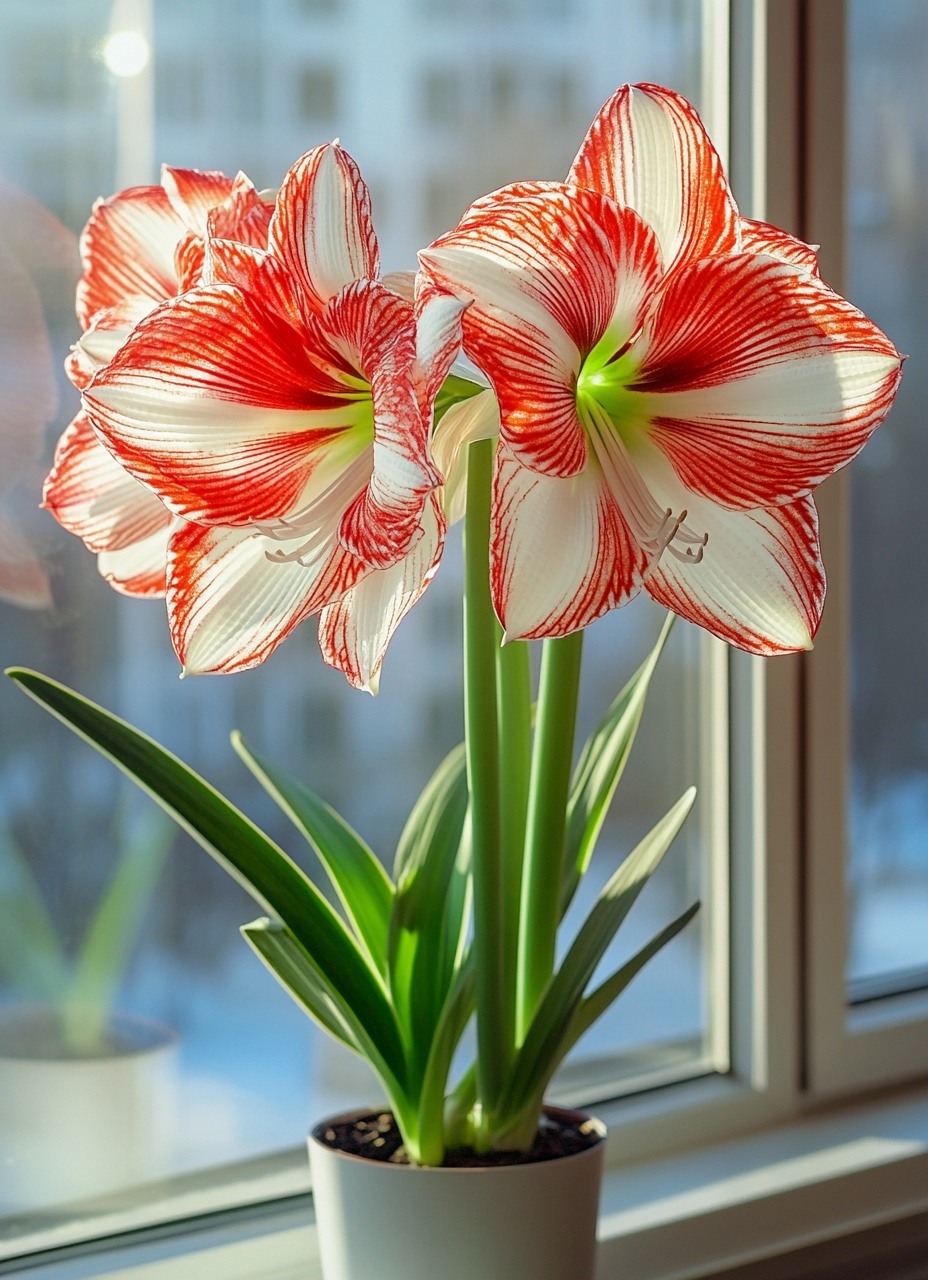
Amaryllis (Hippeastrum) is known for its striking, large blooms that make an incredible statement in any home or garden. Whether you’re new to gardening or a seasoned plant enthusiast, growing amaryllis is a simple and rewarding process. With a few key steps, you can enjoy their vibrant, dramatic flowers each season. Here’s a straightforward guide to help you grow stunning amaryllis with minimal effort.
1. Choose the Right Bulb
Varieties: When selecting amaryllis bulbs, opt for large, firm bulbs free from mold, soft spots, or damage. The size of the bulb is critical because it directly influences the bloom size and the number of flowers. Varieties range from the classic red flowers to multi-colored hybrids with shades of pink, white, and even orange. Choose one that fits your desired aesthetic.
2. Prepare the Pot
Size: The pot should be just slightly larger than the bulb, typically about 2-3 inches wider than the bulb’s size. Amaryllis bulbs prefer to be snug in the pot, but not overcrowded.
Drainage: Ensure that your pot has drainage holes to prevent water from accumulating at the bottom. This will help avoid waterlogging, which can lead to bulb rot.
3. Planting the Bulb
Soil: Use a well-draining potting mix, or opt for a mix specifically designed for bulbs. Avoid heavy, compacted soils that retain too much moisture.
Depth: Plant the bulb with the top third exposed above the soil line. This will encourage the flower stalks to grow tall and strong while the roots remain in the soil.
Spacing: Leave some space around the bulb, ensuring there’s room for the roots to expand and for the flower stems to grow upward without obstruction.
4. Watering
Initial Watering: After planting, water the bulb thoroughly to settle the soil around it. Be sure to water evenly across the surface.
Routine: Keep the soil slightly moist, but avoid overwatering, as soggy conditions can lead to bulb rot. After the bulb starts sprouting, reduce the frequency of watering, allowing the top of the soil to dry between waterings.
5. Light and Temperature
Light: Amaryllis loves light, so place the pot in a bright, sunny spot. A south- or west-facing window is ideal. The plant will thrive with plenty of sunlight to promote strong flower production.
Temperature: The ideal growing temperature is 60-75°F (15-24°C). Keep your amaryllis in a warm spot and avoid drafts or exposure to cold temperatures. The consistent warmth encourages fast growth and healthy blooms.
6. Supporting Growth
Staking: Amaryllis stalks can grow tall and heavy as the plant blooms. If the flower stems become too top-heavy, use stakes or a small support structure to keep the stalks upright. Be gentle when placing the stakes to avoid damaging the stem.
7. Fertilizing
Type: Use a balanced, water-soluble fertilizer to provide essential nutrients. An all-purpose fertilizer works well, but you can also use one specifically designed for flowering plants.
Schedule: Start feeding the plant every 2-3 weeks once growth begins. This helps ensure healthy foliage and encourages vibrant flowers. Avoid fertilizing the bulb before it begins to sprout, as this may cause the bulb to rot.
8. Enjoy the Blooms
Bloom Time: Amaryllis typically blooms 6-8 weeks after planting, depending on the variety and growing conditions. Once it begins to flower, you’ll be rewarded with large, stunning blooms that last for weeks.
Display: To keep the blooms looking their best, you may want to rotate the pot occasionally to ensure that the flowers grow straight and tall. The dramatic blooms can be a showstopper in your home, so feel free to experiment with where to display your amaryllis for maximum visual impact.
9. Post-Bloom Care
Removing Flowers: Once the flowers begin to fade, cut off the spent blooms at the base of the flower stalk, but leave the leaves intact. The leaves will continue to photosynthesize and help store energy for the bulb’s next growth cycle.
Care: Continue to water and fertilize the plant until the leaves yellow and die back. This process allows the bulb to store energy in preparation for dormancy.
10. Dormancy and Replanting
Dormancy: After flowering, reduce watering and allow the bulb to rest in a cool, dry place for 6-8 weeks. During this period, the plant will enter a dormancy phase where it conserves energy. Do not remove the leaves until they naturally die back. This rest period is crucial for the bulb’s health and for future blooms.
Replanting: After dormancy, it’s time to repot the bulb or plant it outdoors (in suitable climates) for the next growing season. If you’re reusing the same pot, refresh the soil and check the bulb for any signs of damage or disease.
Conclusion
Amaryllis is a versatile and easy-to-grow plant that can produce breathtaking, large blooms with minimal care. By selecting a healthy bulb, providing the right light and temperature, and following a simple watering and fertilization schedule, you can enjoy the vibrant beauty of amaryllis flowers year after year. Whether you’re growing them as a centerpiece in your home or planting them in the garden, amaryllis is sure to add a touch of elegance and color to your surroundings.
More Articles You Might Like
-

Cookies and Cream Oreo Cake –
### Cookies and Cream Oreo Cake – A Decadent Chocolate Cookie Dessert ### Introduction If you love the irresistible combination of chocolate cookies and creamy frosting, this Cookies and Cream Oreo Cake is the perfect dessert for you! Made with rich chocolate cake layers, crushed Oreo cookies, and a smooth, creamy filling, this…
-

Homemade Bread Rolls
Homemade Bread Rolls Easy No-Fuss Milk Bread Rolls ### Introduction There is something truly special about the smell of freshly baked bread filling the kitchen. These homemade bread rolls are simple, soft on the inside, and beautifully golden on the outside, making them perfect for breakfast, lunch, or dinner. With just a…
-

Schmorkohl wie bei Oma
### Schmorkohl wie bei Oma – Traditional German Braised Cabbage ### Introduction Schmorkohl wie bei Oma is a comforting, old-fashioned German family dish made with tender white cabbage, savory ground meat, onions, and a rich, flavorful sauce. Slowly braised until everything is soft and delicious, this traditional meal brings the warmth of home…