Bearded irises are one of the most striking flowers you can grow, with tall, sword-like foliage and large, frilled blooms that come in nearly every color imaginable. Their “beard” — a fuzzy line running along the lower petals (falls) — adds to their charm. If you’ve seen them once, they’re hard to forget.
In this guide, we’ll cover everything you need to know: from planting and soil preparation to seasonal care and troubleshooting problems.
1. Understanding Bearded Irises
Bearded irises (Iris germanica) are hardy perennials that thrive in temperate climates. They grow from thick, fleshy rhizomes (not bulbs), which store nutrients and help them survive through dormancy.
They are sun-loving plants that typically bloom in late spring to early summer, though some varieties are “rebloomers” and may flower again in late summer or fall.
Key Traits:
Height: 8 inches (miniature varieties) to 3 feet (tall bearded iris)
Lifespan: Long-lived perennials (can last decades in the same spot)
Bloom colors: Almost every hue except pure red and pure green
Foliage: Upright, sword-shaped leaves remain attractive after blooming
2. Choosing the Right Location
Bearded irises need full sun for best blooms. Ideally, they should receive at least 6–8 hours of sunlight per day. Without enough light, the plants may produce few or no flowers.
Avoid:
Deep shade (poor flowering and risk of rot)
Wet or poorly drained areas (rhizome rot risk)
Good air circulation is also important to reduce the risk of fungal diseases.
3. Soil Requirements
Irises thrive in well-drained, slightly acidic to neutral soil (pH 6.8–7.0).
If your soil is heavy clay:
Amend it with coarse sand, compost, or fine gravel to improve drainage.
Consider planting in raised beds.
If your soil is sandy:
Add organic matter to retain nutrients and moisture.
4. When to Plant Bearded Irises
The best time to plant bearded irises is late summer to early fall (July–September in most regions). This gives the rhizomes time to establish roots before winter.
You can also plant them in spring, but fall planting usually results in better blooms the following year.
5. Planting Steps
Prepare the soil by loosening it to a depth of 12 inches and mixing in compost or aged manure.
Create a ridge of soil in the planting hole.
Place the rhizome on top of the ridge, spreading roots down the sides.
Cover the roots with soil, but leave the top of the rhizome exposed to sunlight — burying it too deeply can cause rot.
Space rhizomes 12–24 inches apart depending on the variety.
Water well after planting to help settle the soil.
Tip: Plant with the “fan” of leaves facing the direction you want it to grow for a neat appearance.
6. Watering Needs
Bearded irises prefer moderate watering:
Keep soil lightly moist after planting until established.
Once established, water deeply but infrequently, allowing the soil to dry between waterings.
Overwatering is a major cause of rhizome rot — avoid soggy conditions.
During bloom season, consistent moisture helps flowers last longer, but avoid wetting the leaves and rhizomes directly.
7. Fertilizing for Best Blooms
Feed irises in early spring and again a month after flowering using a low-nitrogen fertilizer (e.g., 5-10-10). High nitrogen encourages leafy growth but can reduce blooming and increase rot risk.
Sprinkle fertilizer around the rhizomes, not directly on them, and water it in well.
8. Seasonal Care Guide
Spring
Remove winter mulch once the risk of frost passes.
Fertilize lightly.
Inspect for signs of rot or pests.
Summer (Bloom Time)
Deadhead spent flowers promptly to encourage tidiness.
Keep the foliage intact — it continues photosynthesis to strengthen the rhizomes.
Late Summer/Early Fall
Divide overcrowded clumps (every 3–5 years) to maintain vigor.
Replant divisions in fresh soil.
Winter
In colder climates, add a light mulch after the ground freezes to prevent heaving.
Avoid heavy mulching that retains too much moisture.
9. Dividing Bearded Irises
Over time, irises multiply, and the center of the clump can stop blooming. Division rejuvenates the plant.
Steps to Divide:
Lift the clump with a garden fork.
Cut away the old, woody center — keep only the healthy outer rhizomes with leaves.
Trim leaves to about 6 inches.
Replant healthy divisions promptly.
10. Common Problems and Solutions
Rhizome rot: Caused by poor drainage or deep planting. Solution: Improve drainage, keep rhizomes exposed.
Iris borer: Caterpillars that tunnel into rhizomes. Solution: Remove and destroy infested parts, clean up dead leaves in fall.
Leaf spot: Fungal disease. Solution: Remove affected leaves, improve air circulation, avoid overhead watering.
11. Companion Planting
Bearded irises pair beautifully with:
Daylilies (Hemerocallis) — bloom after irises for continuous color
Salvia — contrasting spikes of blue or purple
Peonies — lush blooms complement iris form
Avoid planting them too close to aggressive spreaders that might compete for space and nutrients.
12. Extending Bloom Season
For a longer display, plant a mix of:
- Early-blooming varieties (bloom in late April–May)
- Mid-season varieties (late May–early June)
- Late-blooming varieties (mid–late June)
Reblooming cultivars like ‘Immortality’ can flower again in fall if given good care.
13. Winter Protection Tips
In zones colder than USDA Zone 5, rhizomes may benefit from light mulch after the ground freezes. Remove mulch in early spring to prevent excess moisture retention.
14. Why Your Iris Might Not Bloom
Possible causes:
Too much shade
Overcrowded rhizomes
Excess nitrogen fertilizer
Planted too deeply
Immature plants (need 1 year after planting to bloom fully)
15. Enjoying Your Blooms Indoors
Bearded irises make excellent cut flowers. Cut stems when the first bud begins to open, and place them in a vase with fresh water. Change the water daily to prolong vase life.
🌟 Final Thoughts
Bearded irises are truly garden royalty — elegant, hardy, and easy to grow once you understand their needs. With proper planting, division, and care, they’ll reward you with spectacular blooms year after year.
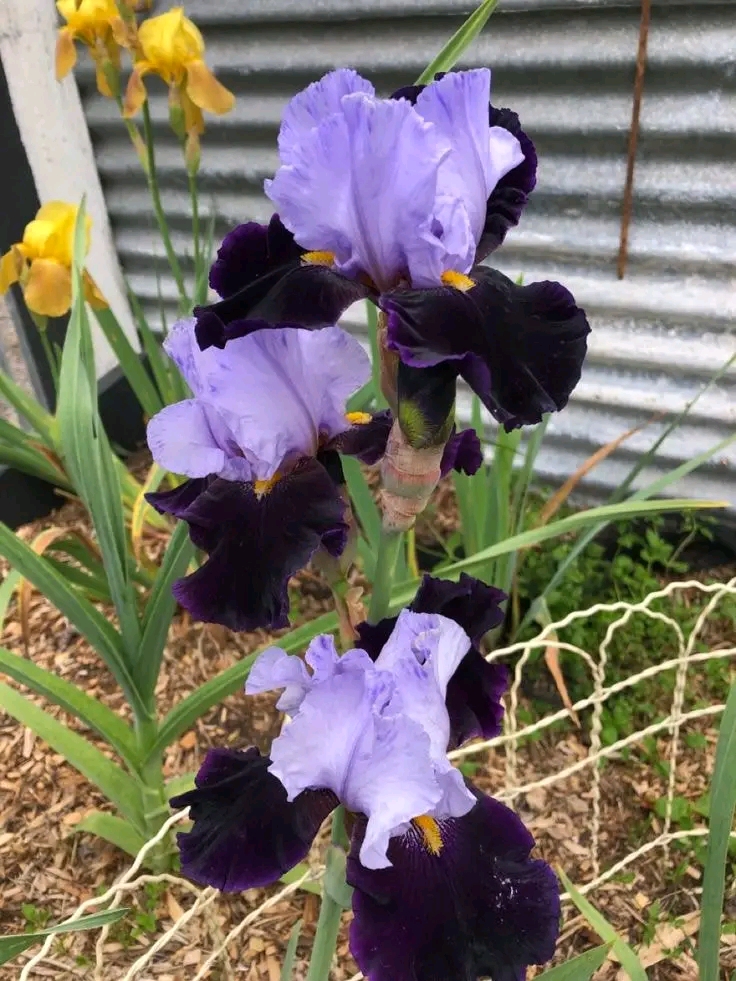
Their variety of colors and patterns means there’s an iris for every gardener’s taste, from soft pastels to dramatic bi-tones like the one in your photo. Plant them in a sunny, well-drained spot, keep their rhizomes exposed, and give them occasional feeding — and they’ll flourish for decades.
More Articles You Might Like
-

Texas Toast Sloppy Joes: The Crunchy, Cheesy Upgrade You Didn’t Know You Needed
There’s something timeless about sloppy joes. For generations, this saucy, savory, and slightly sweet ground beef sandwich has been a go-to comfort food in American kitchens. It’s quick, filling, and family-friendly—perfect for busy weeknights. But what if we told you there’s a way to take this classic dish up a notch? Enter the Texas Toast…
-

Classic Pig Pickin’ Cake
When it comes to Southern desserts, few sweets shine as brightly as the Classic Pig Pickin’ Cake. This nostalgic cake, sometimes called a “Mandarin Orange Cake,” has roots deep in Southern tradition. It gets its playful name from its frequent appearance at pig pickin’s—Southern-style barbecue gatherings where communities come together to enjoy slow-cooked pork, sides,…
-

Lemon Garlic Butter Chicken with Creamy Parmesan Pasta
There’s something irresistible about the combination of tender, golden-browned chicken paired with a creamy pasta coated in Parmesan cheese. Add the brightness of lemon, the depth of garlic, and the richness of butter, and you have a recipe that feels indulgent yet approachable enough for a weeknight dinner. Lemon Garlic Butter Chicken with Creamy Parmesan…