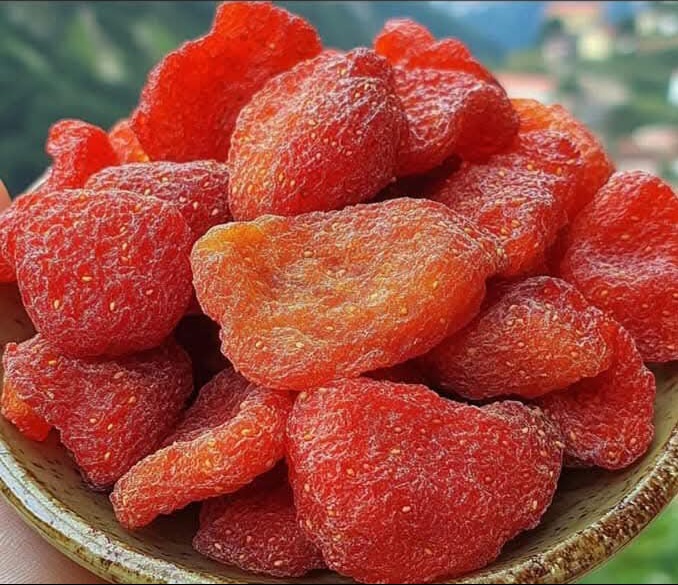
There’s something truly special about turning fresh strawberries into chewy, naturally sweet treats that burst with flavor. Oven-dried strawberries are a healthy, preservative-free snack you can easily make at home. Whether you enjoy them by the handful, sprinkle them over yogurt, or mix them into your favorite baked goods, these little bites of fruity goodness are sure to become a staple in your kitchen.
If you’ve ever wondered how to dry strawberries in the oven, you’re in for a treat! This simple, low-effort recipe transforms juicy berries into delicious, chewy bites perfect for snacking or adding to your favorite dishes. Let’s dive into the details!
Why You’ll Love This Recipe
Healthy & Natural: No added sugars, preservatives, or artificial ingredients — just pure strawberry goodness.
Budget-Friendly: Drying your own strawberries is often more affordable than buying store-bought dried fruit.
Versatile Snack: Perfect for snacking, topping cereal or yogurt, or adding to muffins and granola.
Simple & Easy: With just one ingredient and a little patience, you can make a batch of chewy dried strawberries right in your oven.
If you’ve been searching for a way to preserve the vibrant flavor of strawberries beyond their peak season, this recipe is a must-try!
Ingredients You’ll Need
This is one of the simplest recipes you’ll ever make!
Fresh Strawberries: Use as many as you like, depending on how big a batch you want to make. Look for ripe, sweet berries for the best results.
That’s it — no sugar, no oil, and no preservatives needed!
Step-by-Step Instructions: How to Dry Strawberries in the Oven
Step 1: Preheat the Oven
Set your oven to 200°F (95°C). A low temperature ensures the strawberries dry slowly without burning or losing too much flavor.
Step 2: Wash and Dry the Strawberries
Rinse your strawberries thoroughly under cold water to remove any dirt or debris.
Pat them dry with a clean towel or let them air dry for a few minutes. Removing excess moisture helps them dry more evenly in the oven.
Step 3: Slice Evenly
Cut the strawberries into thin, even slices (about ⅛ to ¼ inch thick). Try to keep the slices uniform in size so they dry at the same rate.
Tip: Slicing the berries horizontally (across the width) creates cute little rounds, but you can also slice them vertically if you prefer longer strips.
Step 4: Arrange on a Baking Sheet
Line a baking sheet with parchment paper or a silicone baking mat to prevent sticking.
Lay the strawberry slices in a single layer, making sure they don’t overlap — overlapping can cause uneven drying and soggy spots.
Step 5: Bake Slowly
Place the baking sheet in the preheated oven and let the strawberries dry for 2–3 hours.
Flip halfway through to ensure even drying and prevent the strawberries from sticking.
Step 6: Check for Doneness
The strawberries are done when they’re dry but still slightly chewy. They should shrink and darken in color but not burn or turn brittle.
Drying time can vary depending on the thickness of your slices and the juiciness of your berries, so start checking around the 2-hour mark.
Step 7: Cool & Store
Let the dried strawberries cool completely on the baking sheet. They’ll firm up a bit more as they cool.
Store them in an airtight container or a glass jar in a cool, dry place. Properly dried strawberries can last up to 2 weeks at room temperature or 1–2 months in the fridge.
Tips & Tricks for the Best Dried Strawberries
Use Ripe, Sweet Strawberries: The sweeter the berries, the better the dried result. If your berries are tart, you can sprinkle a tiny bit of sugar or honey before baking.
Even Slices = Even Drying: Use a sharp knife or a mandoline slicer to get uniform slices.
Oven Placement Matters: Place the baking sheet on the middle rack for the most even heat distribution.
Watch the Edges: Thinner slices will dry faster, so keep an eye on the berries towards the end of the drying time to prevent burning.
Want Extra Crispy Strawberries? After 3 hours, turn off the oven, crack the door open, and let the strawberries cool inside for an hour or two.
Ways to Enjoy Oven-Dried Strawberries
The possibilities are endless! Once you have a batch of chewy, flavorful dried strawberries, you can:
Snack on them solo: A healthy, naturally sweet treat.
Add to trail mix or granola: Boost the flavor and nutrition of your homemade mixes.
Sprinkle over yogurt or oatmeal: A perfect topping for breakfast bowls.
Bake into cookies, muffins, or scones: Dried strawberries add chewy bursts of sweetness to baked goods.
Blend into smoothies: Add dried berries for an extra pop of flavor and texture.
Use as a cake or cupcake garnish: Add a decorative (and edible) touch to your desserts.
They’re even delicious dipped in melted dark chocolate for an indulgent treat!
Why This Recipe Works
Drying strawberries in the oven concentrates their natural sugars, intensifying their flavor and creating a chewy, candy-like texture. The low, slow baking process gently removes moisture while preserving the berries’ sweetness and nutrients. Plus, making your own dried strawberries means you control the ingredients — no unnecessary additives or preservatives!
Final Thoughts
Making oven-dried strawberries at home is an easy, satisfying way to enjoy this beloved fruit year-round. It’s a foolproof recipe that yields a wholesome, versatile snack you can use in countless ways. Once you taste the sweet, chewy goodness of homemade dried strawberries, you might never go back to store-bought!
So grab some fresh berries, fire up the oven, and treat yourself to a batch of homemade dried strawberries. And if you give this recipe a try, let me know how you use your strawberries — I’d love to hear your creative ideas!
If you enjoy simple, delicious recipes like this, be sure to stick around — more tasty treats are coming your way!
Happy snacking!
More Articles You Might Like
-
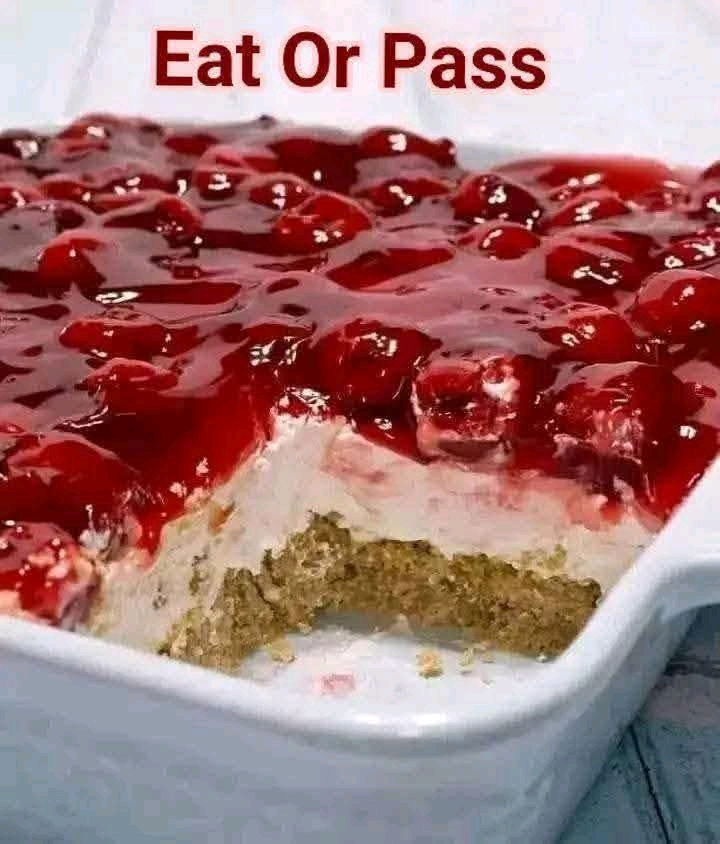
Classic Cherry Delight: The Easy, No-Fail Dessert That Steals the Show
When it comes to desserts, there are two kinds of recipes that truly shine—those that look like you’ve spent all day in the kitchen and those that take just minutes to make but taste absolutely heavenly. Basic Cherry Delight is the best of both worlds. It’s creamy, sweet, lightly tangy, and perfectly balanced with a…
-
Baking Soda Makes Flowers Bloom and Fuller? 10 Best Garden Hacks Most Don’t Know
If you’ve ever dreamed of having a garden full of lush greenery, vibrant blooms, and thriving vegetables without spending a fortune on expensive fertilizers and chemicals, then you’re in luck. Nature already provides us with simple, affordable ingredients that can completely transform our plants — and baking soda is one of them. Yes, you read…
-
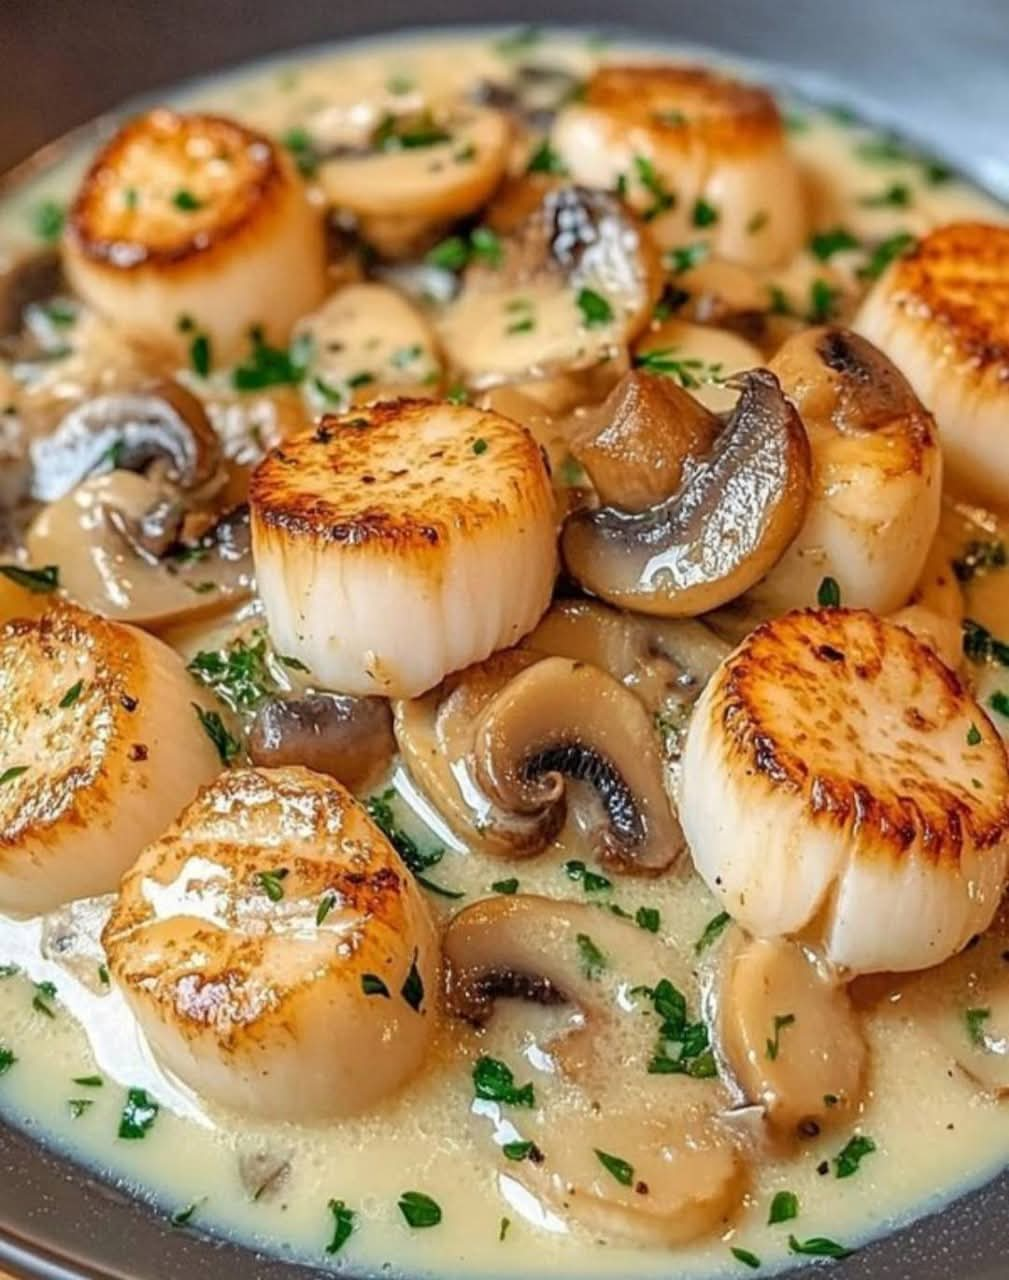
Seafood Lovers’ Dream: Gourmet Cassolette Recipe
When it comes to gourmet seafood dishes, few recipes match the luxurious depth of a Seafood Cassolette. A cassolette is a French baked dish, often served in small gratin dishes or ramekins, filled with tender seafood and a creamy, aromatic sauce. Imagine the sweetness of shrimp, the delicate flavor of scallops, and the rich taste…


