Are you looking for a creative way to reduce waste and add a touch of greenery to your home? Turn an old plastic bottle into a gorgeous flower pot with a little time and imagination! Not only is this a fun DIY project, but it’s also a fantastic way to recycle and give new life to items that might otherwise be thrown away. Let’s get started on transforming that plastic bottle into a blooming beauty!
✨ Benefits of DIY Flower Pots ✨
Making your own flower pot has so many benefits that go beyond just saving money. Here’s why this DIY project is a win for you and the environment:
♻️ Reduce Waste:
By reusing plastic bottles, you’re doing your part to cut down on waste that would otherwise end up in landfills. It’s an easy and effective way to repurpose materials and make something beautiful at the same time!
😌 Relieve Stress:
Gardening is known for its therapeutic effects. Whether you’re planting herbs, flowers, or small succulents, the process of planting and caring for your new creation is a wonderful way to relax and lift your mood.
🎨 Get Creative:
Personalize your flower pot to match your style. Use paints, markers, or stickers to add a unique touch, turning a plain plastic bottle into an eye-catching masterpiece. It’s a great way to unleash your creativity!
🛠️ Materials Needed:
Before you get started, gather these simple supplies:
An empty plastic bottle (2-liter size works well, but any bottle will do)
Scissors or a craft knife
Potting soil
A small plant or seeds
Optional: Paint, markers, stickers, or other decorations to personalize your pot
Steps to Make Your Flower Pot:
1. Prepare the Bottle:
Start by cleaning and drying your plastic bottle thoroughly. This step is important to ensure there is no leftover residue. Once it’s dry, grab your scissors or knife and cut the bottle to your desired height. You’ll want to keep the bottom half, as this will become your flower pot. The size is up to you, but about half the bottle works well for most plants.
2. Add Drainage:
To keep your plant healthy, it’s crucial to prevent water from accumulating at the bottom of the pot. Take your scissors or a small knife and carefully poke a few drainage holes at the base of the bottle. This will allow excess water to escape and keep your plant’s roots from sitting in stagnant water.
3. Decorate (Optional):
Now comes the fun part—decorating! You can use paint, markers, or stickers to make your flower pot reflect your personality. Want a rustic look? Use earthy colors or a natural jute twine to wrap around the bottle. Prefer something bright and playful? Go for vibrant paints and bold patterns. The sky’s the limit, so get creative and make it your own!
4. Planting Time:
Once your pot is decorated and ready, it’s time to add your plant. Fill the bottle with potting soil, leaving a little space at the top for your plant. Carefully place your plant or seeds into the soil, ensuring it’s centered and the roots are covered. Gently press the soil around the plant to stabilize it.
5. Water and Place:
Lightly water the soil to settle it around the plant. Make sure you don’t overwater—it’s always best to keep the soil slightly moist rather than soggy. Now, find a bright spot for your new flower pot! Whether it’s by a sunny window or on your balcony, make sure your plant gets the light it needs to thrive.
Tips for Healthy Growth:
🌞 Light: Ensure your plant gets the right amount of light for its needs. Succulents and herbs love bright light, while some flowers and plants may do better in indirect light. Do a little research on your plant’s specific light requirements to keep it happy.
💧 Water Carefully: Overwatering is a common mistake for beginner gardeners. Wait until the top inch of the soil is dry before watering again. If you’re unsure, it’s always better to underwater than overwater!
🔄 Rotate: Plants tend to grow toward the light, so rotating your pot every few days helps ensure even growth and prevents your plant from leaning toward one side.
Why This DIY Project is So Rewarding:
Not only is it a great way to reduce plastic waste, but creating your own flower pot also gives you a sense of accomplishment. Watching your plant grow in the pot you made with your own hands is incredibly rewarding. Plus, it adds a personal touch to your home décor that store-bought pots just can’t replicate.
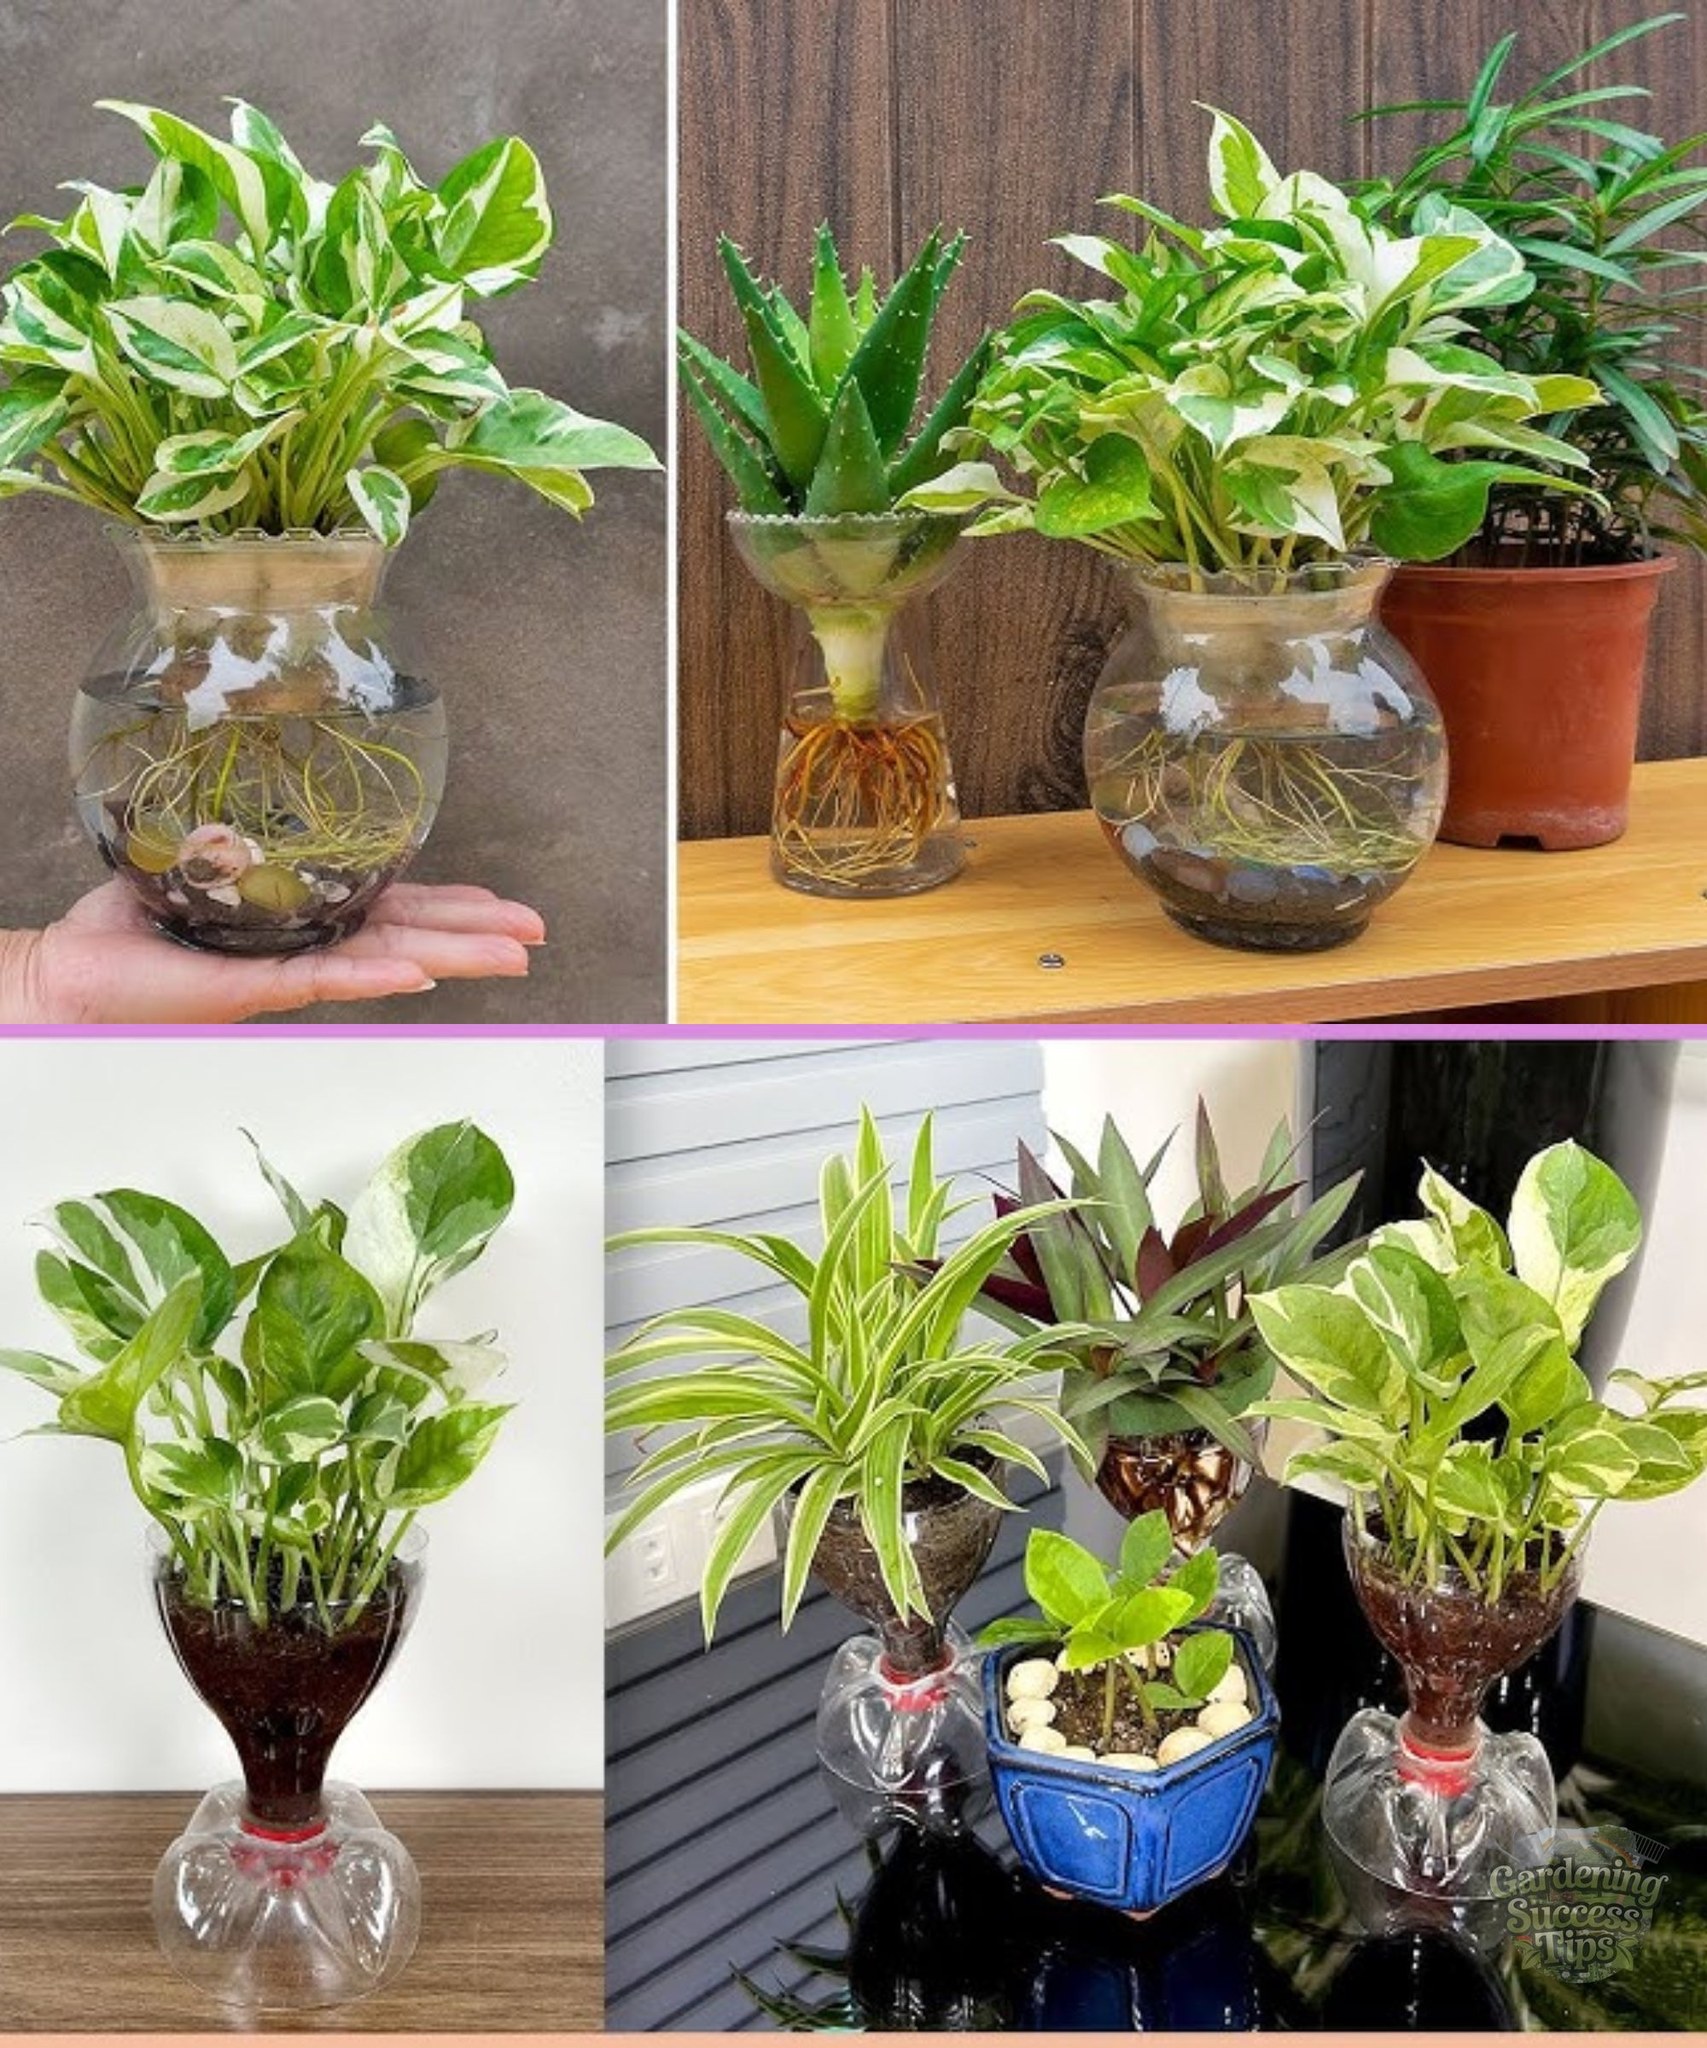
Other Ways to Recycle Plastic Bottles for Your Garden:
The creative potential of plastic bottles doesn’t end with flower pots! Here are some other ideas for using plastic bottles in your garden:
Vertical Planter: Cut multiple bottles in half, add holes in the bottoms, and stack them vertically to create a multi-level planter. This is great for herbs or small flowers!
Self-Watering Pots: Convert a plastic bottle into a self-watering system by cutting it in half, placing the bottom half inside the top half (with the neck facing downward), and filling the bottom with water. It’s perfect for busy gardeners!
Garden Markers: Cut small sections from plastic bottles to create your own garden labels. Write the names of your plants on the pieces and stick them in the soil.
Conclusion:
Making a DIY flower pot from a plastic bottle is a simple, fun, and eco-friendly way to add some greenery to your space while reducing waste. Not only does it give you an opportunity to exercise your creativity, but it also allows you to care for a plant that will brighten up your home. So, grab an old bottle, gather your materials, and start crafting today—your new plant friend is waiting for its stylish new home!
Happy gardening! 🌱
More Articles You Might Like
-

Texas Toast Sloppy Joes: The Crunchy, Cheesy Upgrade You Didn’t Know You Needed
There’s something timeless about sloppy joes. For generations, this saucy, savory, and slightly sweet ground beef sandwich has been a go-to comfort food in American kitchens. It’s quick, filling, and family-friendly—perfect for busy weeknights. But what if we told you there’s a way to take this classic dish up a notch? Enter the Texas Toast…
-

Classic Pig Pickin’ Cake
When it comes to Southern desserts, few sweets shine as brightly as the Classic Pig Pickin’ Cake. This nostalgic cake, sometimes called a “Mandarin Orange Cake,” has roots deep in Southern tradition. It gets its playful name from its frequent appearance at pig pickin’s—Southern-style barbecue gatherings where communities come together to enjoy slow-cooked pork, sides,…
-

Lemon Garlic Butter Chicken with Creamy Parmesan Pasta
There’s something irresistible about the combination of tender, golden-browned chicken paired with a creamy pasta coated in Parmesan cheese. Add the brightness of lemon, the depth of garlic, and the richness of butter, and you have a recipe that feels indulgent yet approachable enough for a weeknight dinner. Lemon Garlic Butter Chicken with Creamy Parmesan…