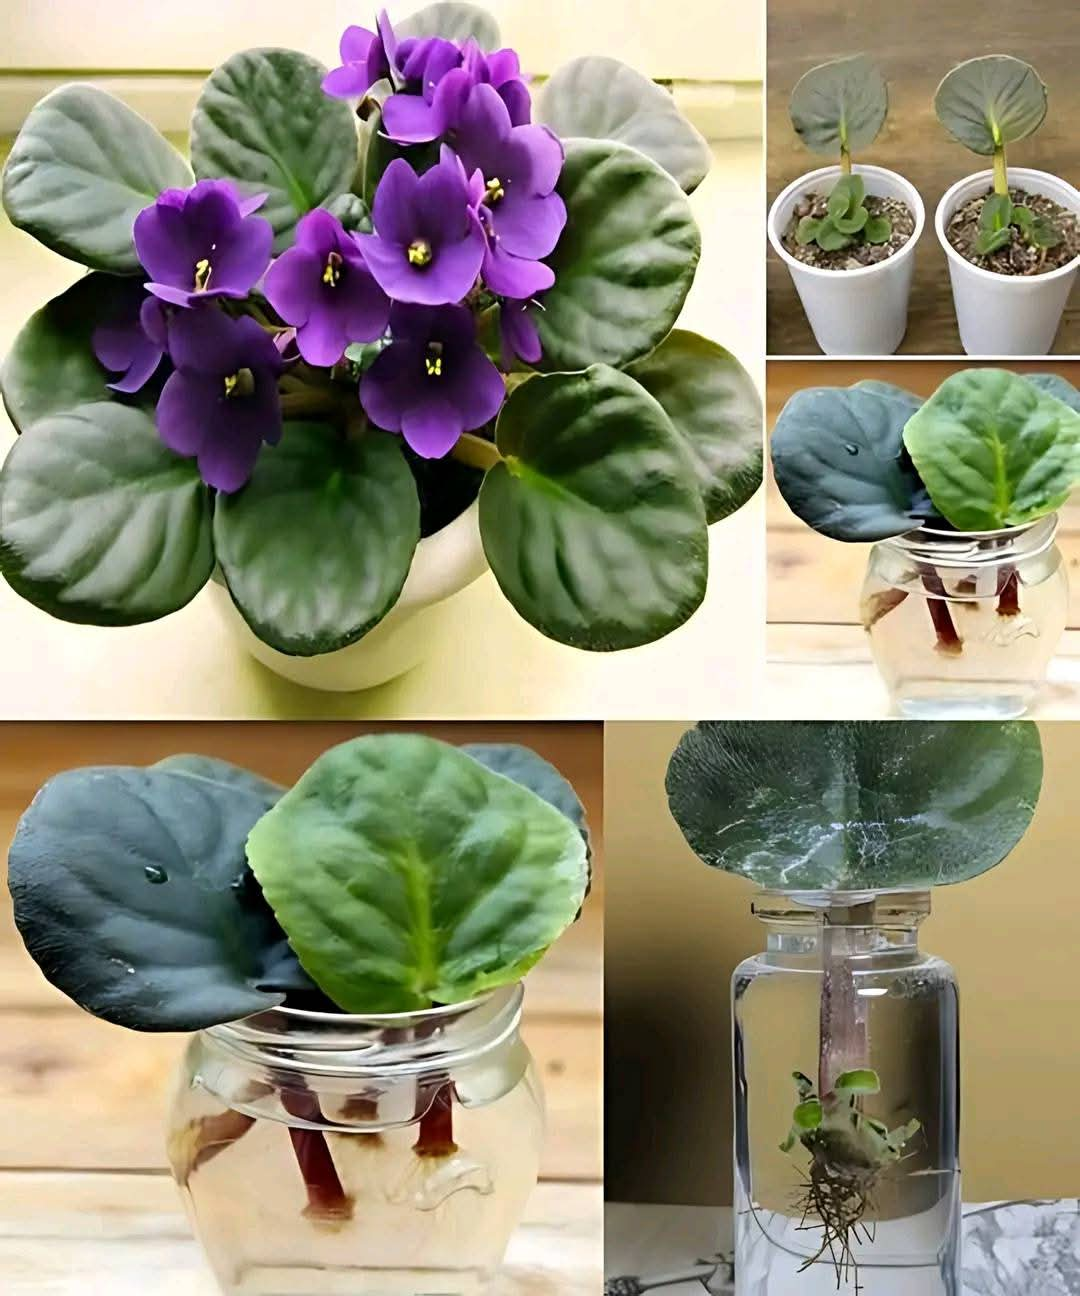
African violets (Saintpaulia spp.) are beloved houseplants known for their vibrant blooms and lush foliage. Propagating them from a single leaf is a rewarding and cost-effective way to grow more of these beautiful plants. Here’s a detailed guide to help you successfully propagate African violets using a leaf.
Why Propagate African Violets from a Leaf?
Cost-Effective: Create new plants without purchasing more.
Preserve Varieties: Propagation ensures you can share and preserve your favorite African violet varieties.
Satisfying Process: Watching a tiny leaf develop into a full-grown plant is incredibly rewarding.
Materials You’ll Need
A healthy mother plant
Clean, sharp scissors or a knife
Damp potting mix (preferably African violet-specific) or vermiculite
A small pot or container with drainage holes
Plastic bag or clear plastic dome (for maintaining humidity)
Spray bottle for misting water
Step-by-Step Guide to Propagating African Violets
- Choose a Healthy Leaf
Select a mature, healthy leaf from the outer part of the plant.
Avoid damaged, discolored, or very young leaves, as they may not root effectively.
- Cut the Leaf Properly
Use clean, sharp scissors or a knife to cut the leaf at its base where it meets the stem.
Make a clean cut to avoid damaging the tissue.
- Trim the Stem
Trim the stem to 1–2 inches (2.5–5 cm) long, cutting at a slight angle.
Remove any excess tissue or damaged parts for a clean planting surface.
- Prepare the Growing Medium
Use a well-draining, lightweight potting mix designed for African violets or a mix of vermiculite and perlite.
Ensure the medium is damp but not soggy to prevent rot.
- Insert the Leaf into the Medium
Push the trimmed stem into the growing medium, burying it about ½–1 inch deep.
Firmly press the medium around the stem to stabilize it.
- Maintain Humidity
Cover the pot with a clear plastic bag or a plastic dome to create a humid environment.
Ensure the cover does not touch the leaf to avoid fungal issues.
- Provide the Right Conditions
Place the container in a warm, bright location with indirect sunlight.
Avoid direct sunlight, as it can scorch the leaf or dry out the soil.
- Water Properly
Keep the growing medium consistently moist but not waterlogged.
Use a spray bottle to mist lightly if needed, but do not overwater.
- Wait for Roots and New Growth
Be patient—roots may take 3–6 weeks to develop.
You may notice tiny plantlets emerging from the base of the leaf after several weeks.
- Transplant the Plantlets
Once the plantlets are about 1–2 inches tall with their own leaves, gently separate them from the mother leaf.
Transplant each plantlet into its own small pot with fresh African violet potting mix.
- Care for the New Plants
Treat the young plants like mature African violets, providing bright, indirect light, consistent moisture, and proper feeding.
Avoid overwatering and ensure good air circulation to prevent mold or rot.
Tips for Success
Sanitation: Always use clean tools to prevent infection or contamination.
Warmth: African violets propagate best in temperatures between 65–75°F (18–24°C).
Patience: Growth may take time, so resist the urge to disturb the leaf.
Experiment: Try propagating multiple leaves at once to increase your chances of success.
Why This Method Works
African violets are naturally designed to regenerate from a single leaf. The angled cut at the stem base maximizes the surface area for root development, while the humid environment encourages root formation. With proper care, this simple method can yield thriving, healthy plants.
Conclusion
Propagating African violets from a leaf is an easy and fulfilling way to expand your collection or share these beautiful plants with friends and family. With patience, care, and the right conditions, you’ll soon have new plants to brighten your home.
So, grab a healthy leaf and start your propagation journey today! 🌱
